

ImageMagick is a popular open-source software that allows you to manipulate digital images in almost every way and supports more than 200 image formats!!
The chances that ImageMagick has already been installed on your Ubuntu system are pretty high as many other software use it as a dependency. Verify it with:
convert -versionIf you see the “convert command not found” error, you can install ImageMagick using this command in Ubuntu:
sudo apt install imagemagickBut it may not give you the latest version. Let’s see how to get ImageMagick in detail and how to install the latest version from the source code.
Installing ImageMagick on Ubuntu
If getting the most recent version is not your primary concern, you can use the default repository of Ubuntu to install a bit older but comparatively more stable version than the most recent one.
Method 1: Install from software center (GUI method)
Open Ubuntu Software center.

Now, search for ImageMagick in the store by clicking on the little search icon located in the top left corner.
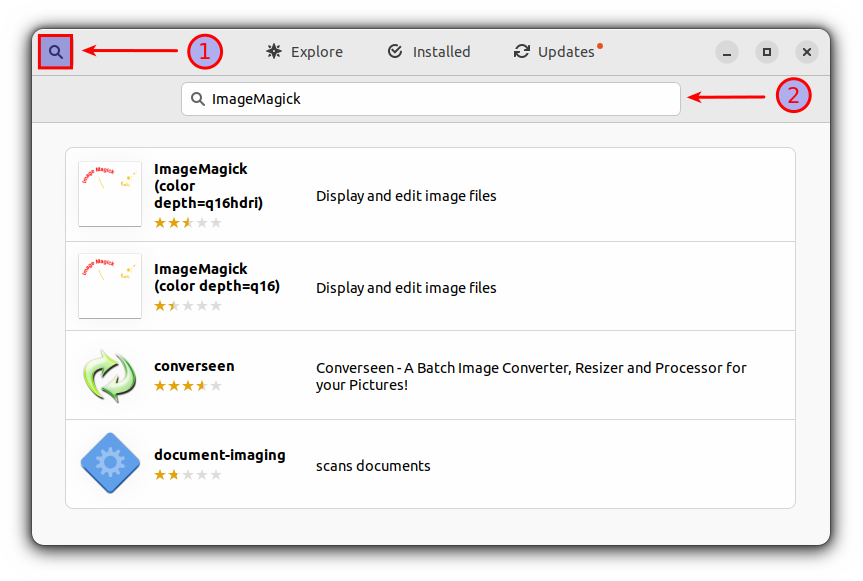
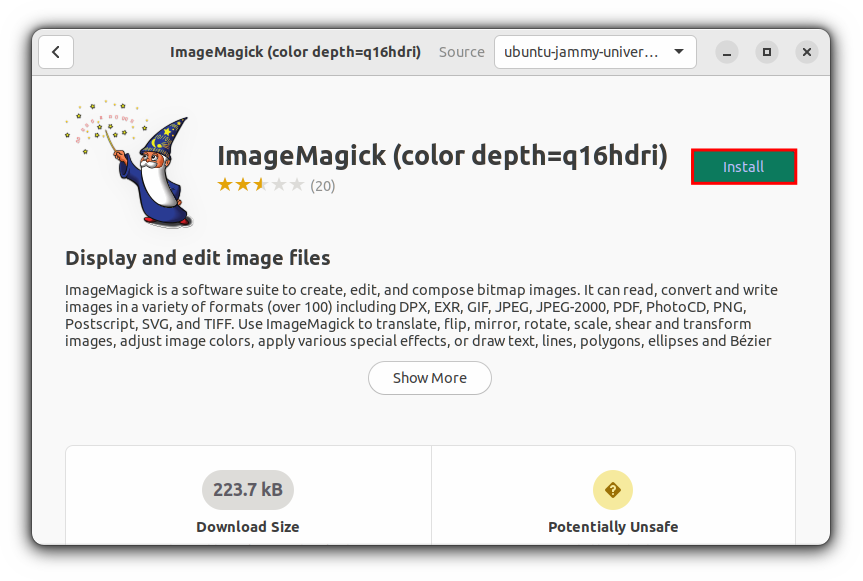
For all the given results, open the first one and click on the Install button. Yep, that’s it!
Method 2: Install ImageMagic from the terminal
In my opinion, this is the most convenient way to install ImageMagick in Ubuntu. A single command is all you’d need to complete the installation.
sudo apt install imagemagick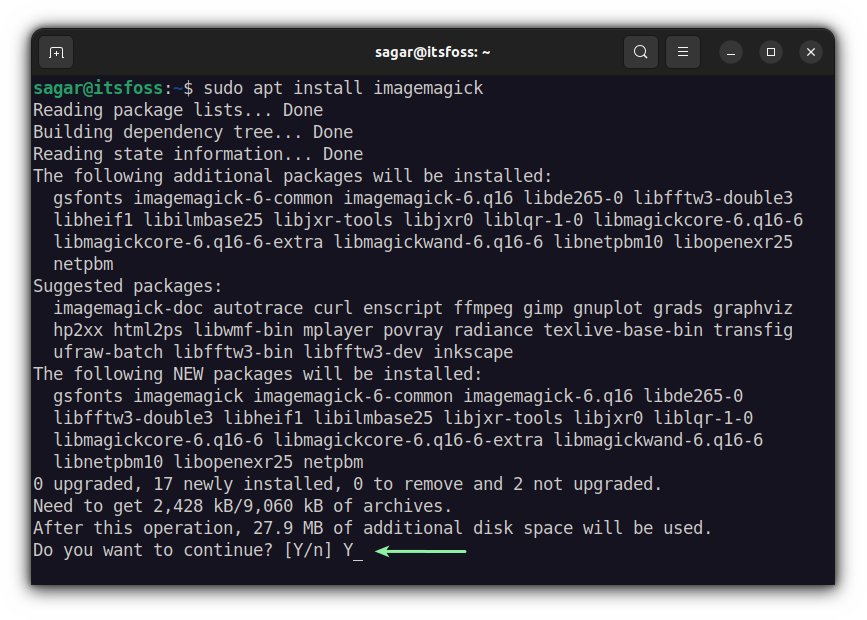
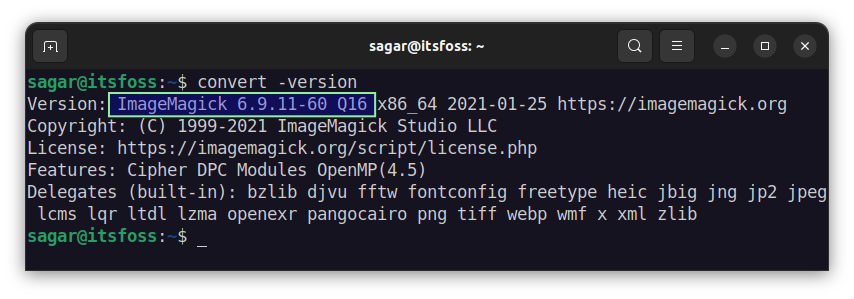
Checking the installed version of ImageMagick is a bit different compared to other utilities.
convert -versionIt should bring something similar to this:
Removing ImageMagick
I strongly advise against removing ImageMagick. It is often installed automatically as a dependency for other software packages. Unless you have a solid reason, don’t uninstall it. You have been fairly advised.
To remove ImageMagick, use this command.
sudo apt remove imagemagick* -y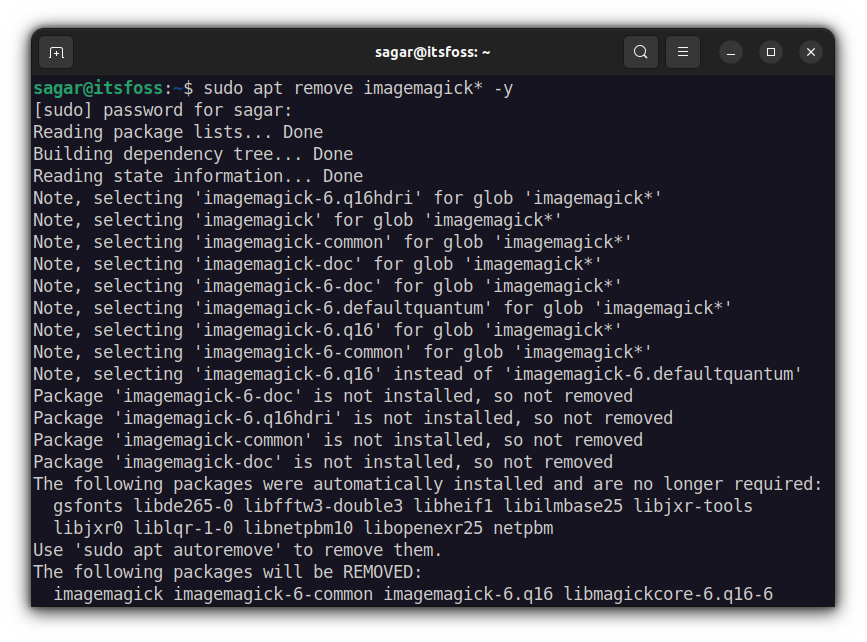
Install latest version of ImageMagick from the source code (for advanced and desperate users)
This process requires users to compile ImageMagick from the source to get the most recent version. So obviously, it will require comparatively more effort than the above method.
First, you’d need some dependencies to download and compile ImageMagick, which you can download by the given command:
sudo apt install build-essential make gitOnce you’re done with dependencies, you can proceed to the further part that involves downloading ImageMagick from Git.
git clone https://github.com/ImageMagick/ImageMagick.gitAnd change your working directory to ImageMagick:
cd ImageMagick
Our first step toward any compilation should be the configuration of the source code. It may seem complex, but it’s just a one-word command:
./configure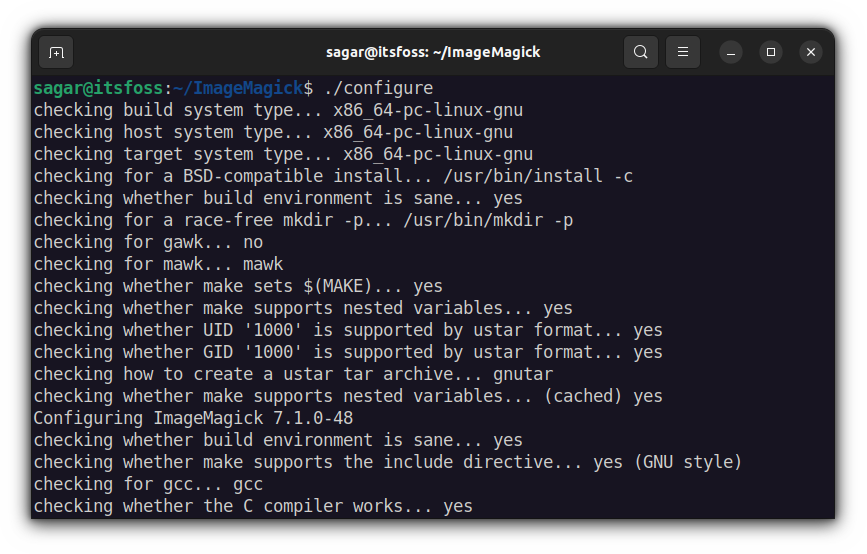
Now, it’s time to use make the command to build what we’ve configured previously. If all of this seems out of the world, we have a detailed guide on how to install and uninstall packages from source code.
make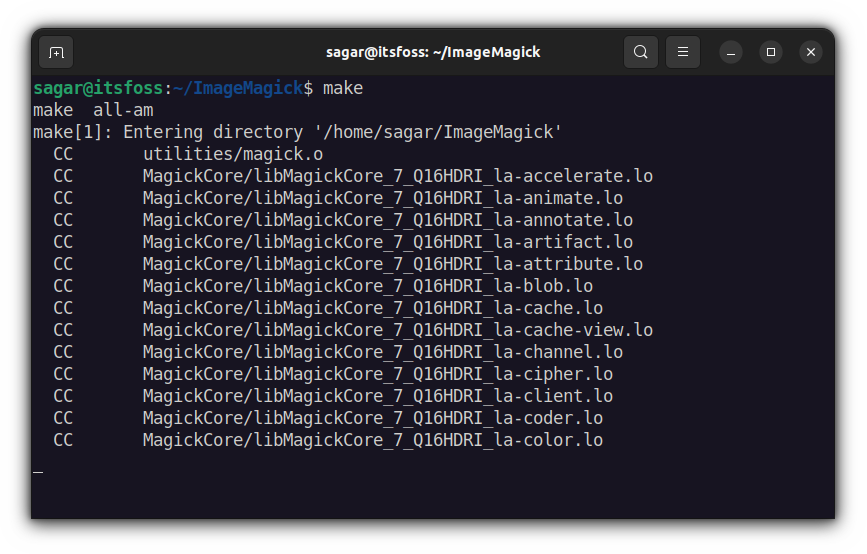
Now, let’s install those compiled files by the given command:
sudo make installAfter the installation process, let’s configure the run-time dynamic linking of ImageMagick:
sudo ldconfig /usr/local/lib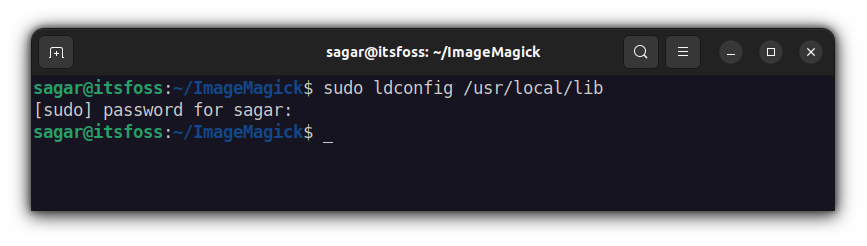
So which version of ImageMagick, you’d get after going through this long process? Well, let me show you the installed version of ImageMagick after going through this process.
convert -version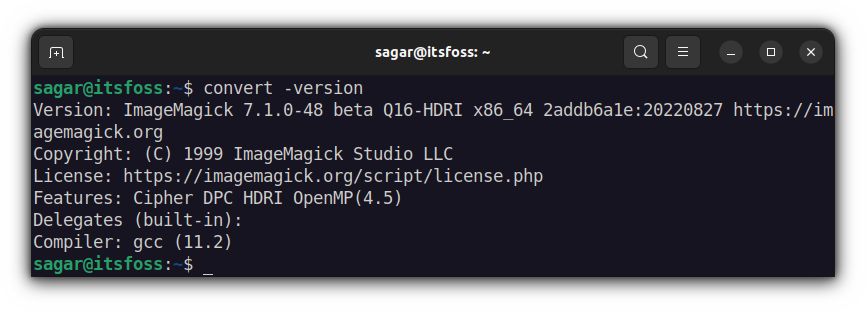
While writing, it gave me ImageMagick version 7.1.0-48, which is much ahead of what you get when you use the default repository (6.9.11-60).
Uninstallation of ImageMagick from source code
Compared to installation, the removal process is quite straightforward. Just a few steps and ImageMagick will be removed from the system in no time.
First, change your working directory to ImageMagick:
cd ImageMagickAnd then use the given command for uninstallation:
sudo make uninstall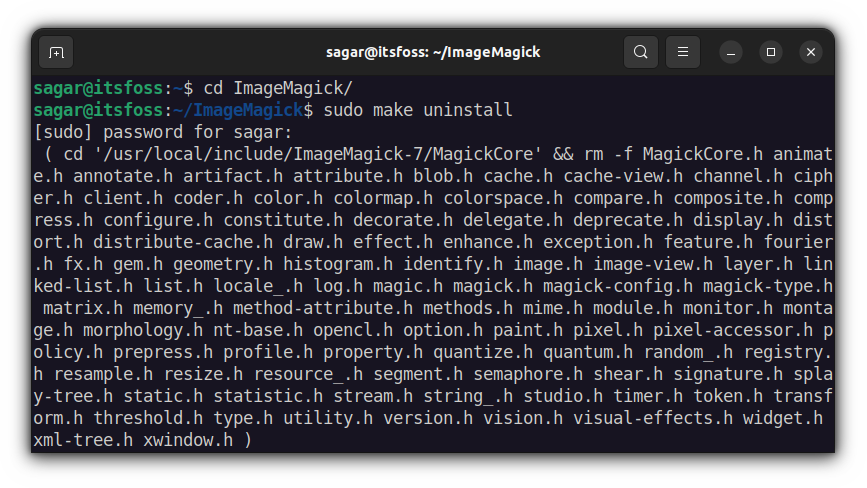
Checking the version is always a good idea to check whether you have successfully removed the software from your system or not:
convert -version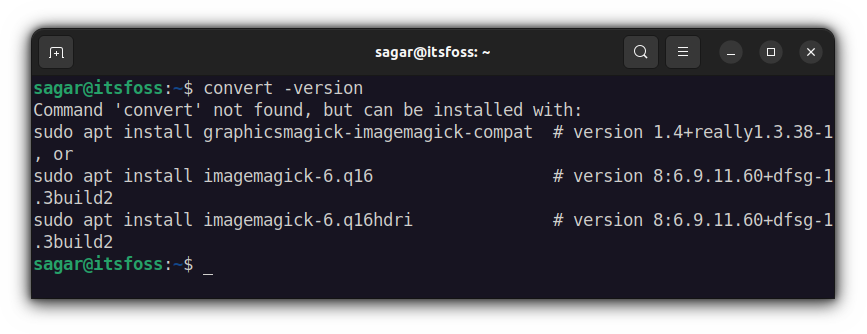
That’s it.
Final Words
Even after decades, it is still a reliable tool to manipulate images via the command line.
Of course, not everyone is a fan of CLI tools, specially in this age when people are increasingly using artificial intelligence to manipulate digital images.
From local AI tools for imaging to online AI image generators, there is no dearth of such tools.
And yet, marvels like ImageMagick and FFmpeg stand tall and keep on powering applications built on top of them.
This was my take on how to install ImageMagick by utilizing the default repository and compiling it from the source to get the most recent version.
If you still have any doubts, let me know in the comments.
If this helped you, consider supporting It's FOSS
It's FOSS has been helping people use Linux for the past 14 years. Help us stay independent from big tech. Become a Plus member, enjoy ad-free reading and get 5 eBooks.

