
Google’s UI toolkit Flutter is getting increasingly popular for creating cross-platform applications for the mobile, web and desktop.
Flutter is not a programming language but a software development kit. Dart is the programming language used underneath the Flutter SDK.
Flutter is the main framework behind Google’s open source Fuchsia OS, Google STADIA and many other software and mobile apps.
If you want to start developing with Flutter, this tutorial will help you to get your set-up ready on Ubuntu and hopefully other Linux distributions.
Installing Flutter on Ubuntu and other Linux with Snap
The easiest way to install Flutter on Linux is by using Snap. If you are using Ubuntu, you already have got Snap. For other distributions, please make sure to enable Snap support.
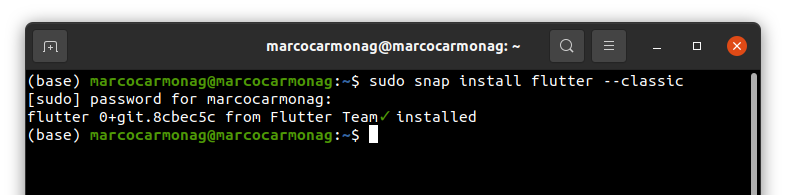
Open a terminal and use the following command in a terminal to install Flutter:
sudo snap install flutter --classicYou’ll see something like this on your terminal:
Once the installation completes, it is time to verify it. Not just Flutter installation but also verify every dependency that needs to be satisfied for Flutter to function properly.
Verify Flutter dependencies
To verify that every dependency, for the correct work of Flutter, is installed, Flutter has a built-in option:
flutter doctorThe process will start, looking like this:
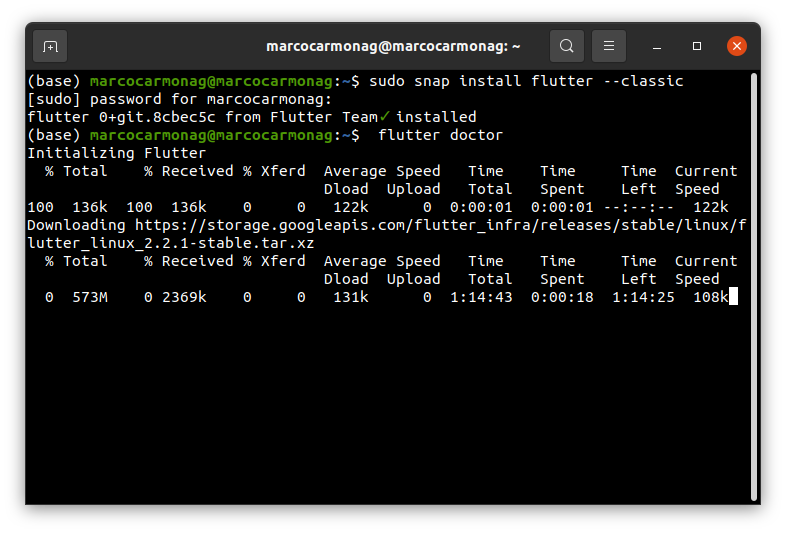
And it will be finishing like this:
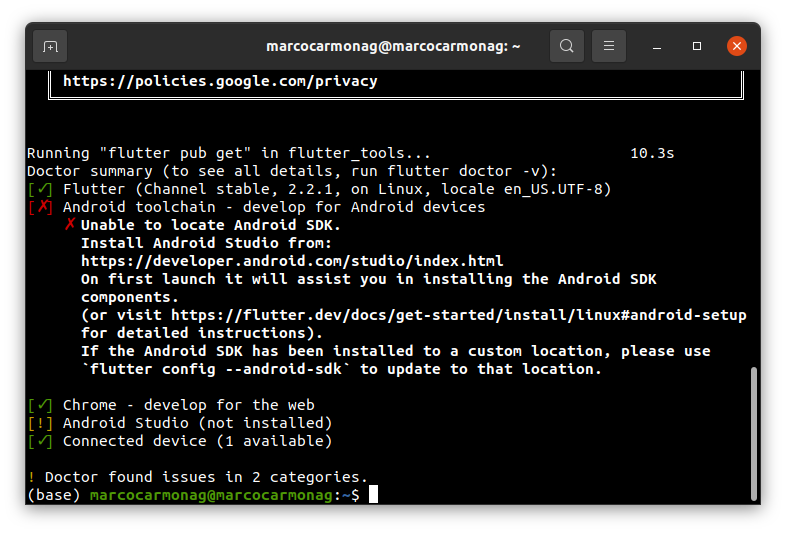
As you can see, we need Android Studio for working. So let’s install it. How do we do that? Installing Android Studio on Linux is also effortless with Snap.
Install and set up Android Studio
In a terminal, use the following command to get Android Studio installed:
sudo snap install android-studio --classic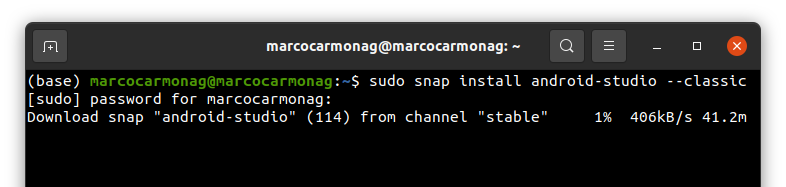
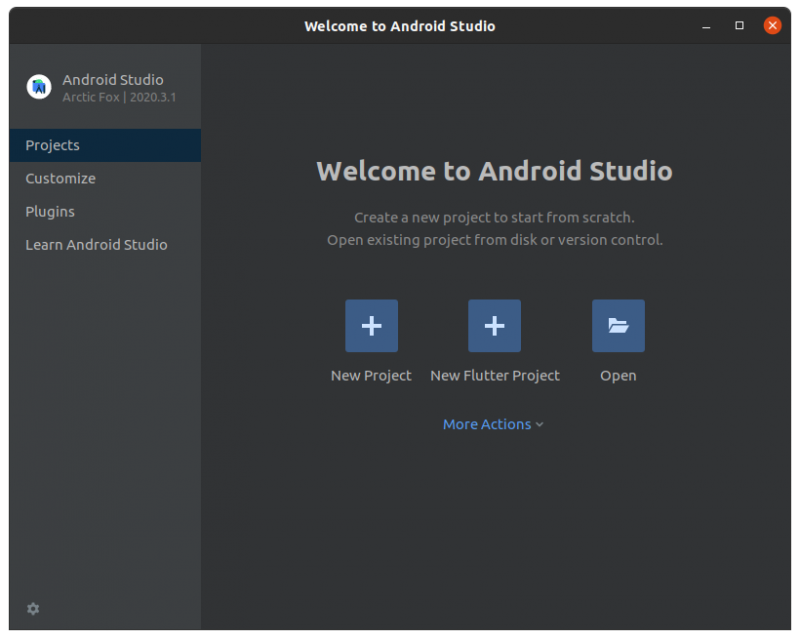
Once installed, open Android Studio from our operating system menu.

You are almost done. It’s time for configuring Android Studio.

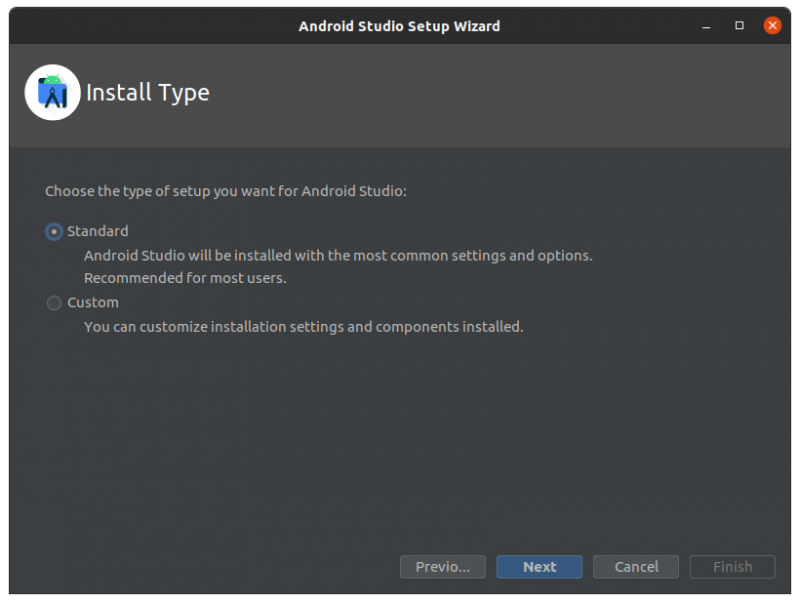
Click next and select standard if you don’t want to complicate things.
Select your preferred theme (I like the Dark one).

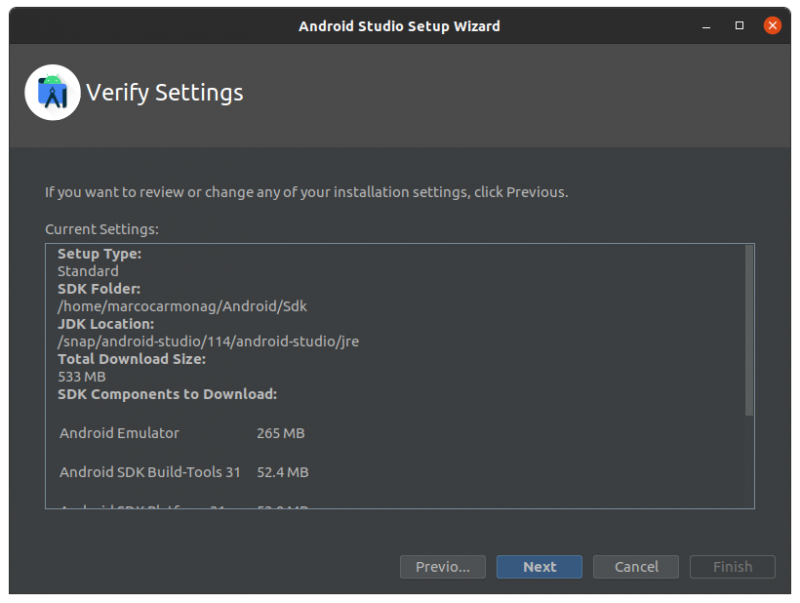
Verify that everything is OK and click on Next.
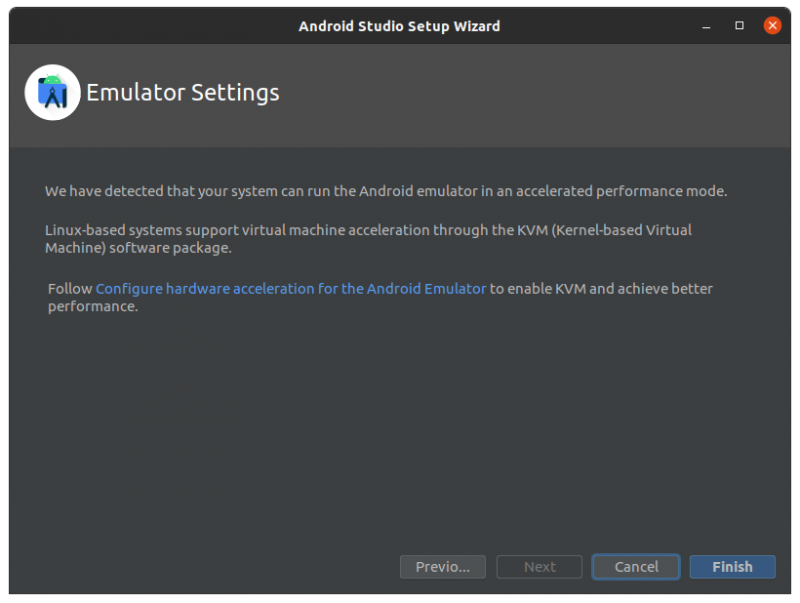
Finally, hit the Finish button.
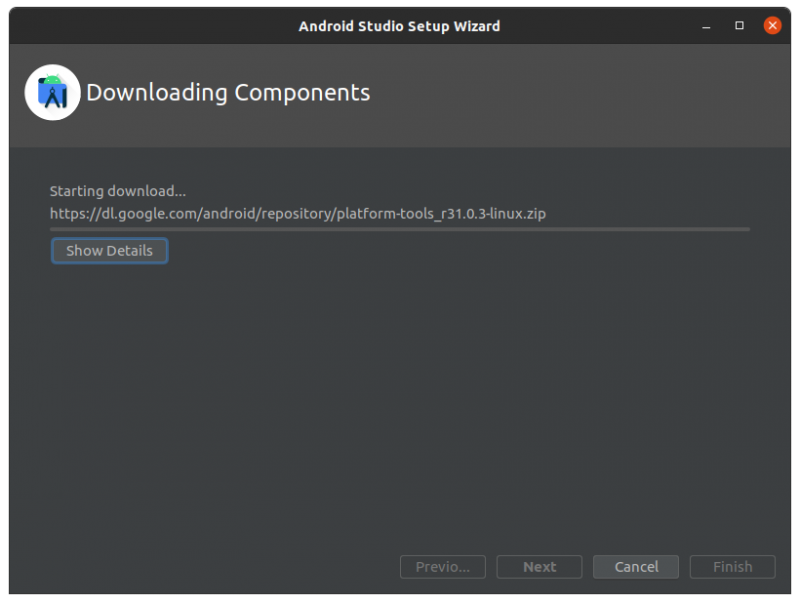
And wait until the download is finished.
Creating a sample Hello World Flutter app
In Android Studio, go to Projects and select New Flutter Project. Flutter SDK path will be set by default.
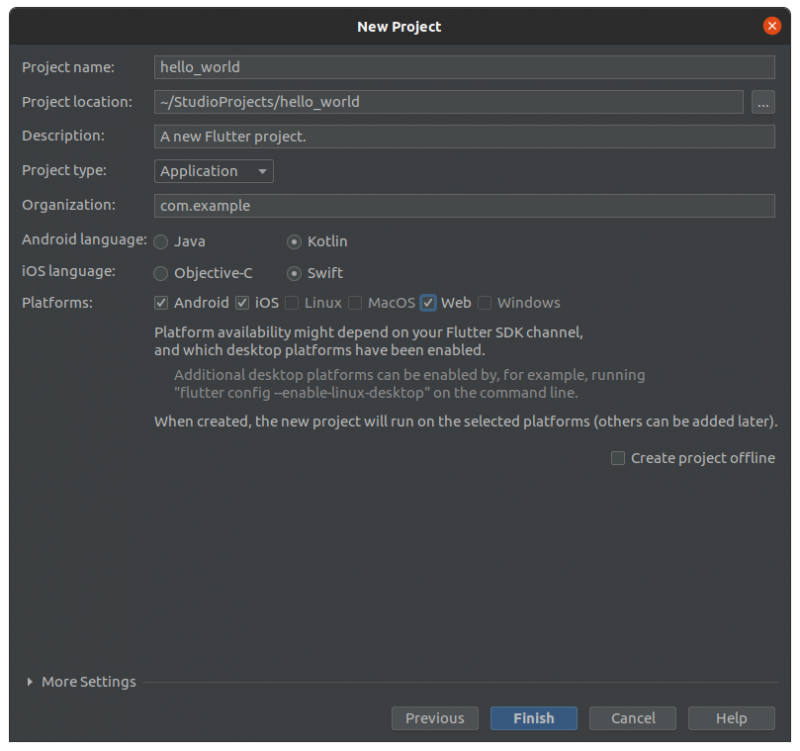
And here is where the magic starts to appear because this is where you set your project name, which in this case it will be called hello_world.
Let’s select the three available platforms: Android, iOS, and Web. And finally, click on Finish.
The principal file in the projects is located in lib/main.dart, as is shown in the next image.
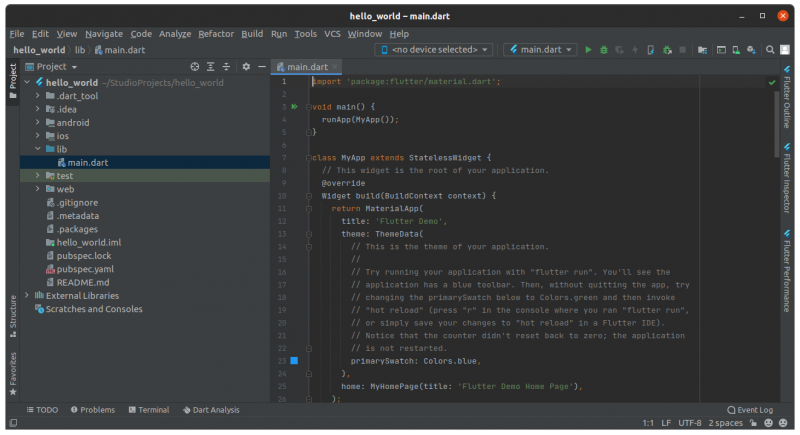
Once selected, erase everything contained inside the file and change it for this sample code:
// Copyright 2018 The Flutter team. All rights reserved.
// Use of this source code is governed by a BSD-style license that can be
// found in the LICENSE file.

import 'package:flutter/material.dart';

void main() => runApp(MyApp());

class MyApp extends StatelessWidget {
  @override
  Widget build(BuildContext context) {
    return MaterialApp(
      title: 'Welcome to Flutter',
      home: Scaffold(
        appBar: AppBar(
          title: const Text('Welcome to Flutter'),
        ),
        body: const Center(
          child: Text('Hello World'),
        ),
      ),
    );
  }
}
It’s important to say that this is only for showing you how Flutter works, in case you’re convinced about learning this beautiful and incredible language, here is the Documentation to see more about it. Try it!
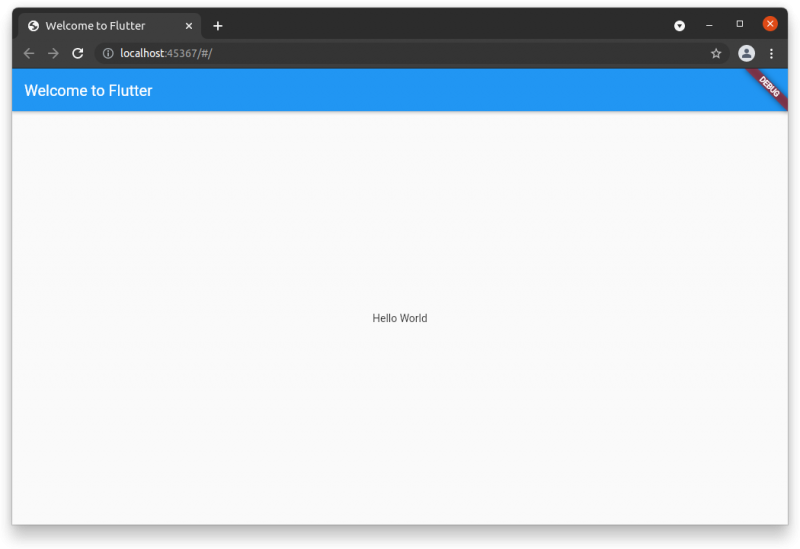
Finally, select Chome Web device and do click on the Run button, as is shown below; and see the magic!
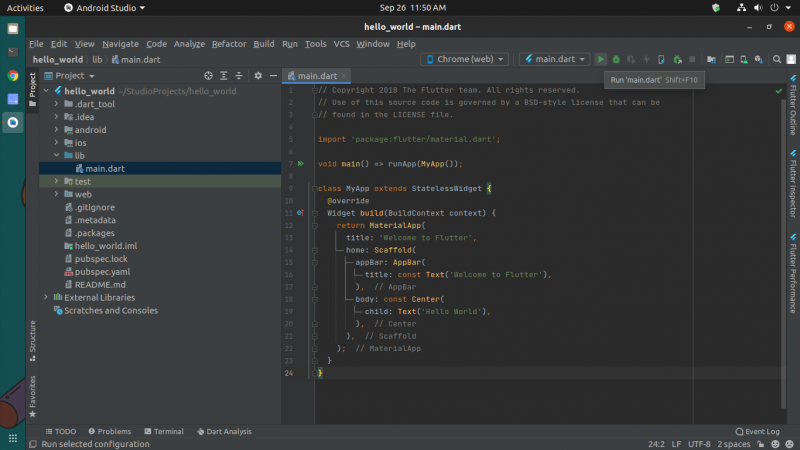
It’s incredible how fast you can create a Flutter project. Say hello to your Hello World project.
In the end…
Flutter and Dart are perfect if you want to contribute with beautiful mobile and Web interfaces in a short time.
Now you know how to install Flutter on Ubuntu Linux and how to create your first app with it. I really enjoyed writing this post for you, hoping this helps you and if you have any questions, please let me know by leaving a comment or sending me an email to [email protected]. Good luck!
Tutorial contributed by Marco Antonio Carmona Galván, a student of physics and data science.

