

Armbian is an awesome project. While there are numerous operating systems for Raspberry Pi, Armbian is the operating system for numerous Raspberry Pi like single board computer (SBC) devices.
If you have a non-Raspberry Pi device, you should surely give it a try.
Recently, I installed Armbian on my ArmSoM Sige7 board and I thought of sharing the process I followed.
The installation procedure is quite simple:
- Download the appropriate Armbian image for your SBC
- Flash the Armbian image on the micro SD card
- Boot the device from the micro SD card and do the initial setup
Let's see it in detail.
Choosing the correct image (it's important)
Despite the name that suggests that Amrbian is Debian for ARM devices, Armbian is more than that.
Armbian offers both Ubuntu and Debian builds. There are various builds available for servers (without desktop environment) and desktop (with GNOME or Xfce). A few special builds are available for setting up Home Assistant and Open Hab.
Now this is really up to you to decide which version you want to go with. If you are more comfortable with Debian, go with Debian version, otherwise stick with Ubutnu version.
If you don't have much experience with either, you may stick with Ubuntu as it seems to be more popular, especially among beginners.
It doesn't end here. Armbian has three categories of images:
- Platinum supported SBCs
- Standard supported SBCs
- Community Supported SBCs
- Generic images
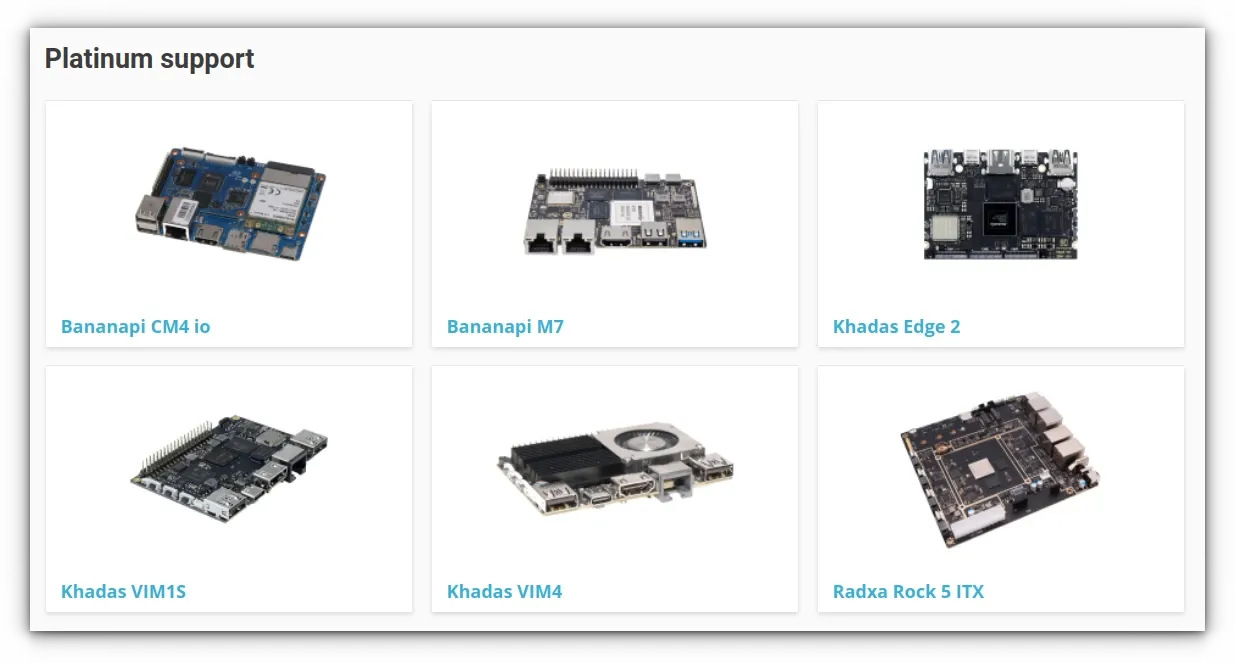
There are numerous SBCs and Armbian aims to provide support for most of them, if not all. This is why they have different images for different SBCs. You should look for your SBC and see if Aermbian has a dedicated image for your board.
Some SBC vendors, like Banana Pi etc, have partnership with Armbian and thus they are in the 'Platinum' support category. Expect better hardware support for these boards.
If you do not find your board under the Platinum, Standard or Community category, you can download the generic Armbian image from the homepage. It may or may not work completely.
Preparing the micro SD card
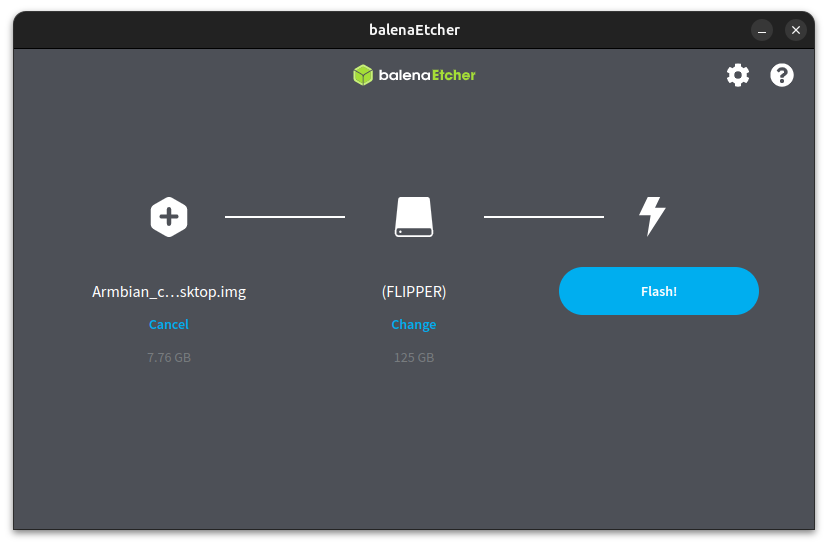
I used Etcher on Linux to create the Armbian Micro SD card. Etcher is a cross platform tool and you can easily use it on Windows and other platforms, too.
It comes in AppImage format for Linux. Please read our guide on using AppImage if you are not familiar with it.
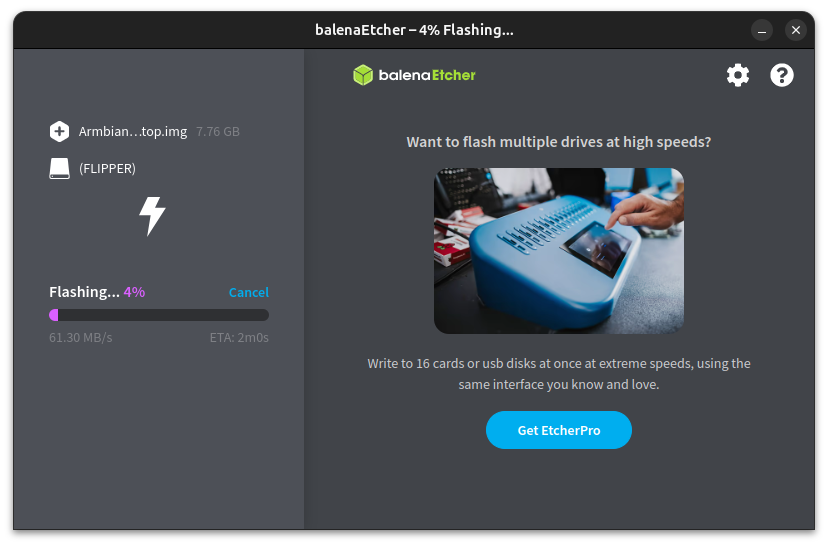
Using Etcher is simple. Plug in your micro SD card into your computer and run Etcher. It will recognize the SD card immediately. Browse the downloaded .img file for Armbian and click on Flash.
Wait for a few minutes for the process to complete. If you have a slow SD card, it make take time.
Once the process is complete, take out the micro SD card and prepare your SBC.
armbi_root in Ubuntu, it may show an error like 'no object for D-Bus interface'. That's okay. Just take out the micro SD card.Installing Armbian on your ARM board
Plug the micro SD card on your ARM board. Connect the board to a monitor, keyboard and mouse and a power source. It would be good if you can connect to an Ethernet port although that's not necessary.
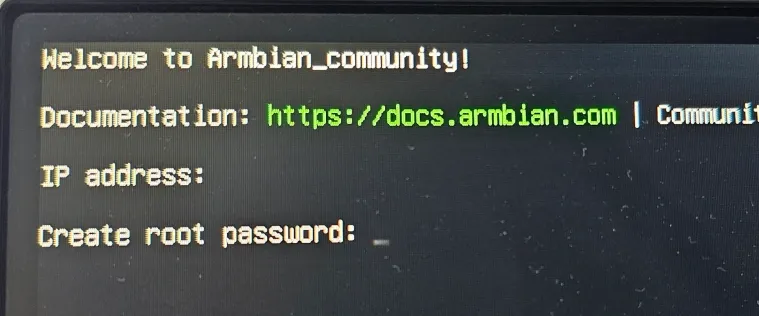
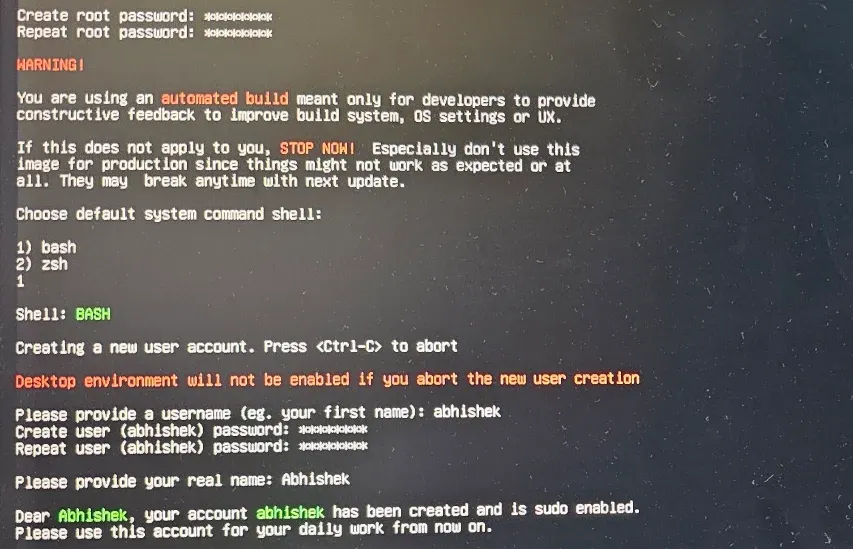
Once you power on the device, in a few seconds, you should see the Armbian logo. After that, you'll be on a black screen with an option to set up the root password.
Once you have created the root password, you'll be asked to choose the default shell between bash and zsh. If you don't know what zsh is, stick with bash.
Afterwards, you'll be asked to create a new user and set up its password. This user will be a sudoer and you can use it to run commands with sudo.
Since I was connected to Ethernet and hence it knew my geographical location and suggests locales based on that. If you are not connected to internet yet, you should provide the appropriate options.
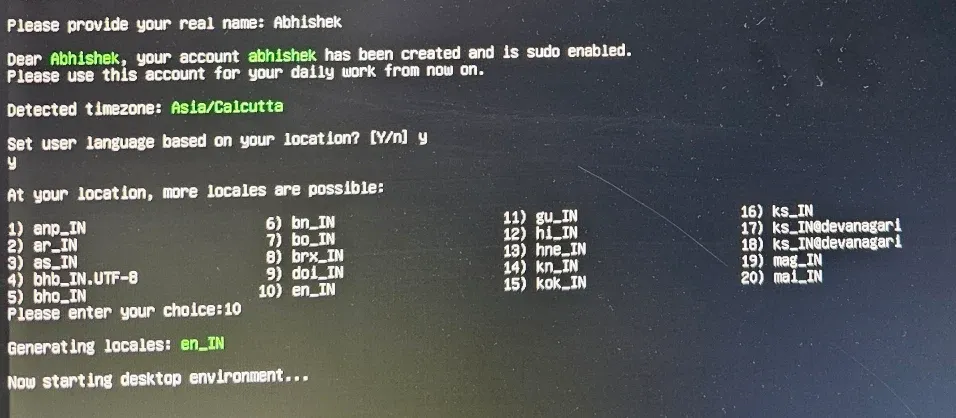
Once the locales are set, it should boot into the desktop environment.
Enjoy Armbian
Armbian falls in the familiar terrain of APT package manager and if you ever used a Debian/Ubuntu based distro, it should not feel unfamiliar to you.
I shared the installation process I followed for my Rockchip-based ArmSom Sige7 SBC. I am hoping that the procedure remains the same for other single board computers, too. Please let me know if you face any issues.
