

Here’s the scenario. You used Etcher or Rufus tools to create a bootable, live Linux USB in Windows or perhaps in Linux.
You used it to install Linux and the purpose of the USB is accomplished. Now you want to format this USB and use it for regular data transfer or storage.
You plug it in your Windows system and to your surprise, the disk capacity of the USB is just 4 MB.
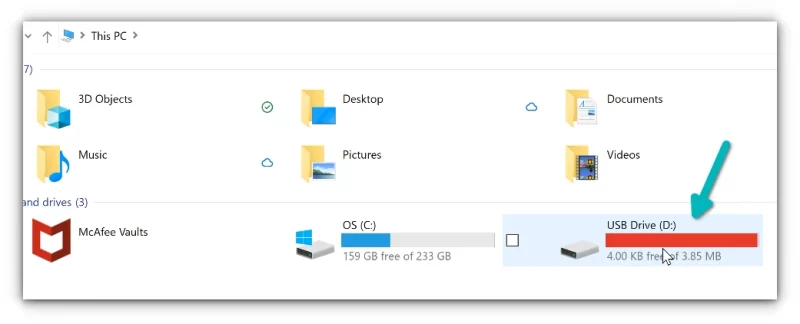
You try to format it and it probably won’t let you do that. Even if you manage to format it, the size of the USB is now shrunk to just 4 MB from the usual 8 GB, 16 GB or 32 GB.
Have you lost your USB? Not really. Your USB is not completely destroyed. You can still format it with a little trick and use it comfortably.
Let me show how to restore the bootable USB to a usable state in both Windows and Linux.
Formatting the live Linux USB created by Rufus or Etcher [In Windows]
You see only 4 MB of disk space in Windows. Do you know why? Because while creating the live Linux USB, the tool creates a 4 MB of EFI partition in FAT 32 filesystem. The other partition(s) is in Linux’s Ext4 filesystem which Windows do not recognize.
This is why your Windows system only sees the EFI partition of 4 MB and shows the USB size as 4 MB.
All in all, what you need to do is to delete all the partition on the USB disk, create a new NTFS or FAT32 partition from the free space you got from deleting the existing partitions. That’s it.
Let me show the steps in detail.
Step 1:
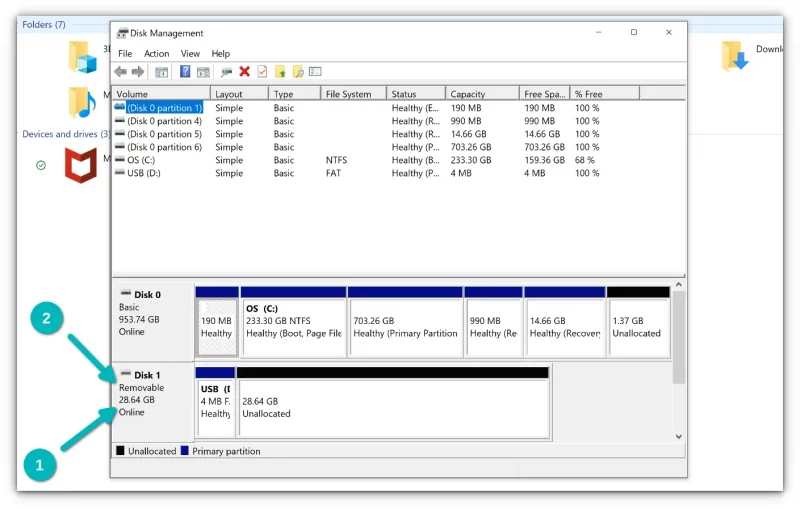
Go to the Windows menu and look for the Disk Management tool.

Start this tool and it will show all the disks present on your computer. This includes the plugged-in USB, of course.
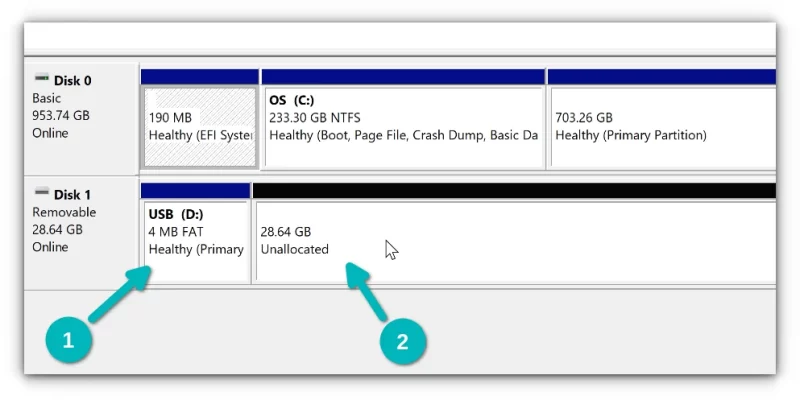
This is very important to select the correct disk. Identify which one it is from the size of the USB disk or from the ‘Removable’ tag.
Step 2:
The idea is to delete any existing partition present on the USB disk. The unallocated space cannot be deleted but that’s okay.
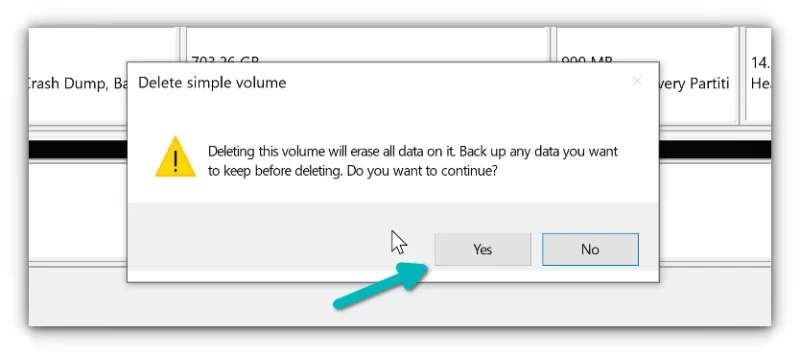
Right click on the partition and click Delete Volume.
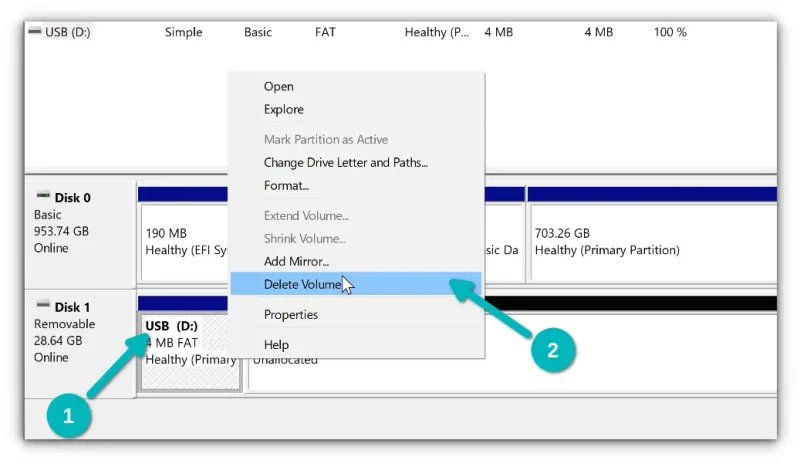
When asked for your confirmation, press Yes.
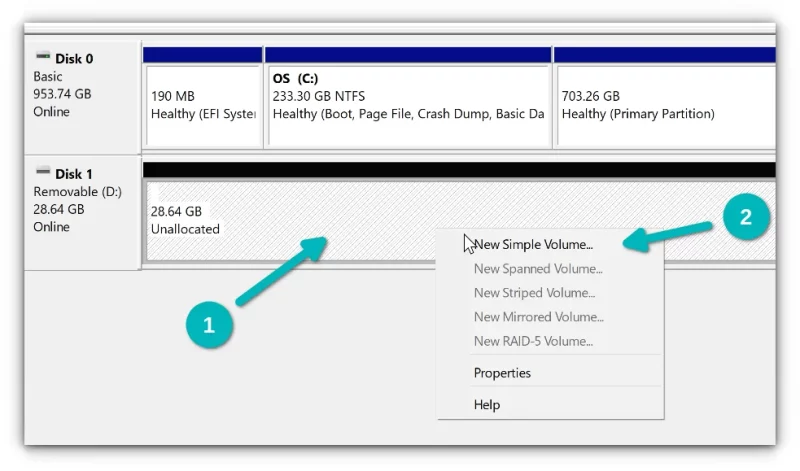
Your aim is to have only a single block of unallocated space. When you see that, right click on it and click on “New Simple Volume” to create a partition.
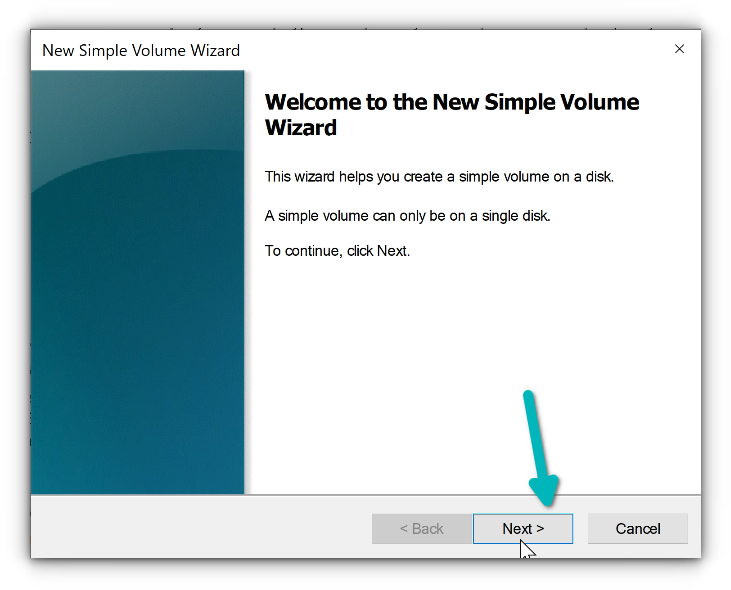
The next steps are simple. Click on Next, select the entire available space, assign a letter to it, select the file system (FAT 32 or NTFS) and format it.
Once that is done, you’ll see that the USB has returned to normal state and you can start copy-pasting data to it.
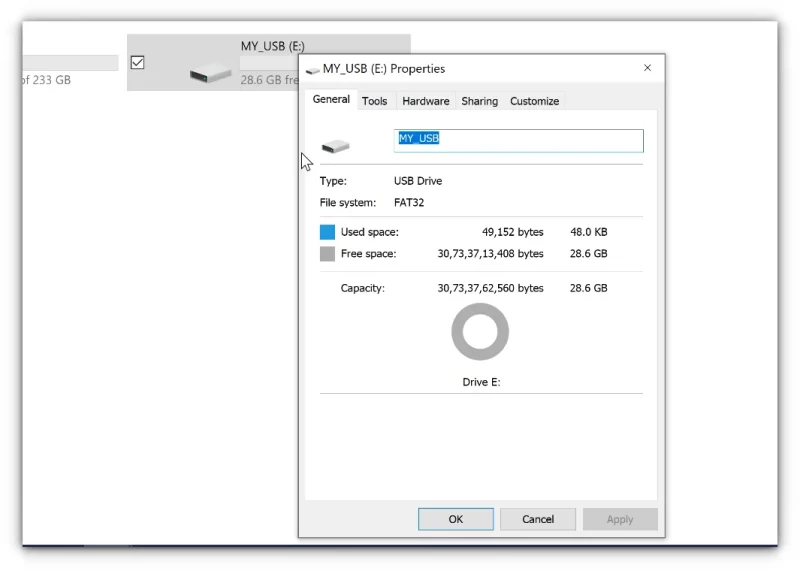
You can use your USB as before now.
These steps were for Windows. What if you cannot format the USB on Linux?
Formatting live Linux USB on Linux
I have noticed that live USB created by Etcher and such tools often create refuse to be formatted properly by the right click format option in the file manager.
As an alternative, you can do what you did in Windows: delete existing partitions and create a new partition with the entire free space.
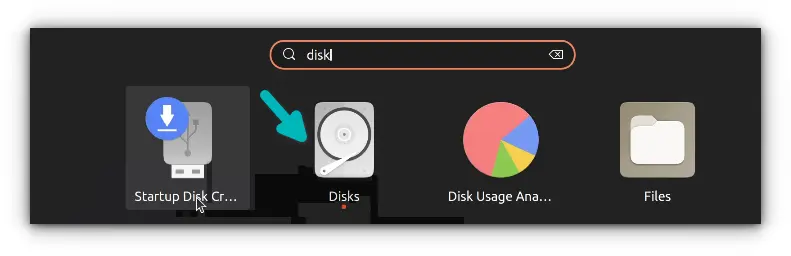
Use the GNOME Disks tool here. It is already installed on Ubuntu and many other Linux distributions.
Again, make sure that you have selected the external USB disk here.
You’ll see various partitions on the USB disk. Try and format the disk from the menu above.

If that does not work, delete the partitions individually one by one and then make the entire USB as free space.
When you have the entire free space created, click on the + sign to create a partition on it in NTFS or FAT32 filesystem.
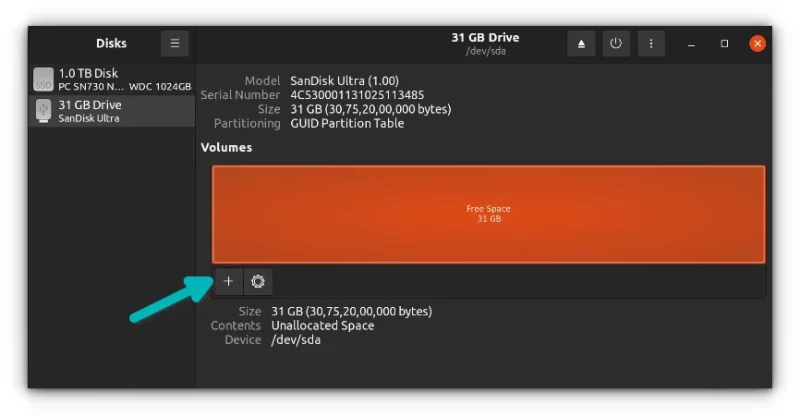
Create the partition with NTFS (or FAT 32), name it something appropriate and then you can enjoy the USB like it was before.
Conclusion
Tools like Rufus and Etcher don’t really destroy your USB. This is how they function, by creating a different filesystem on the disk. But then the operating system doesn’t understand it properly.
The good thing is that it can be fixed with only a little effort. I hope you too were able to fix it. If not, share your issue with me and I’ll try to help.
If this helped you, consider supporting It's FOSS
It's FOSS has been helping people use Linux for the past 14 years. Help us stay independent from big tech. Become a Plus member, enjoy ad-free reading and get 5 eBooks.
