

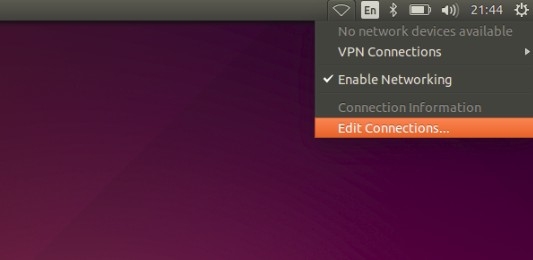
After dual-booting MacBook Air with Ubuntu, when I logged in to Ubuntu, I found that Ubuntu did not detect any wireless network. Networking was on but it said ‘no network devices available.
Indeed it is a common issue not only with with Broadcom network adapters but other network adapters as well in Ubuntu Linux.
In this tutorial, I’ll show you a few methods to fix Wi-Fi issues in Ubuntu and other Ubuntu based distributions such as Linux Mint, elementary OS etc.
Fixing no Wi Fi issue in Ubuntu based Linux distributions
Relief is that Ubuntu provides additional drivers specifically for various wireless adapters.

But the issue is that to install additional drivers in Ubuntu you will need a working internet connection.
Here are a couple of ways to connect to the internet without WiFi:
- Check if you can connect to a wired network through an Ethernet cable and install the additional drivers easily.
- Alternatively, you can connect a smartphone via USB and use the USB tethering to connect to the internet. Once connected, install the Wi-Fi drivers easily. Some smartphones also allow you to share the internet connection with other devices over Bluetooth.
Things will be different and a bit difficult if you cannot manage to connect to the internet. In that case, you may try:
- Installing additional drivers from the ISO image of Ubuntu.
- Download the DEB files of the drivers on another internet connected system and transfer the files to Ubuntu via USB.
Now that you know a few approaches to handle this problem, let’s see how to use these methods.
Method 1: Connect to a wired network either through Ethernet, USB tethering or Bluetooth and install additional drivers
If your system has Ethernet port and the possibility to connect to the router via Ethernet, very good. Just connect it. I think you do not need to know the steps for putting in an Ethernet cable.
If you don’t have that, don’t worry. Most likely, you have a smartphone connected to wifi or has mobile data. You can use it to connect your Ubuntu system to the internet.
Step 1:
Your smartphone should be connected to the internet, either via WiFi or using mobile data.
Connect your smartphone to your Linux system via USB. If there is a notification on the phone about accessing data by device, accept it.
While the two devices are connected, go to the USB tethering settings of your smartphone. Most modern phones allow you to search for a specific part of the settings. Search it and go to USB tethering settings and enable it.


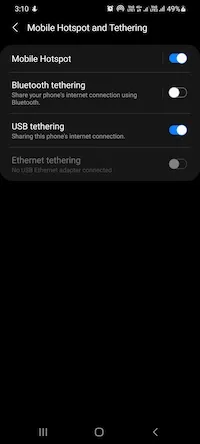
You may use Bluetooth tethering as well if your smartphone has this feature.
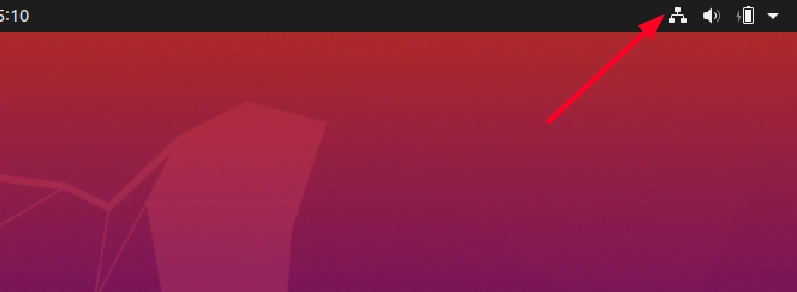
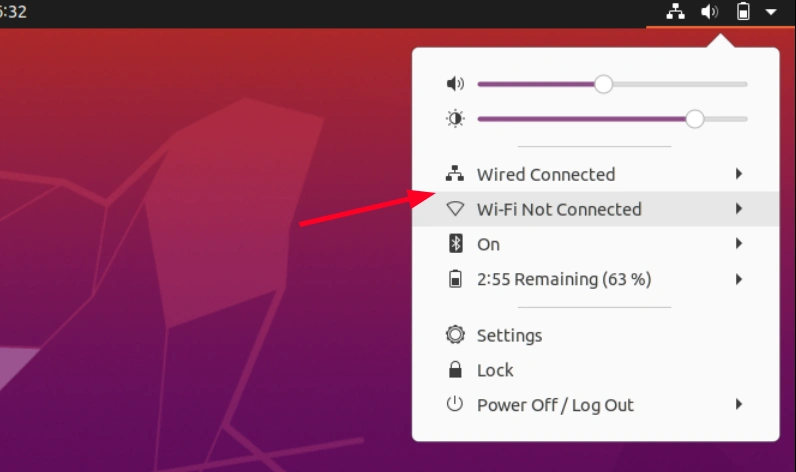
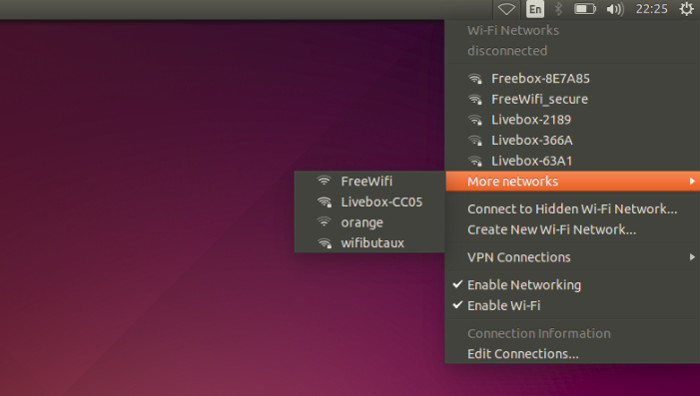
You’ll see that your Linux system gets connected to the internet immediately and the wired network symbol is displayed.
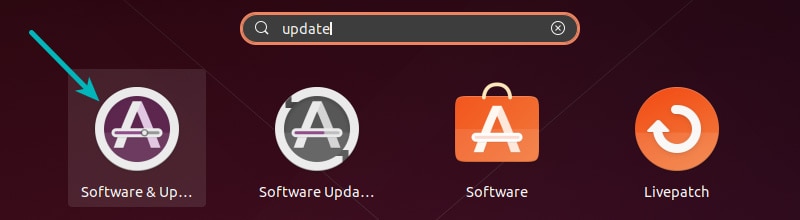
If it’s a freshly installed system, it would be a good idea to update Ubuntu first. You don’t need to install the packages, just the cache with this command:
sudo apt updateSuper! Now open the Software & Updates application:
Go to Additional Drivers tab and see if it suggests installing wifi drivers. If that’s the case, select the driver and click Apply Changes button.
Wait for a couple of minutes for it to be installed. Go to system settings and see if it shows the wireless connections now.
That’s the easiest way. But if you cannot connect to the internet any other way, you may try using the Ubuntu ISO for installing proprietary wifi drivers.
Method 2: Use the ISO image to install additional wifi drivers in Ubuntu
Before you follow the steps, please make sure that your system shows an additional wifi driver available for your system. If it does not show any additional drivers, this method will be of no use.
Step 1:
Check your installed Ubuntu version. Download the ISO image of the same Ubuntu version from Ubuntu website.
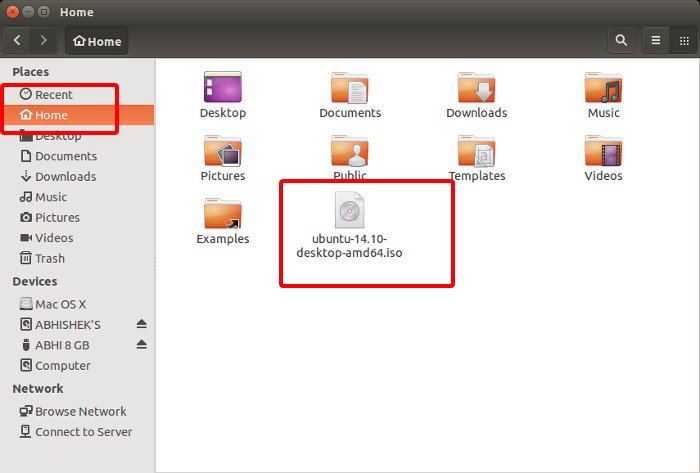
If you just had a fresh install, you probably have this ISO image in some other system or same system in another OS in dual boot. Copy it to an external device such as USB or DVD. Just copy the ISO, don’t burn it as bootable USB.
Now boot into Ubuntu and copy this Ubuntu ISO image to your home directory.
Step 2:
Open a terminal (Ctrl+Alt+T) and use the following commands one by one:
sudo mkdir /media/cdrom
cd ~
sudo mount -o loop ubuntu-* /media/cdrom
Basically, you just manually mounted the ISO image as if it was a CD.
Step 3:
Go to Software & Updates application. In the first tab Ubuntu Software, check the option of CD Rom with Ubuntu…
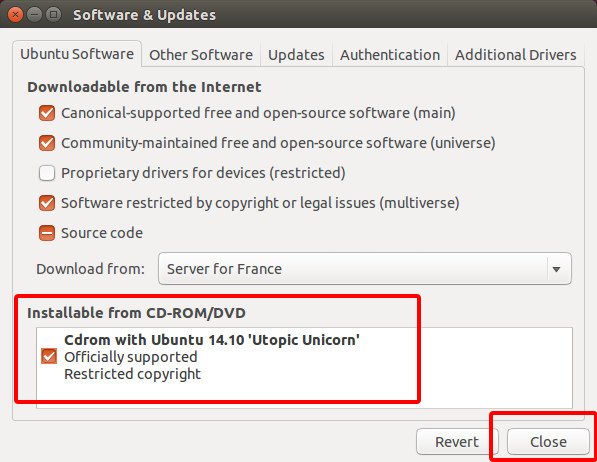
It will ask for your password and reload the software sources. Next is to go in the Additional Drivers tab and select the propriety driver and click on Apply Changes.
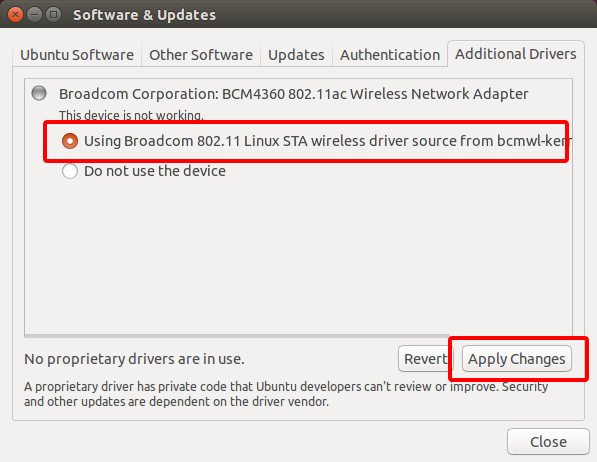
Once the drivers have been installed, you’ll see that Ubuntu now recognizes the wireless networks in range.
Important: You should uncheck the ‘install from CD ROM’ option in the Software & Updates after this step.
It may happen that Ubuntu doesn’t show additional drivers for your system or you may not be able to install the additional driver. It could also be the case that despite the additional drivers installed, the wifi still doesn’t work.
In that case, you may refer to the next method but keep in mind that it is exclusively for systems with Broadcom wireless adapters.
Method 3: Fix no WiFi in Ubuntu with broadcom wireless adapters
First, find out the network adapter in your system. You can refer to this article to find out the make of wireless network adapter in Linux. This method is exclusively for Broadcom 43 series of wireless adapters. So make sure that you have these adapters by using this command:
sudo lshw -C networkIf you see a wireless network adapter starting with BCM43, then only you should go ahead with this part of the tutorial.
*-network
description: Wireless interface
product: BCM4360 802.11ac Wireless Network Adapter
vendor: Broadcom Corporation
physical id: 0
bus info: pci@0000:03:00.0
logical name: wlan0
Step 1:
The first step is to remove any broadcom drivers already installed on your system. Open a terminal and use the following command:
sudo apt remove broadcom-sta-dkms bcmwl-kernel-sourceStep 2: If you are connected to internet via ethernet
If you are connected to internet via LAN/Ethernet cable, you can install different broadcom drivers using this command:
sudo apt install firmware-b43-installerOnce the install is finished doing its work, you’ll need to reboot. After you log back in, you’ll be able to see and access your wifi connections.
Step 2: If you don’t have any internet connections
If you don’t have ethernet, you may still be able to pull this off. But you’ll need another system (Linux, Windows or macOS) with active internet connection.
What you are going to do here is to download the driver manually and then transfer it to your problematic Linux system and install it there.
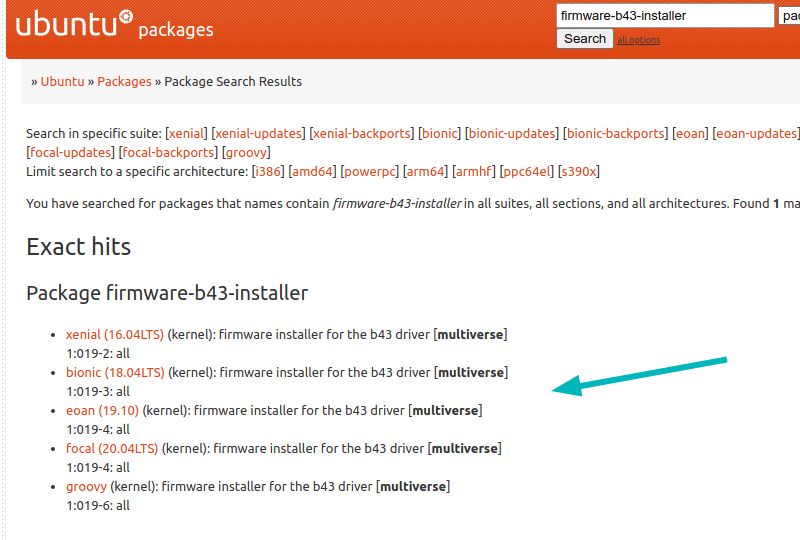
First check which Ubuntu version you are using: Now go to this link to download the WiFi driver for your Ubuntu version.
You should see a screen like this. Click on the link that corresponds to your Ubuntu version:
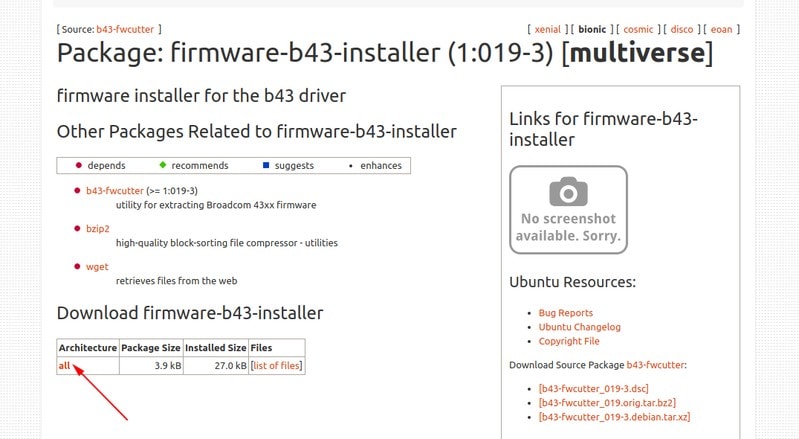
Now on the next page, click on the ‘all’ link:
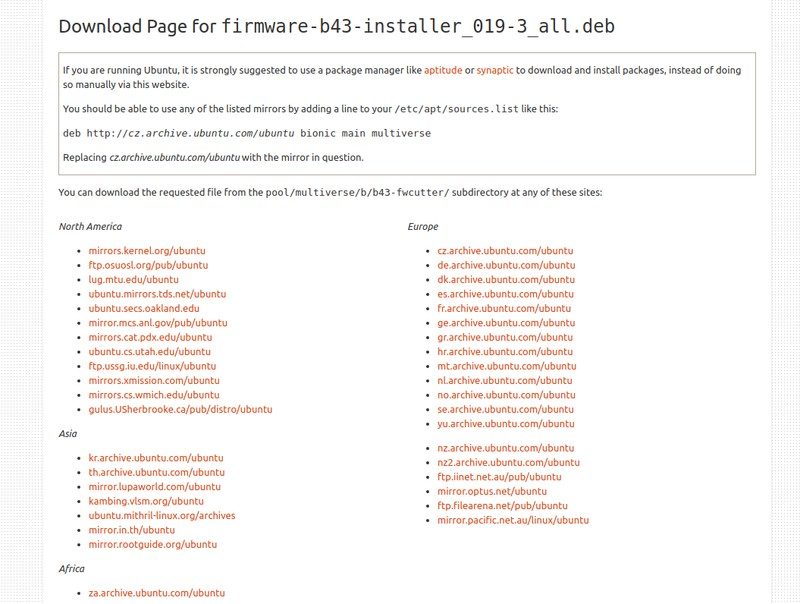
On the next screen, you’ll see a huge number of links. These are various server mirrors and you can click on any of them to download the DEB file of broadcom driver for Ubuntu and Linux Mint.
Once you have downloaded the DEB file for the broadcom driver, transfer it to your Ubuntu system that doesn’t have the WiFi. You can use a USB drive to transfer the file.
Once you have copied this DEB file to Linux system with no WiFi, install the drivers from DEB file by double clicking on it.
Alternatively, you can use the dpkg command to install the package from deb file.
cd ~/Downloads
sudo dpkg -i b43-fwcutter*
sudo dpkg -i firmware-b43-installer_*
Follow the rest of the instructions to install the drivers. Once installed, reboot your system. You should have the WiFi now.
Did it work for you?

Troubleshooting wifi issue could be tricky in Linux. I have encountered an issue where Ubuntu could see the wireless networks but couldn’t connect to it.
I hope this post helped you to fix no wireless network issue in Ubuntu. If you have questions or suggestions, feel free to drop a comment.
If this helped you, consider supporting It's FOSS
It's FOSS has been helping people use Linux for the past 14 years. Help us stay independent from big tech. Become a Plus member, enjoy ad-free reading and get 5 eBooks.
