If you are a Linux user with 24 hour internet connection, installing applications, updating the system is easier for you. But, what if you have limited data connectivity or what of your computer cannot be connected to internet. Yes, that too happens!
In a large part of the world, people download the software and applications on a public computer such as Internet Café or at work and then transfer/install the downloaded program via an external disk. This works very well with Windows programs. But how do you install offline applications in Linux?
One way to do is by downloading the corresponding .deb file (if you running on Debian based distro) or the source code. But thanks to Jake Camicri’s Cube, we have better way to manage application offline in Linux.
Cube: Install apps and updates offline in Linux
Working of Cube can be explain in three steps:
- From your own computer (which is without internet), Cube will get essential information such as what operating system you have, what are the applications already installed in your system etc. You put the Cube project files on a USB.
- Then you use a computer with internet connection (Linux or Windows) and run Cube on it and choose the applications you want to be downloaded. It connects to a repository, a server with thousands of Linux applications. Copy the Cube project files back to the USB.
- After you download applications, you can now go back to your original computer with the Cube application, open it, copy the Cube project files from USB to your computer and install all downloaded applications.
Step 1: Download Cube
First, download Cube on a machine with Internet connection. You can download it from its GitHub page.
After downloading, extract that .zip file. You will find three files.
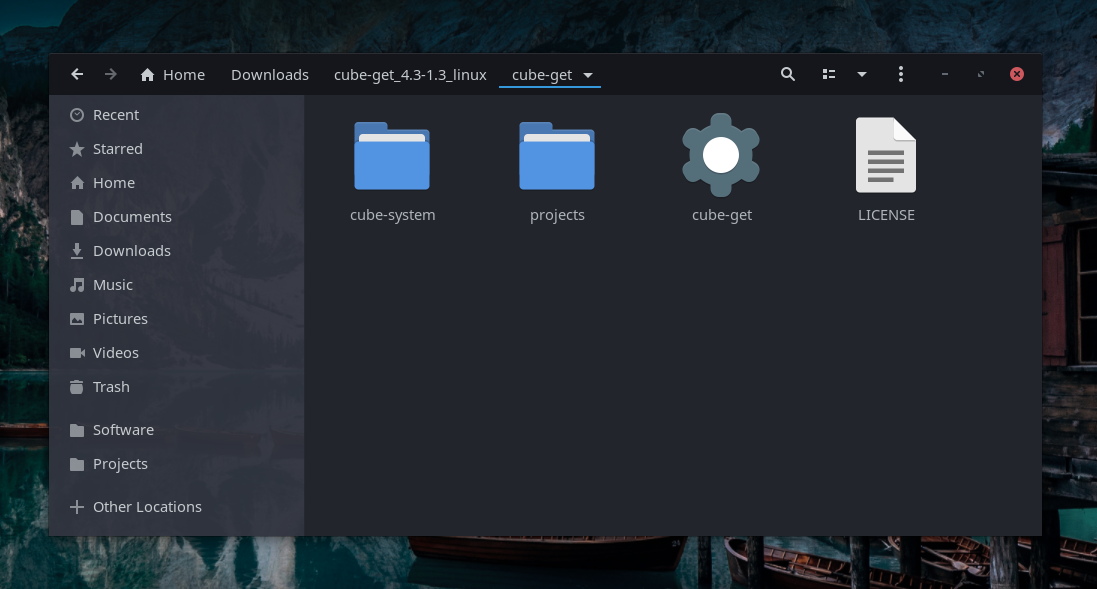
Copy the whole “cube-get” folder (with those two directories and one executable) to the machine which has no Internet connection or the one in which you want to install offline packages.
You can move this folder into offline machine by any mean. You can use USB, SSH, FTP anything you want. But make sure to get complete folder.
Step 2: In offline machine
Now that you’ve copied that folder into offline machine, run that executable file inside the folder with name “cube-get”.
If you don’t know how to run executable. Go where you have that executable file (using file manager), right click and select “Open terminal”. And in terminal enter commands shown below to run.
Make sure in your case, name of executable is “cube-get” and if not, change it accordingly.
chmod +x cube-get
./cube-get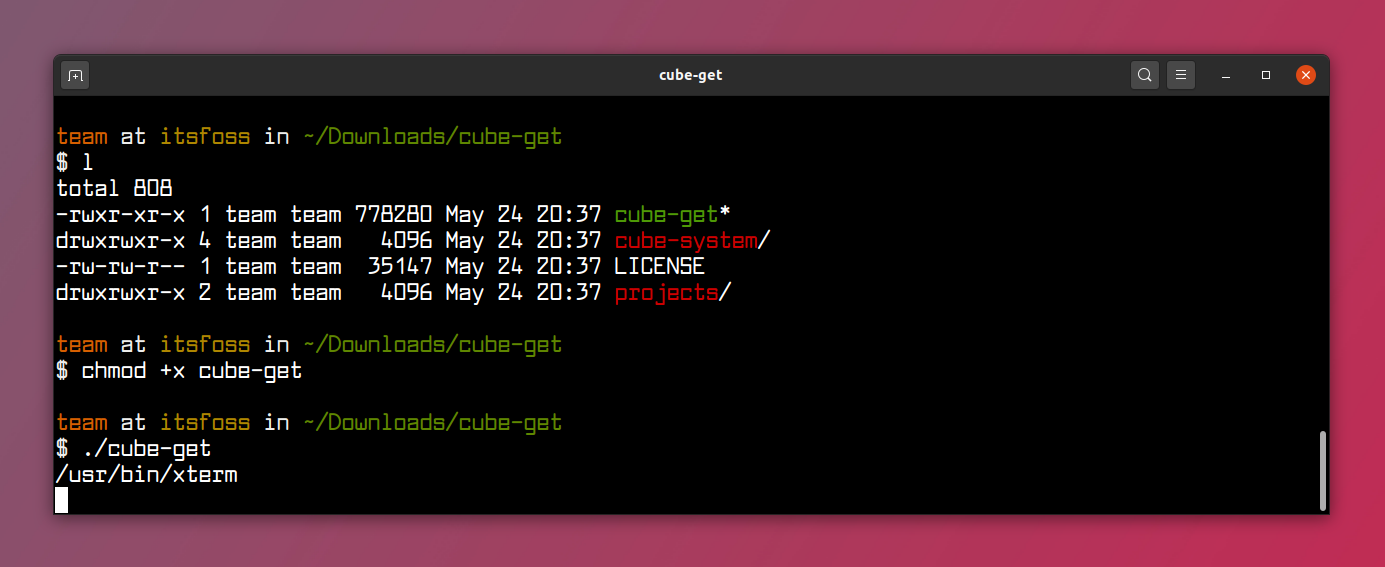
Running executable will open browser and there you have to create project. Project is nothing but the information about your system. This will be used by “Cube” to download software for you offline machine from any machine with Internet connection.
Enter your project name, and click “Create”.
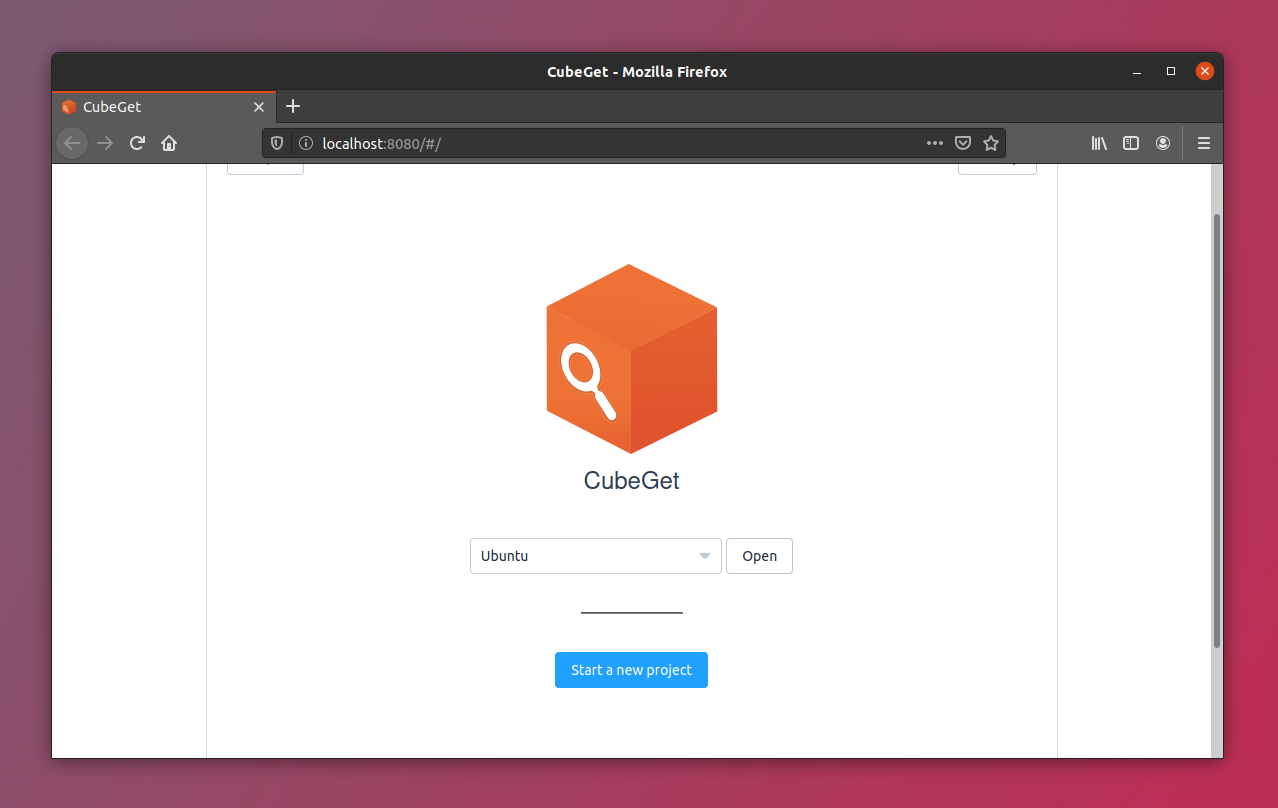
You can see your projects in dropdown menu. And click “Open”.
After clicking open it will read all our repositories, software available for our machine, software which can be updated.
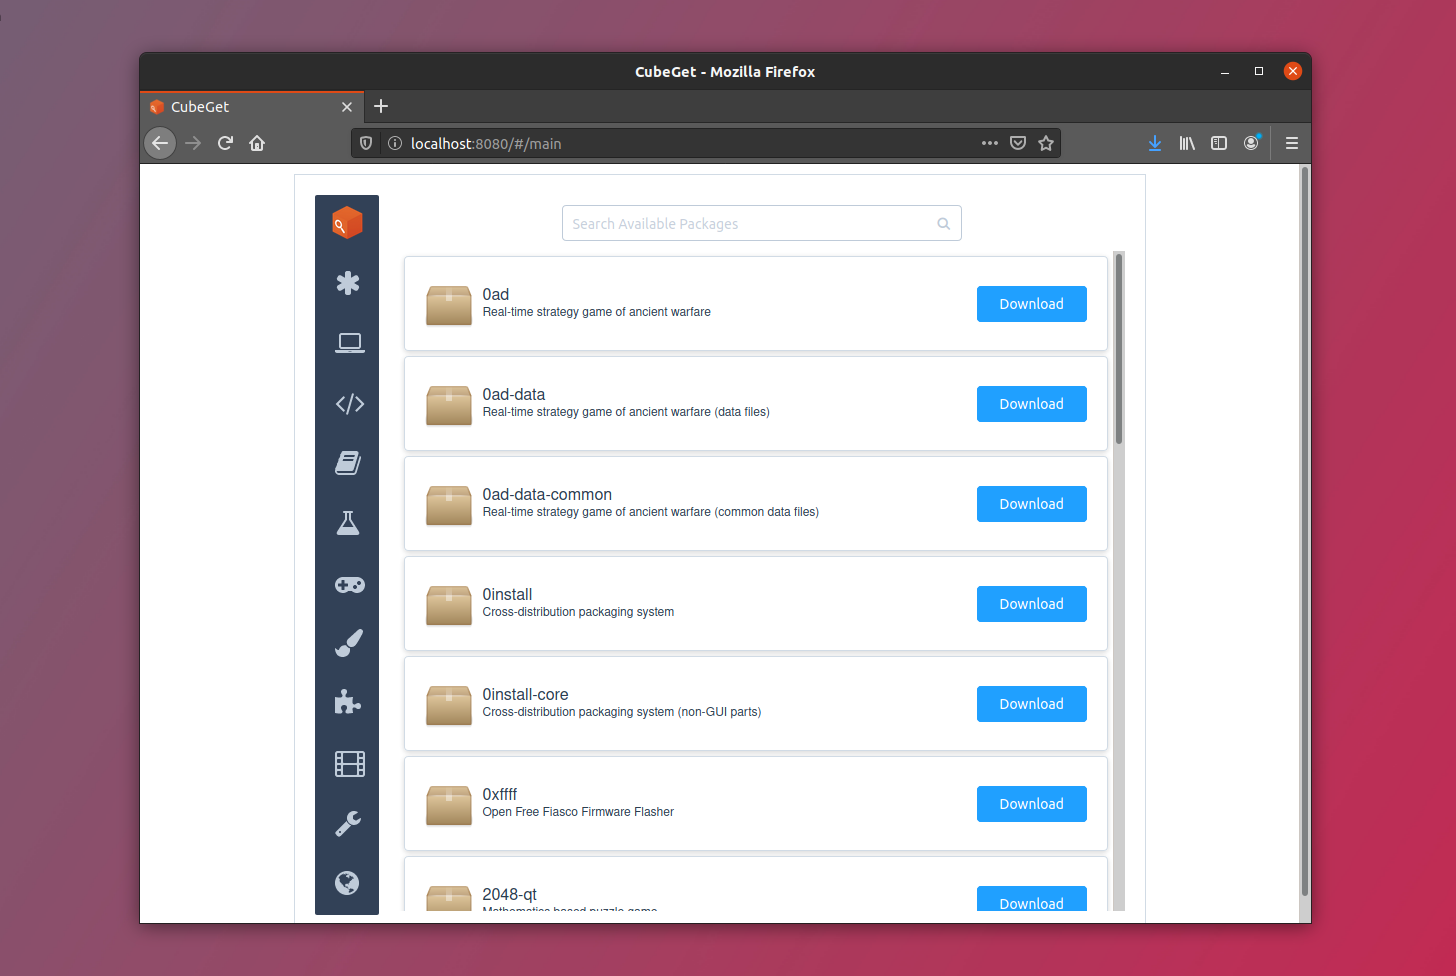
Since this is offline machine, you can’t download anything. Even if click on download button, it will fail. This interface is similar to any general Linux Software Center.
Quit the cube.
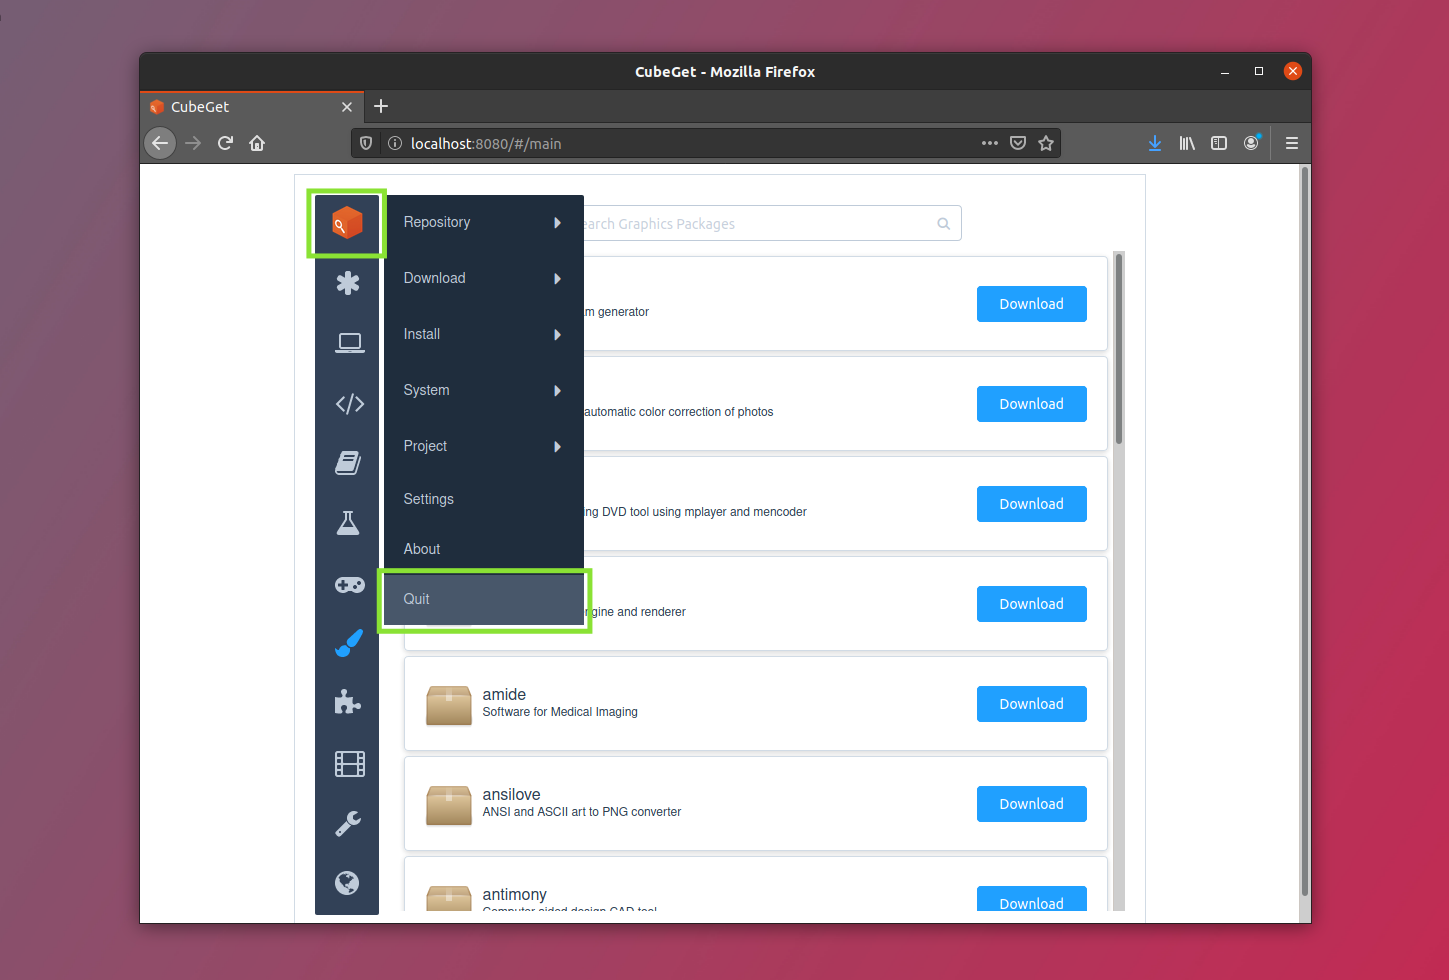
Now move the complete folder to the machine with Internet connection. You can do this via USB or any other mean.
But keep in mind, until now we’ve been moving the folder in between the two machines. Hence, we are working on only one folder ever since.
Step 3: In online machine
As we’ve moves the folder in machine with active Internet connection, launch the same cube’get executable in this machine. You will see the project you’ve created.
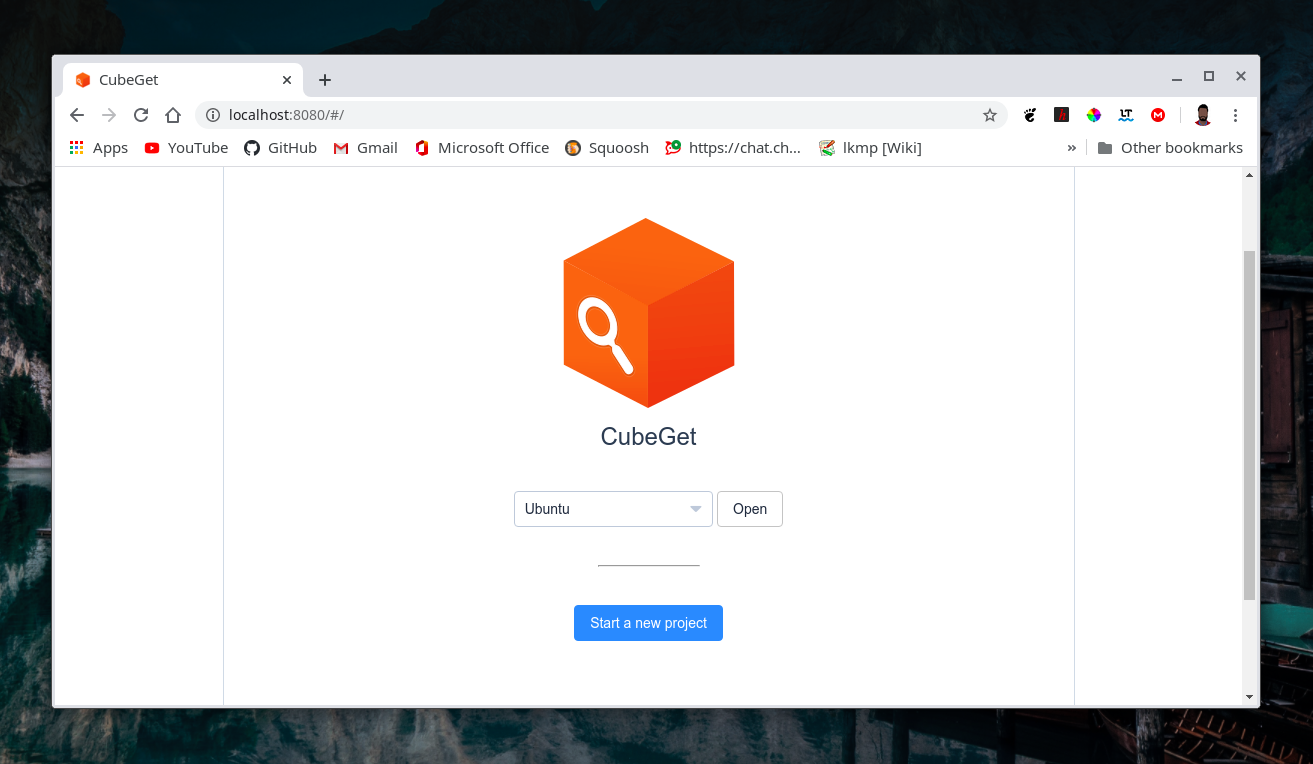
Click “open”. Here you will see the packages associated with your machine with offline connection. Because we’ve created project in that machine.
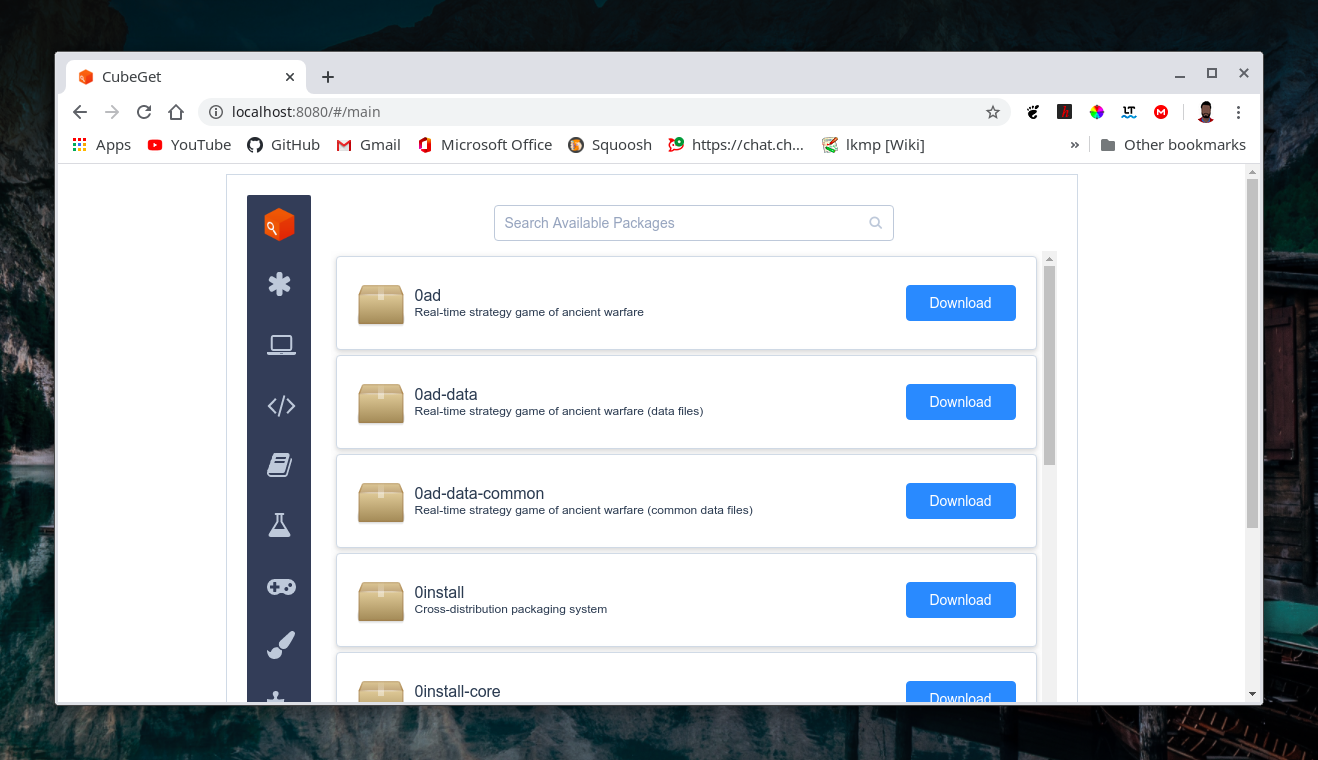
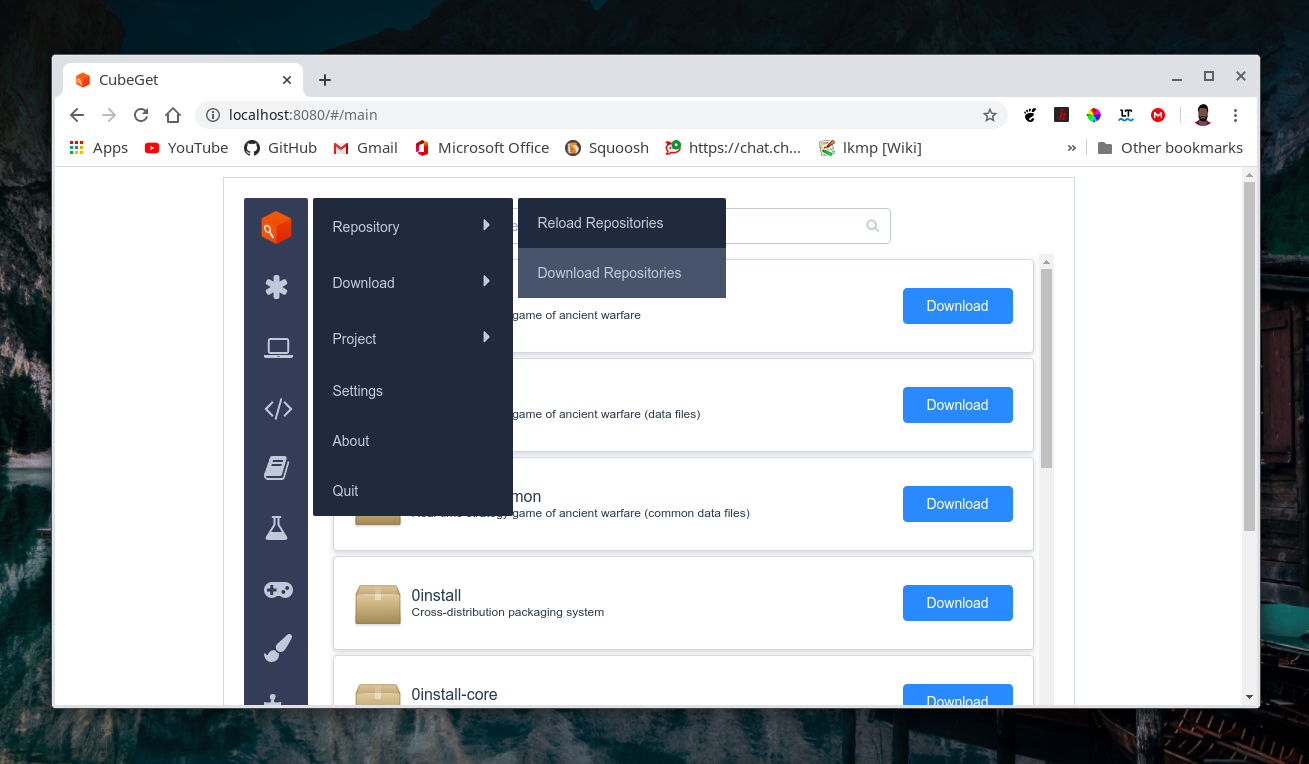
Download the repositories
Now you have to download the repositories. You can think of it as “apt update” in Ubuntu.
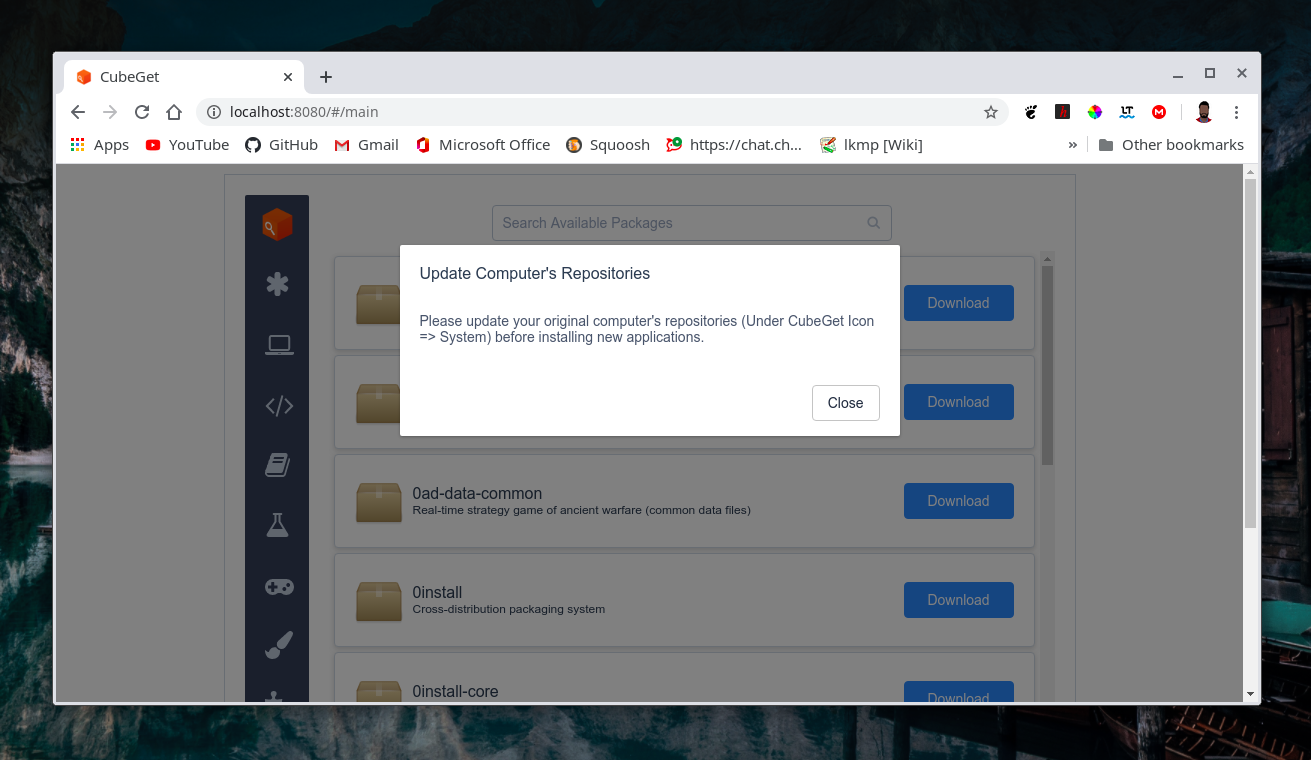
After finishing downloading, click “Close”.
Downloading packages
Before downloading, you have to update packages if there are any updates available.
You can see updatable packages in Asterisk–>Upgradable.
Now we can download new packages.
Go to Asterisk–>Available. Here you can find all available packages. Mark packages you want to download.
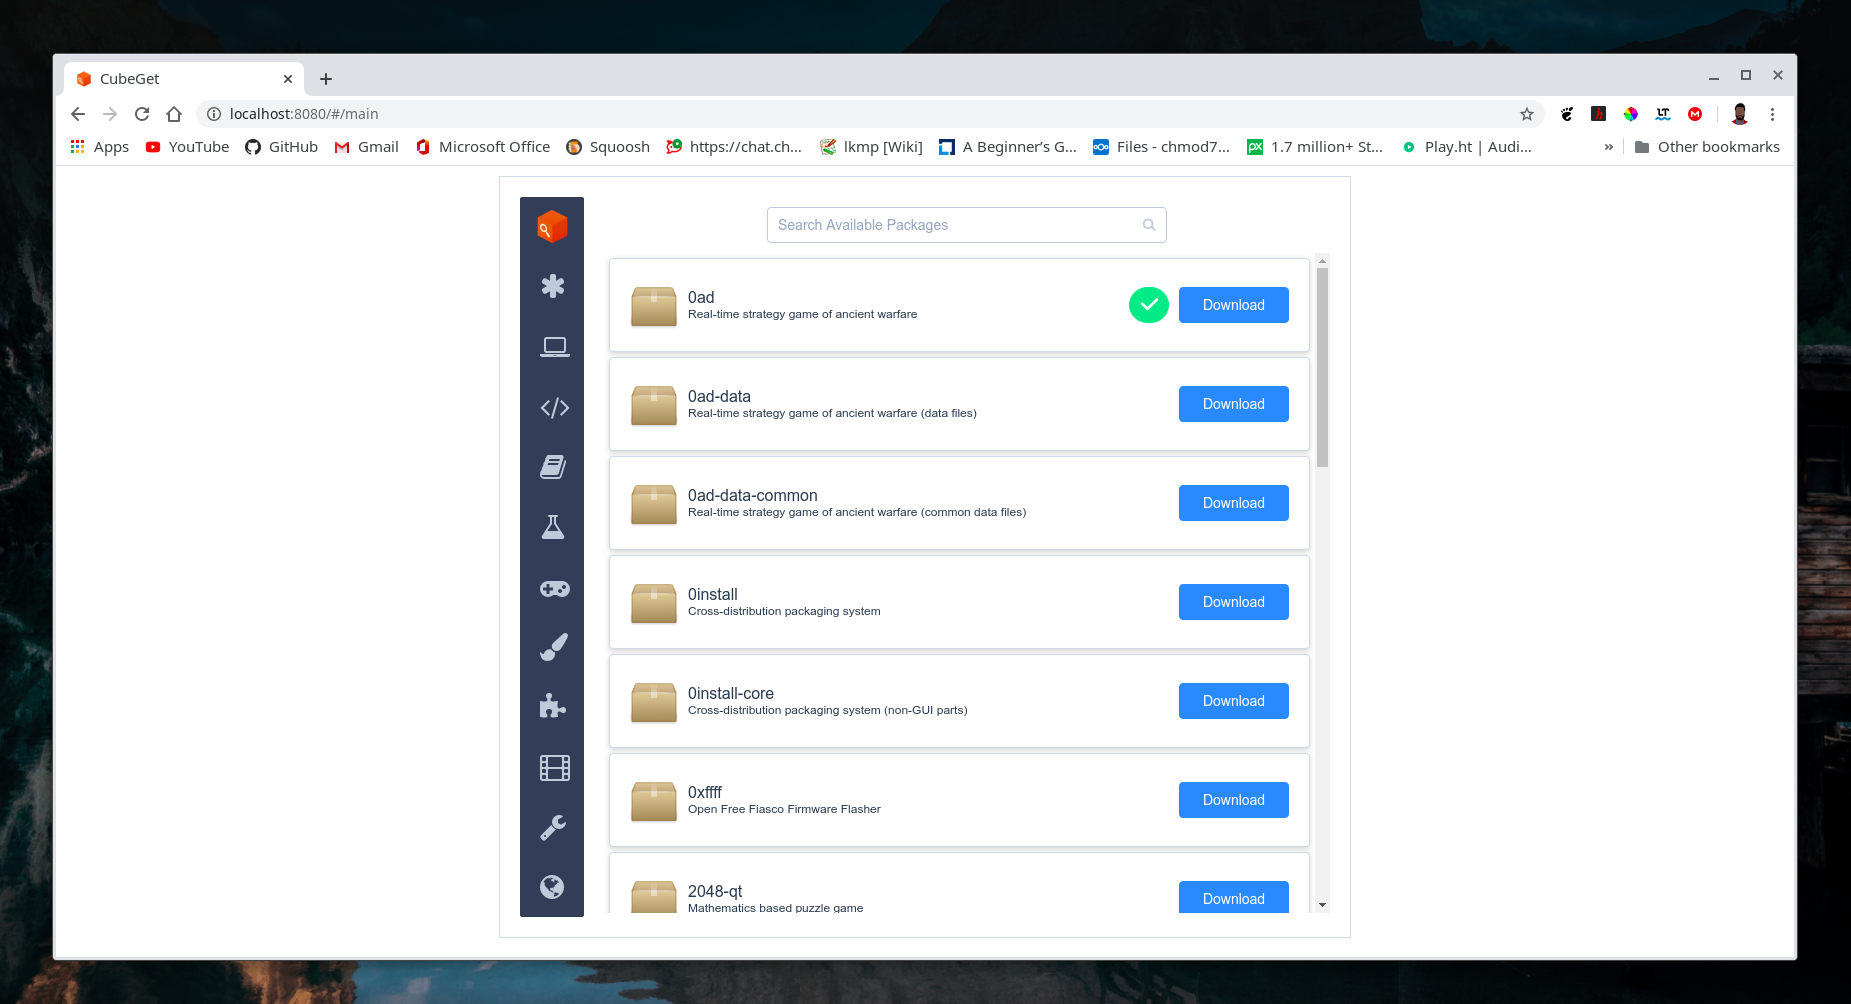
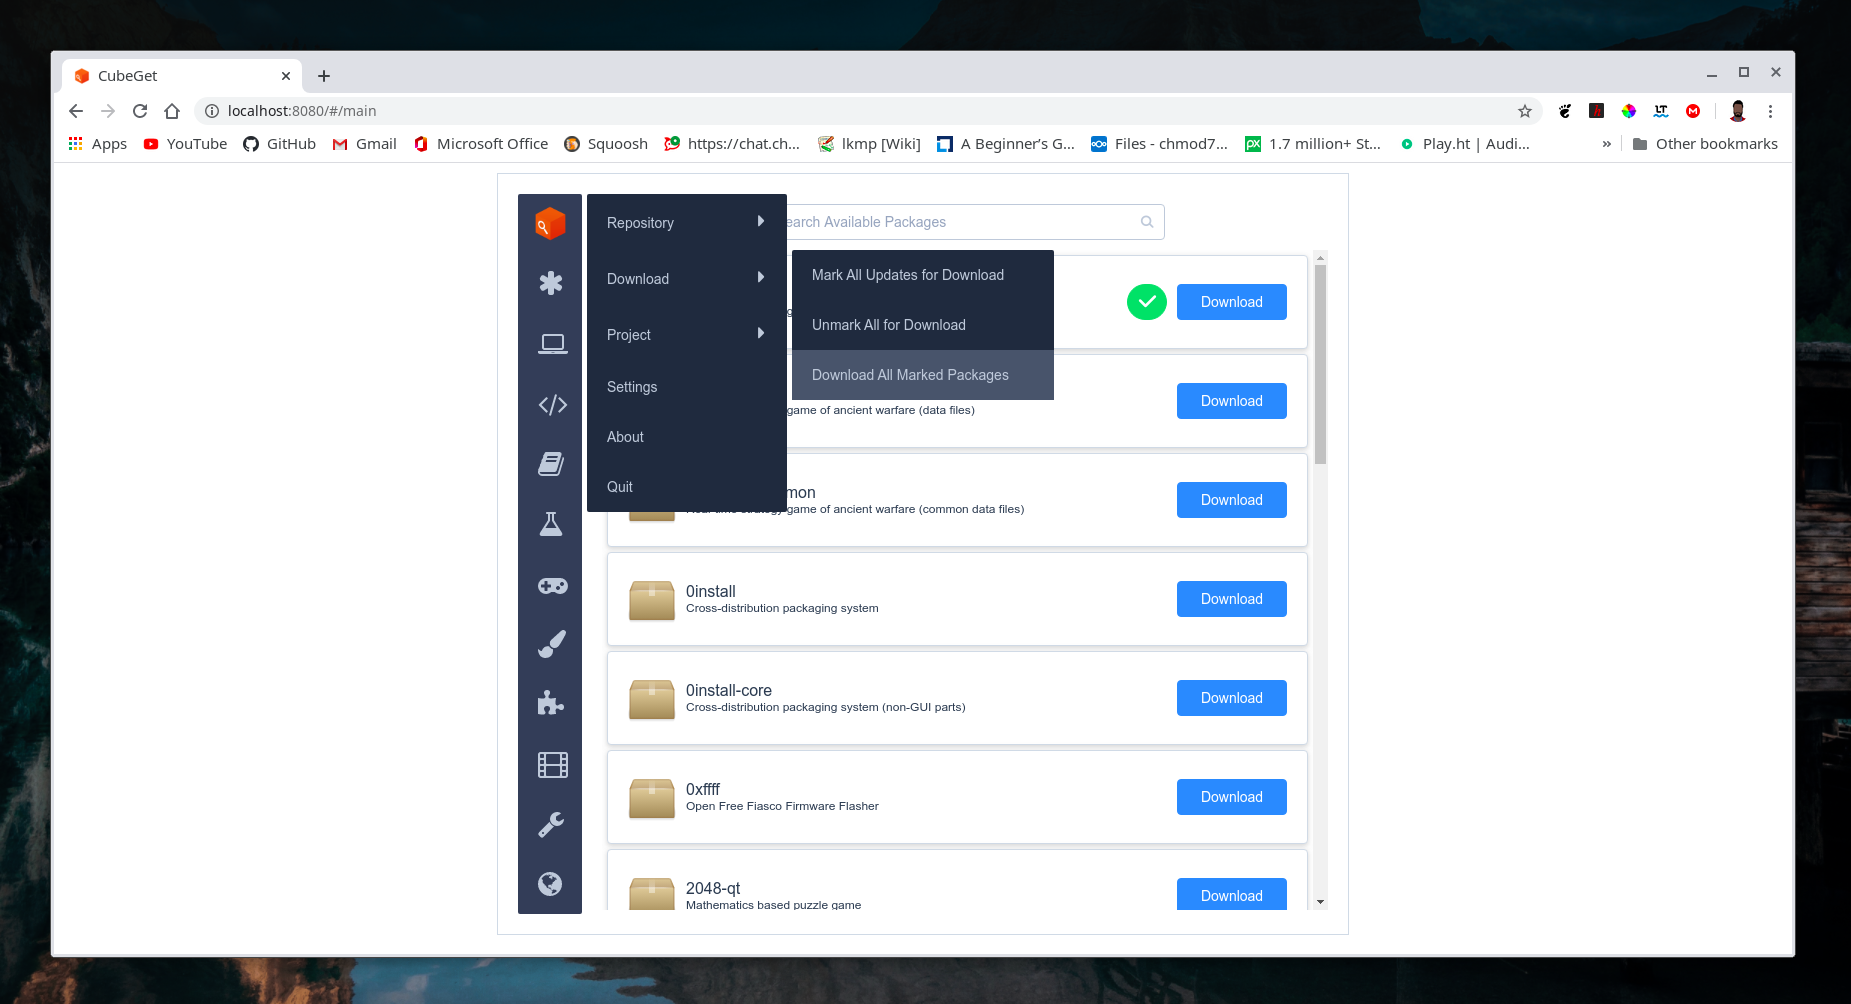
Now that you’ve marked all the packages you want. To download then go to Cube–>Download–>Download marked packages.
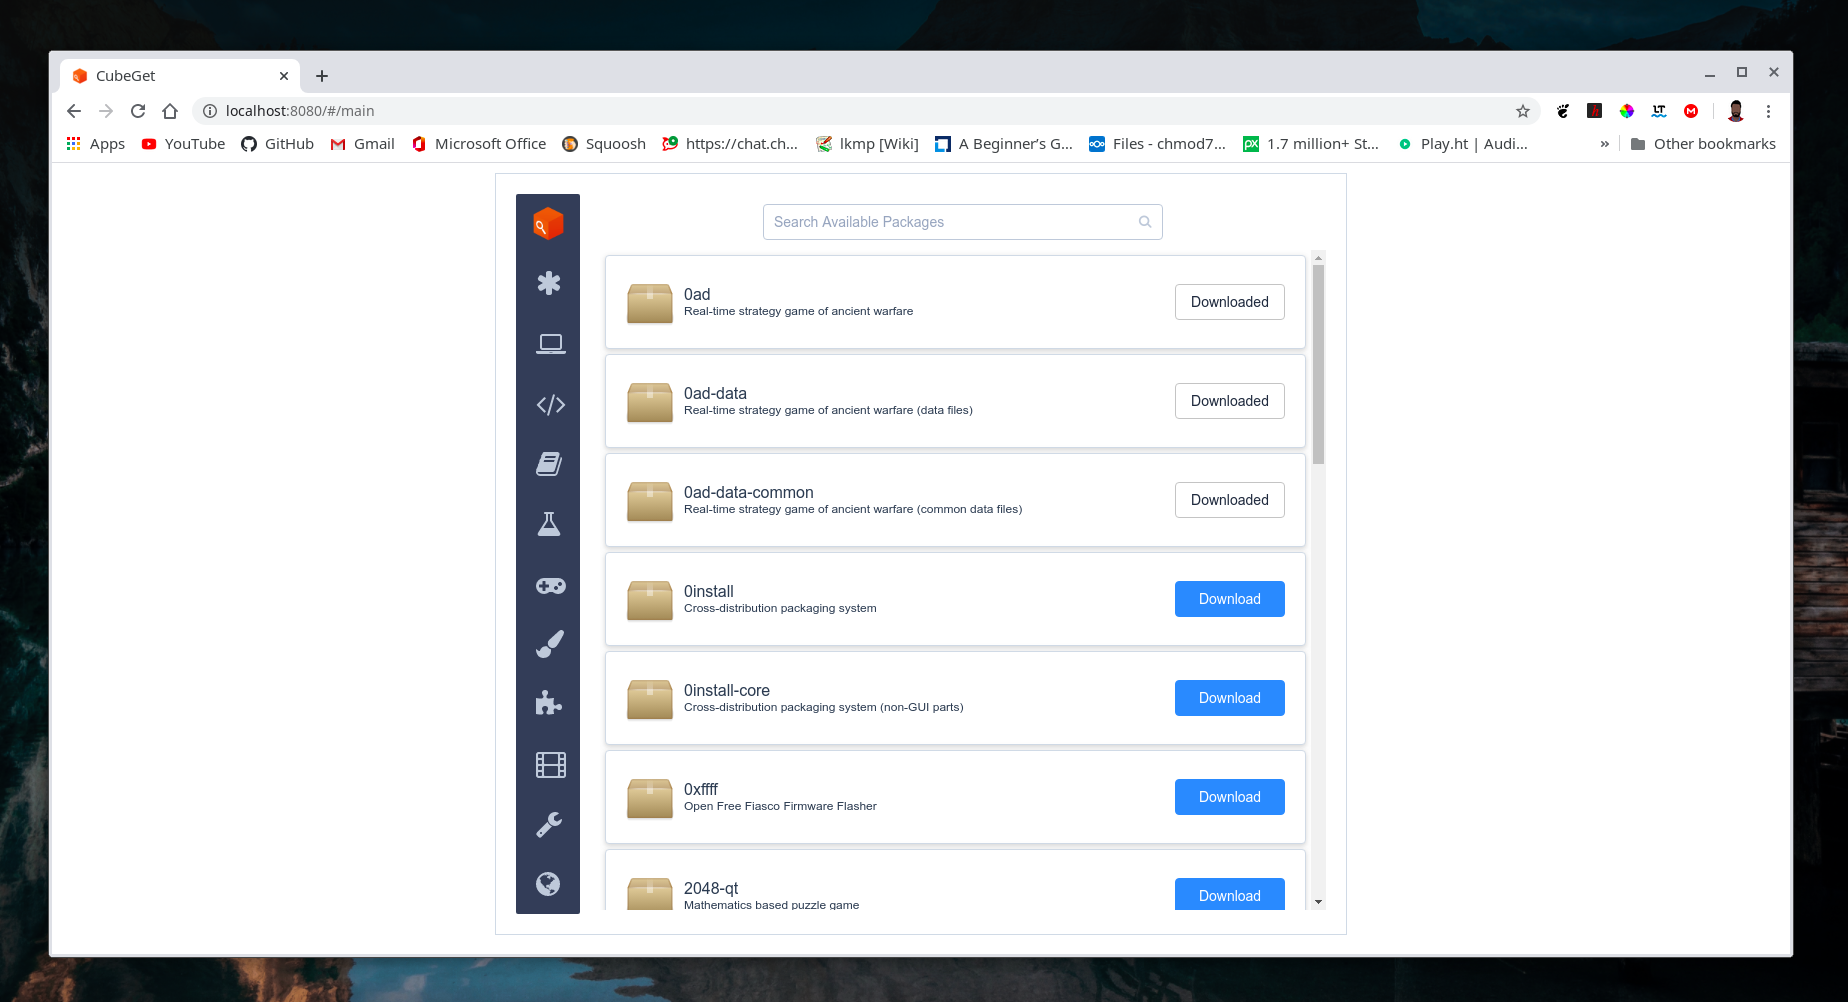
After downloading you can see downloaded packages.
Now we have to get these packages back in offline machine. Move that folder into offline machine.
Step 4: Now in offline machine
Launch “cube-get” from the folder we moved. Select your project.
After opening the project, you can see that “install” button is shown for the packages we’ve downloaded from machine with Internet, instead of “download” button like others.
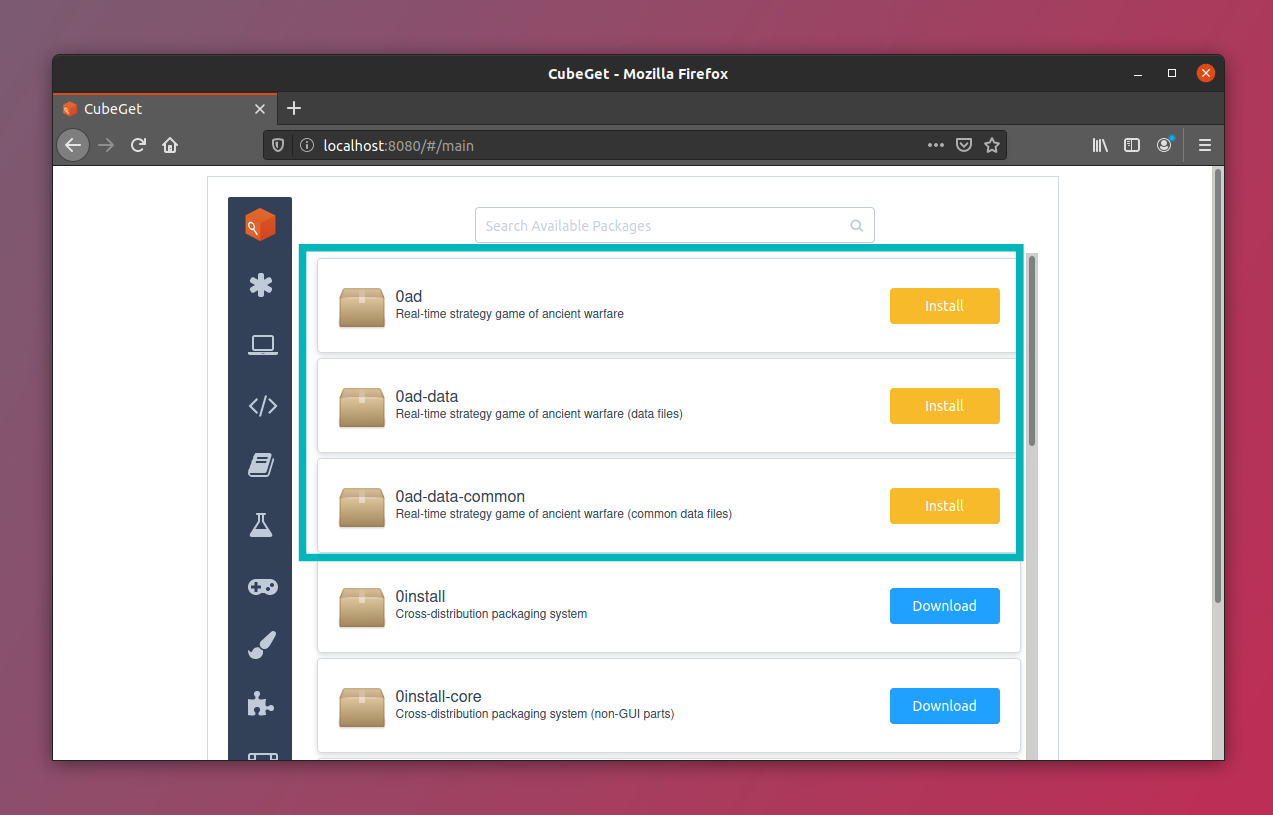
Install packages
To get those packages installed, mark them and go to Cube–>Install–>Install All Marked Packages.
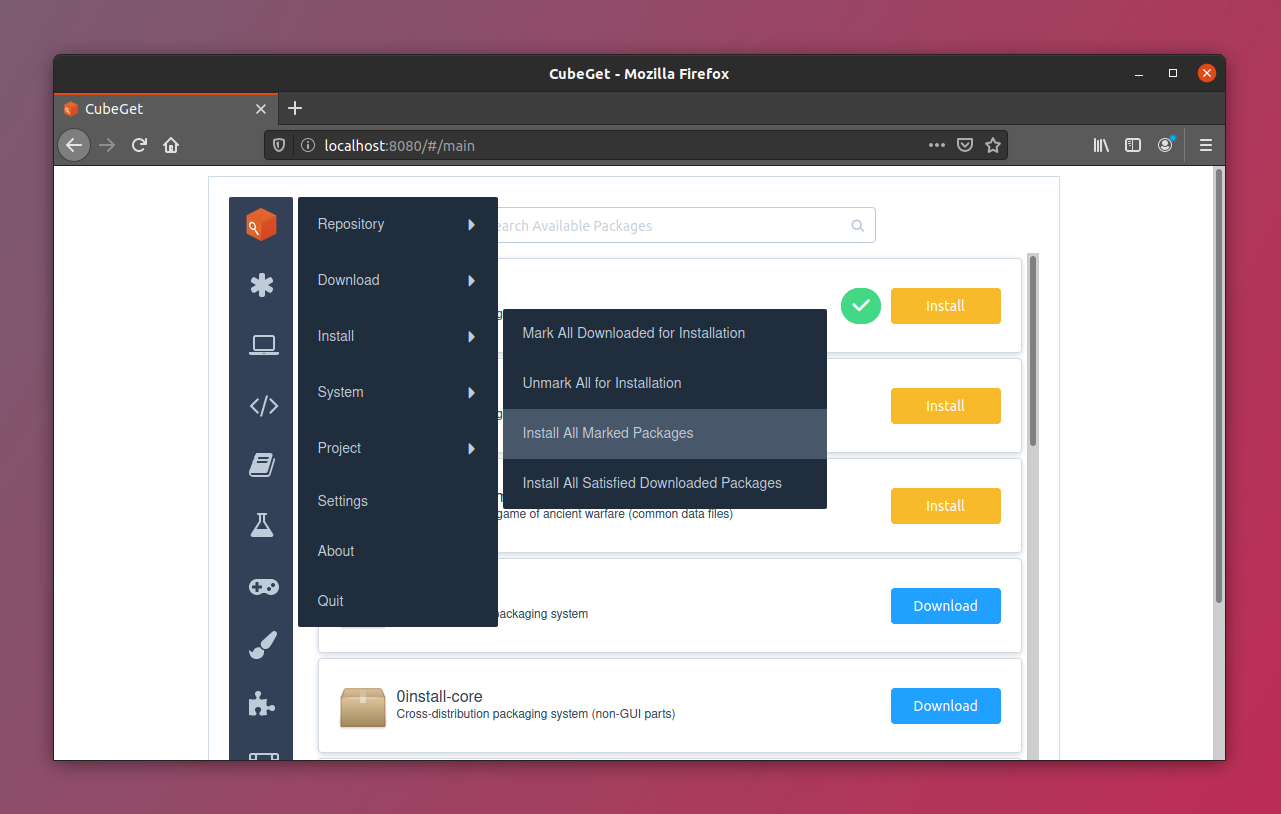
If you got prompt asking for password, you have to enter password for installation.
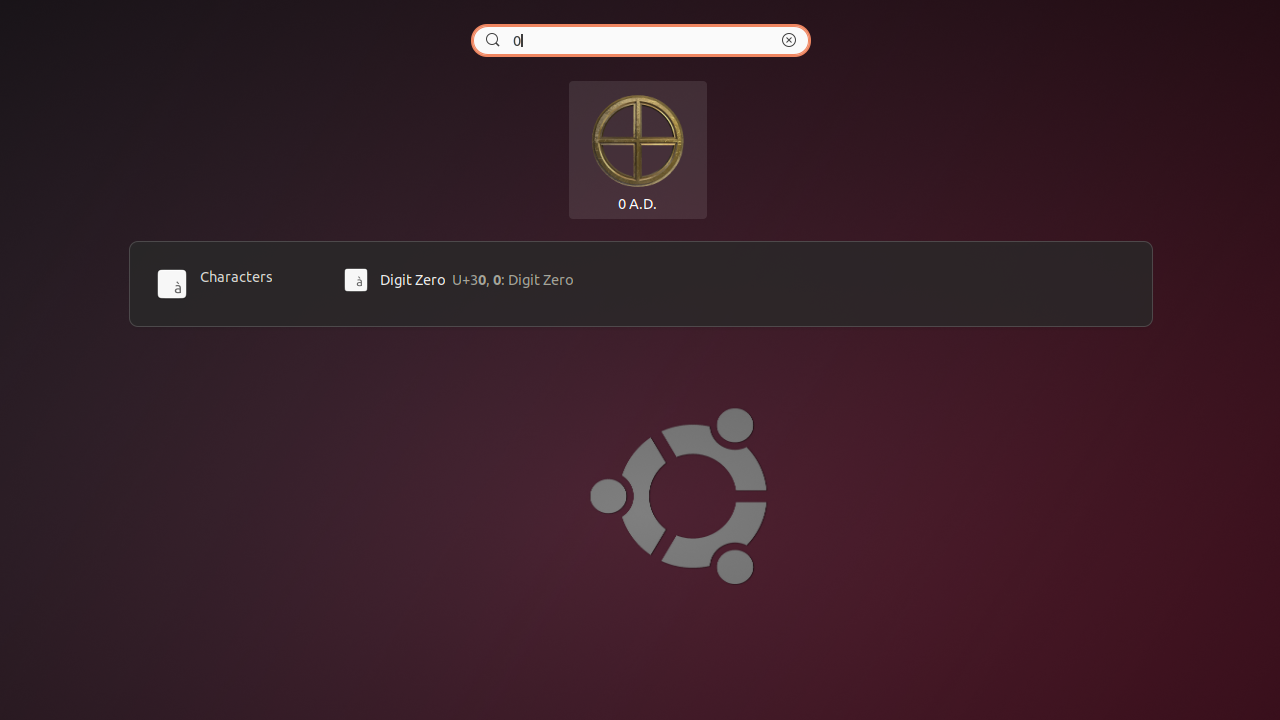
That was all. Now we have that package installed in our offline system.
Sounds like downloading from one computer and transfer files to your computer via USB, no? But there is one advantage here. The interface of Cube is similar to that of Synaptic and Ubuntu Software Manager. It lets you install not just apps but packages and libraries, in similar fashion as Ubuntu Software Manager.
Want to learn more about how it works? You can refer to this tutorial which is very detailed and easy to follow. Cube is an innovative application aimed to ease the experience of Linux users with limited or no internet connectivity. I hope it helps in increasing the desktop Linux user base. What you think of it?

