
Brief: This tutorial teaches you how to handle the unattended upgrade i.e. the automatic system updates in Ubuntu Linux.
Sometimes, when you try to shutdown your Ubuntu system, you may come across this screen that stops you from shutting down:
Unattended-upgrade in progress during shutdown, please don’t turn off the computer.

You might wonder what is this “unattended upgrade” and how come it is running without your knowledge.
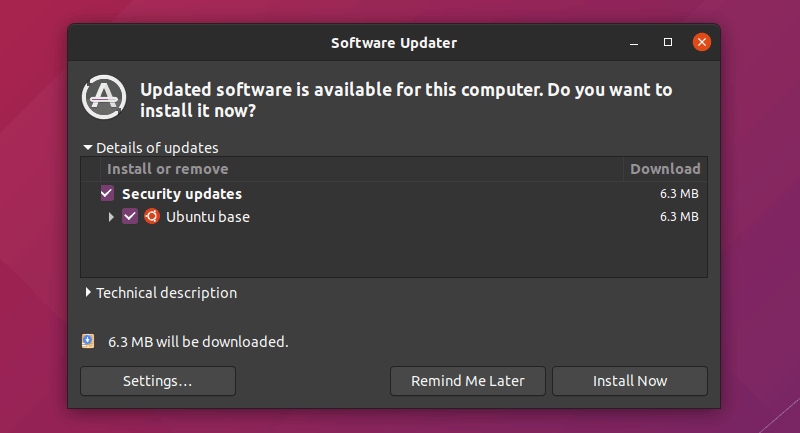
The reason is that Ubuntu takes your system’s security very seriously. By default, it automatically checks for system updates daily and if it finds any security updates, it downloads those updates and install them on its own. For normal system and application updates, it notifies you via the Software Updater tool.
Since all this happens in the background, you don’t even realize it until you try to shutdown your system or try to install applications on your own.
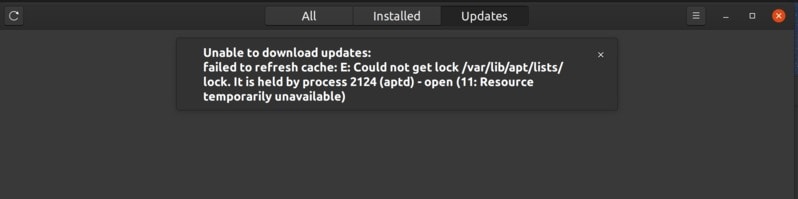
Trying to install a new software when these unattended upgrades are in progress leads to the famous could not get lock error.
As you can see, the automatic updates present a couple of minor annoyance. You may choose to disable the auto updates but that would mean that you’ll have to check and update your Ubuntu system manually all the time.
Do you really need to disable auto updates?
Please note that this is a security feature. Linux allows you to do practically everything in your system even disabling these security features.
But in my opinion, as a regular user, you should not disable the automatic updates. It keeps your system safe after all.
For the sake of your system’s security, you may tolerate the minor annoyances that come with the automatic updates.
Now that you have been warned and you think it is better to take up the additional task of manually updating your system, let’s see how to handle the auto updates.
As always, there are two ways to do it: GUI and command line. I’ll show you both methods.
I have used Ubuntu 20.04 here but the steps are valid for Ubuntu 18.04 and any other Ubuntu version.
Method 1: Disable automatic updates in Ubuntu graphically
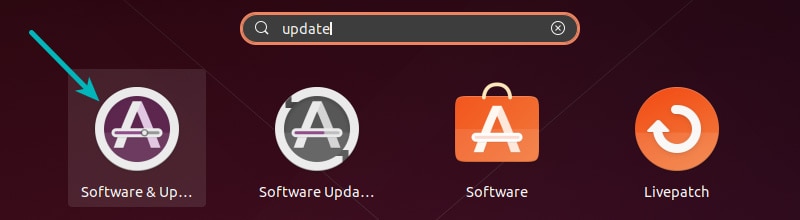
Go to the menu and look for ‘software & updates’ tool.
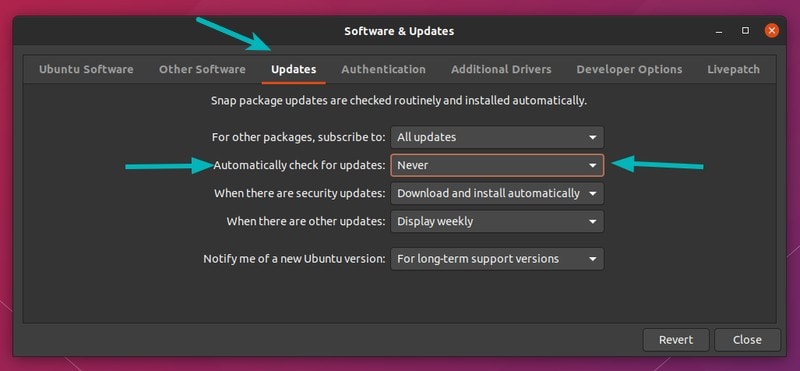
In here, go to Updates tab. Now look for the “Automatically check for updates”. By default it is set to Daily.
You can change it to Never and your system will never check for updates on its own again. And if it won’t check for updates, it won’t find new updates to install.
If you do this, you must manually update your system from time to time. But that’s an additional chore to do and you may not remember it all the time.
Slightly better way to handle auto updates in Ubuntu
Personally, I would suggest to let it check for updates on its own. If you don’t want it installing the updates automatically, you can change that behavior to get notified about the availability of security updates.
Keep “Automatically check for updates” to Daily and change “When there are security updates” option to “Display immediately” instead of “Download and install automatically”.
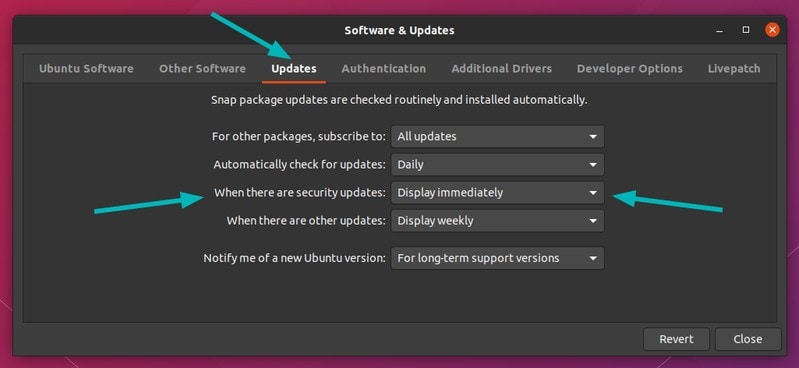
This way, it checks for updates and if there are updates, instead of installing them automatically in the background, the Software Updater tool notifies you that updates are available for your system. Your system already does that for normal system and software updates.
With this setup, you won’t see the “unattended upgrades in progress” when you shutdown your system However, you may still encounter the ‘could not get lock’ error because two separate processes cannot use apt package manager at the same time.
I believe this is a better solution, don’t you you think?
As I promised both GUI and command line methods, let me show you how to disable unattended upgrades in the terminal.
How to disable automatic updates in Ubuntu using command line
You’ll find the auto-upgrades settings in the /etc/apt/apt.conf.d/20auto-upgrades file. The default text editor in Ubuntu terminal is Nano so you can use this command to edit this configuration file:
sudo nano /etc/apt/apt.conf.d/20auto-upgradesNow, if you don’t want your system to check for updates automatically, you can change the value of APT::Periodic::Update-Package-Lists to 0.
APT::Periodic::Update-Package-Lists "0";
APT::Periodic::Unattended-Upgrade "0";
If you want it to check for updates but don’t install the unattended-upgrades automatically, you can choose to set it like this:
APT::Periodic::Update-Package-Lists "1";
APT::Periodic::Unattended-Upgrade "0";
In the end…
The automatic security updates are enabled automatically for a reason and I recommend you keep it like this. A couple of minor annoyances are not really worth risking the security of your system. What do you think?
