

Audacity is a free and open source cross-platform audio editor. Professionals use it for the tone of features it provides in such a small package.
You don’t have to be a professional and use all of its features. You can use it to record audio from your microphone and do some basics like background noise removal.
I will show you how to do that in this tutorial.
Installing Audacity on Linux
Installing Audacity on Linux is quite a straightforward process. Because of its popularity, it is available in the official repositories of most Linux distributions.
You can search for it in your distribution’s software center or package manager.
As a terminal fan, let me share the commands for the common distros.
For Debian or Ubuntu-based distributions:
sudo apt install audacityFor RHEL or Fedora-based distributions:
sudo dnf install audacity If you use an Arch-based distribution:
sudo pacman -Syu audacityNote that installing via the official repositories may not give you the latest version. To get the latest version, you may use the AppImage, or Flatpak/Snap packages.
Recording audio using Audacity
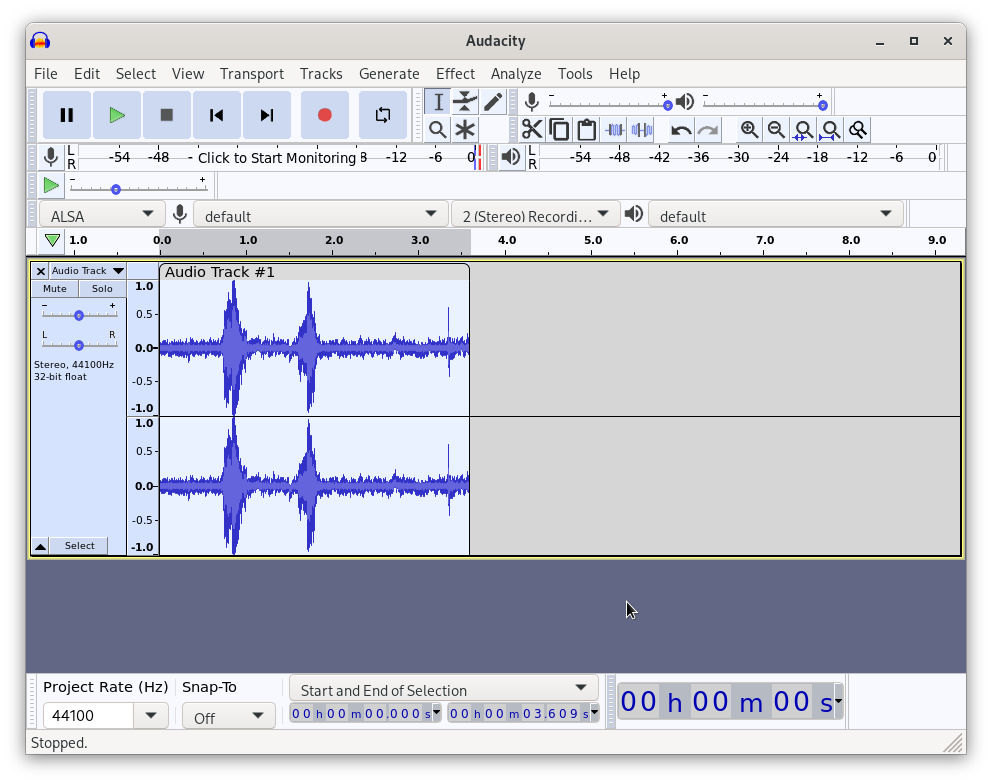
Once Audacity is installed, open it from the application menu or launch it from the terminal. You will be greeted with something like this:
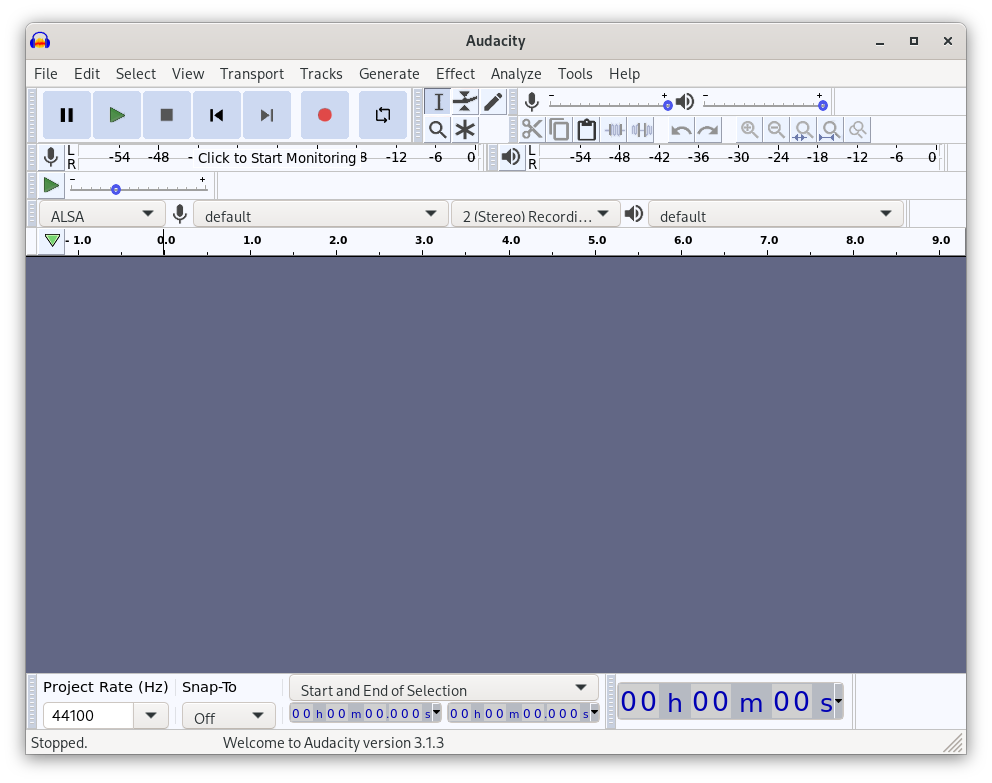
Audacity Interface
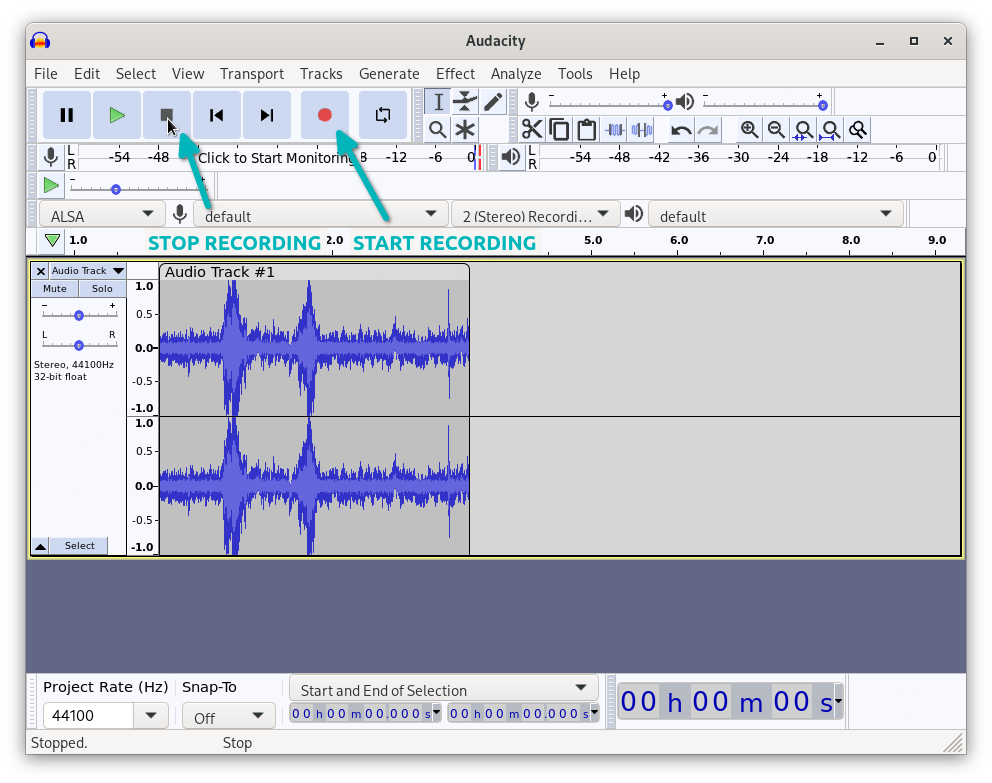
It is easy to start recording by clicking on the record button (the red dot). When you are done, click on the stop button (square icon) to finish. You also get a waveform preview of your recording, as shown below:
Then, you can check what was recorded by clicking the play button (the green icon).
In case you do not see any waveform it indicates that nothing has been recorded. Probably, you have not set up your input correctly. Ensure that you have selected the correct microphone and it is not muted in the system settings. You can also access this from the Audacity interface.
The recordings are not saved automatically as MP3 or other formats. To save the recording, you can go to File → Export and select Export as MP3 (or any other preferred format).
Reducing background noise with Audacity
There is another fantastic feature available in Audacity which you can use to reduce white noise in recorded audio.
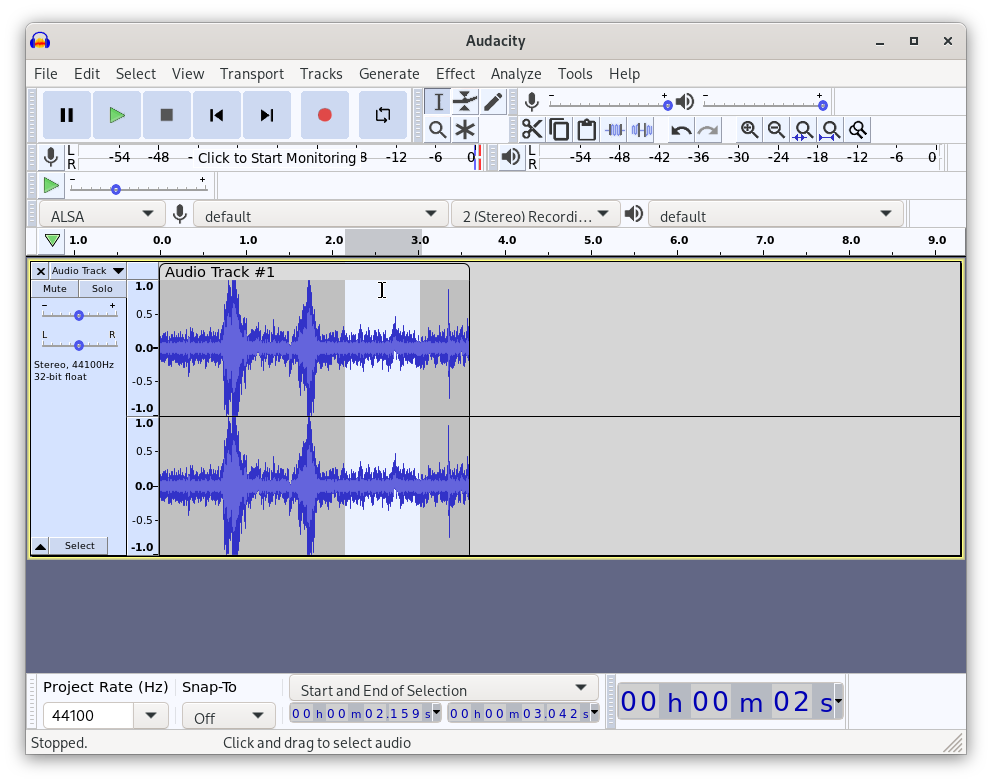
The best practice would be to not say anything for the first five seconds when you start recording with Audacity. This should give you desired background noise.
On the waveform of your audio recording, select the part you think is the background noise.
With the noise part selected, go to Effects → Noise Reduction from the top file menu.
It will open a pop-up window like this. Click on the “Get Noise Profile” here.
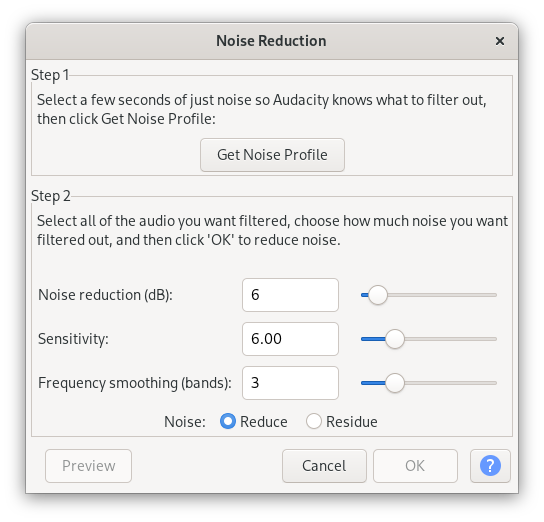
Noise Reduction Effect Popup Window
Now, you have got the noise profile set. Now you have to use it to reduce it from the recording.
Press Ctrl + A shortcut key to select the entire recording. You may also select part of it, noise will be reduced from the selected portion only.
With the audio track selected, again go to Effect → Noise Reduction.
Don’t click on ‘Get Noise Profile’ this time. This time, you should be able to press the OK button.
Just press the OK button and this will apply the noise reduction effect to your recording, which gets reflected on the waveform as shown below:
Audio Waveform after Noise Reduction
Now the recorded audio will have less noise as compared. You can fine-tune the noise filtering while selecting the Noise Reduction effect.
To summarize:
- Select the noise part, go to Effect->Noise Reduction and then click “Get Noise Profile”
- Press Ctrl+A to select entire audio recording, go to Effect->Noise Reduction and press OK this time
Note that you cannot remove every type of noise, but this should help nonetheless.
Audacity can do a lot more
Recording audio with Audacity may not seem as easy as using GNOME Sound Recorder, but it’s not overly complicated. The noise reduction feature comes in handy if you are recording voiceovers.
Audacity has a lot more features, and it is not possible to cover all of them in a single tutorial. This is why I’ll keep this short and simple.
If you have a problem with Audacity’s privacy policy adjustments (in 2021), try out some of the available forks.
I hope this little tutorial helps you use Audacity for audio recording. Let me know if you have questions or suggestions.
If this helped you, consider supporting It's FOSS
It's FOSS has been helping people use Linux for the past 14 years. Help us stay independent from big tech. Become a Plus member, enjoy ad-free reading and get 5 eBooks.
