Apache Cassandra is a free and open-source NoSQL database management system drawn to manipulate large amounts of information across many servers, providing high availability with no single point of failure.
I am not going into the details of NoSQL database. I am going to so you how you can install Apache Cassandra on Ubuntu based Linux distributions.
Please note that it is more for practicing
Installing Apache Cassandra on Linux
There are multiple ways you can install Cassandra on Ubuntu and other Linux distributions:
- Install it using the official deb repositories from Apache: suitable and recommended for Debian and Ubuntu-based distributions. Gets automatic update if a newer version is available.
- Install it using Docker: works for all Linux distributions
- Install it from the tarball: works with all Linux but it won’t get updated to a new version automatically.
This is merely for practicing and experiencing Apache Cassandra. If you are going to use it in a project with other services, you’ll have to follow the complete configuration and setting guide of that service.
I’ll show the first two methods.
Method 1: Install Cassandra on Ubuntu and Debian using the official repository
Before you could install and use Cassandra, you need to have Python and Java installed on your system. You may have to install Java on Ubuntu however Python usually comes preinstalled.
You can check the prerequisite with the next line:
java -version ; python --versionAll prerequisites well installed? That’s good. Let’s install Cassandra. The method here is the same as adding any external repository in Ubuntu.
First, add the Apache Cassandra repository to your sources list. This one adds the latest major version (at the time of writing it) 4.0 series.
echo "deb http://www.apache.org/dist/cassandra/debian 40x main" | sudo tee -a /etc/apt/sources.list.d/cassandra.sources.list
Now, download and add the Apache Cassandra repository keys to the list of trusted keys on the server. This way, your system will trust the packages coming from the repository you added in the previous step.
You should make sure that apt can be used over https.
sudo apt install apt-transport-httpsAnd then add the key:
wget https://www.apache.org/dist/cassandra/KEYS && sudo apt-key add KEYS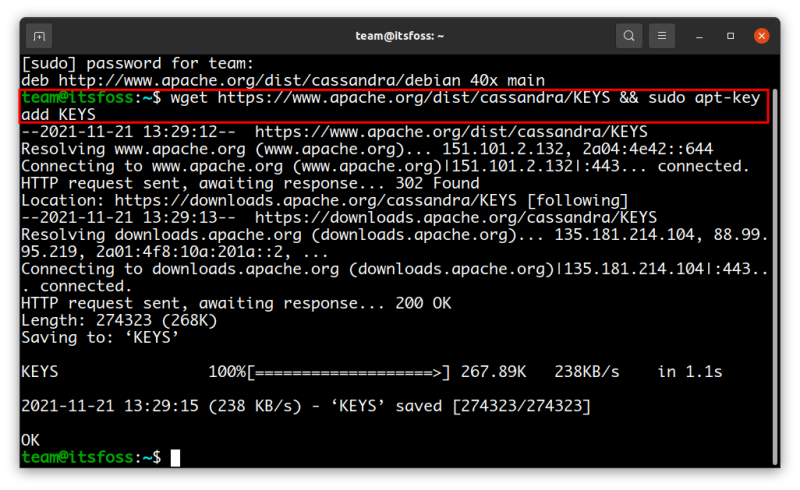
You have added the repository. Update the local cache so that your system is aware of the presence of this new repository.
sudo apt updateAnd lastly, install Cassandra with the following command:
sudo apt install cassandra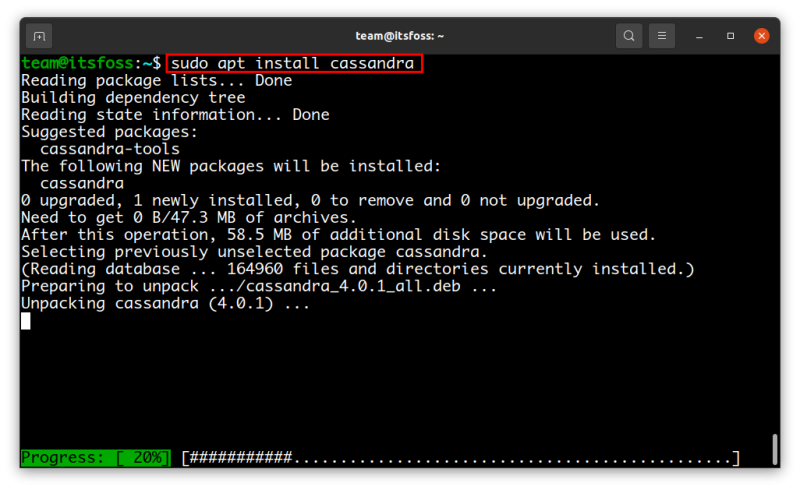
Once the installation finishes, Cassandra service starts running automatically. You could still verify it if you want:
sudo systemctl status cassandra.service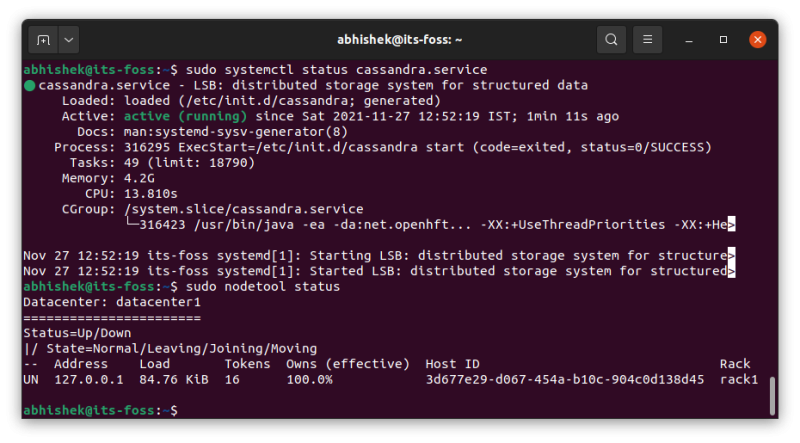
You can connect to the database by typing cqlsh. Type exit to exit this shell.

This was the very basic and default set up. You’ll probably need to configure it based on your requirement. Please the official document for the configuration part.
Method 2: Install Apache Cassandra using Docker
This method will work with any Linux distribution as long as you are going to use it in a Docker setup.
Of course, you need to have Docker installed on your system for this method. That’s a prerequisite for this method and I let you handle that.
If you have Docker, use the command below to pull the docker image of Apache Cassandra.
sudo docker pull cassandra:latest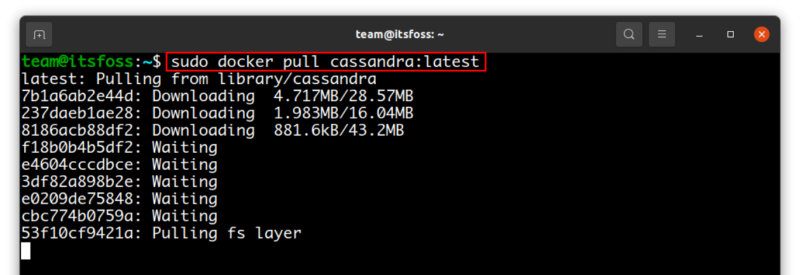
Once that’s done, you can start Cassandra with the docker run command like this:
sudo docker run --name cass_cluster cassandra:latest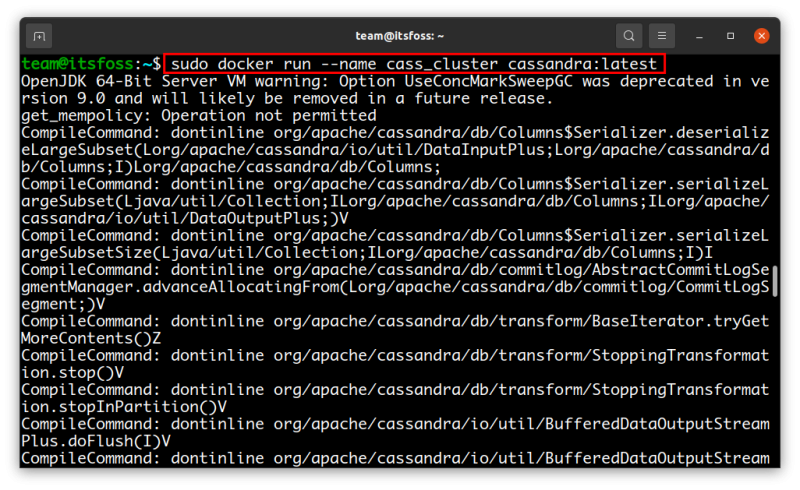
Note: the --name option will be the name of the Cassandra cluster created.
To interact with the Cassandra node started before, you need to initialize the CQL shell, and you can do it with the Docker exec command like this:
sudo docker exec -it cass_cluster cqlsh
Congrats! Now you know at least two different ways to install Apache Cassandra in your system.
Please keep in mind that this post is only an introduction. If you are interested in knowing more about Apache Cassandra, read the documentation where you can find out more about this amazing NoSQL database management system. Enjoy it and share this post if it was interesting and helpful for you! See you in the next one.


