

I create lots of images and meme for It’s FOSS Instagram account. And I always put the logo as a watermark on the images so that even if it is shared by other pages, the source of the image remains known to everyone.
Adding watermark to images in GIMP is fairly easy with a neat trick I use. I’ll share that ‘secret’ trick with you today so that even you can easily add watermark to images.
Do note that I am talking about using a logo image overlapping on another image. You might use text for the same purpose. It is up to you.
Easily add watermark using GIMP in Linux
I am using Ubuntu in this tutorial but the steps should be applicable to more or less all other Linux distributions. All you need is a logo image, preferably in png format. PNG images handle the transparent background very well and it is better to have a logo with a transparent background, isn’t it?
Once you have a logo, let’s see how to add this logo to any image using GIMP. Basically, we’ll add the logo as GIMP Brush and each time you need to add the watermark, just use the new custom brush.
Let’s see the steps.
Step 1:
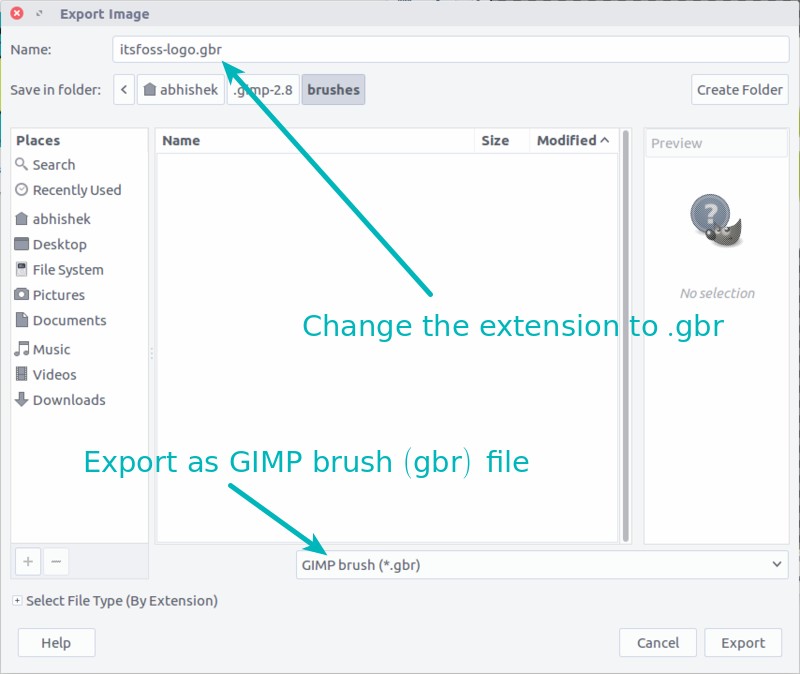
Open your logo image in GIMP and export it (Shift+Ctrl+E) as gbr (GIMP Brush) file.
Step 2:
Now that you have your logo in .gbr file, you need to add this new brush in GIMP.
Copy the .gbr and go to your Home directory and change the view to show hidden files in Linux.
Look for a folder that starts with .gimp. Go to this folder and look for another folder named brushes. Paste the gbr file here.
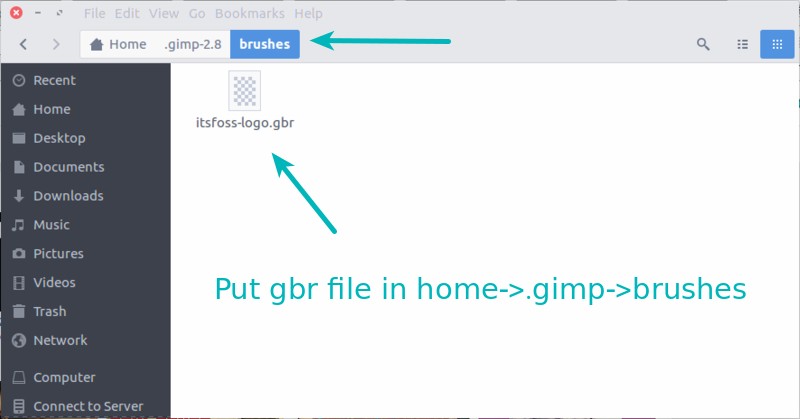
I newer version, this location could also be Home->.config->GIMP->2.10 folder.
Step 3:
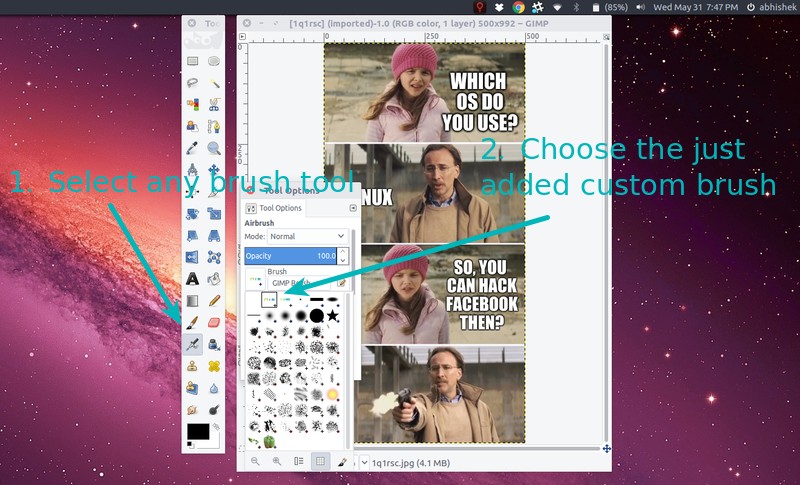
Restart GIMP. Now open any image for experimentation. Press Ctrl+B if you don’t see the toolbox. In here, look for any brush tool such as Paint Brush, Air Brush etc. Select the custom logo saved as a brush by clicking on this:
Increase the size of the brush, if needed:
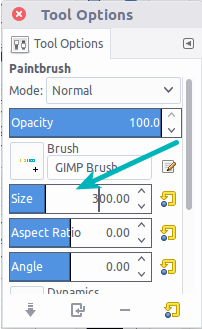
Change the size of brush if required
And now just click the brush where you want to put the logo:
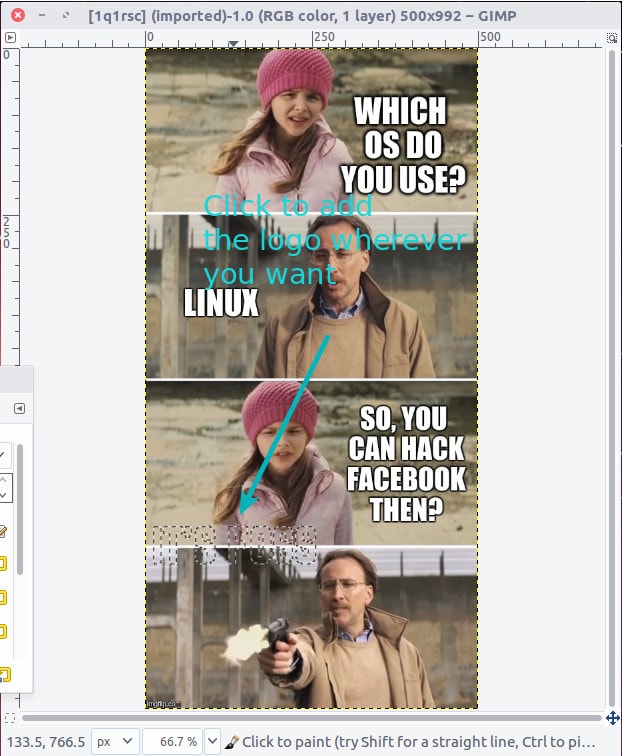
Et voila! There you go. You have just added a logo to an image using GIMP. You can see the final result in this Facebook upload.
Do follow us on Facebook if you like some Linux fun :)
You may also want to check out another tutorial and learn to outline text in GIMP.
I hope you find this little trick to add watermark using GIMP. If you have a similar trick to share, do mention it in the comment section below.
