
One minor annoyance I encounter with Ubuntu is when I have to switch the audio output source.
I know the process is not complicated. You go to Settings and then to Sound Settings and here you can choose the input and output devices for the sound.
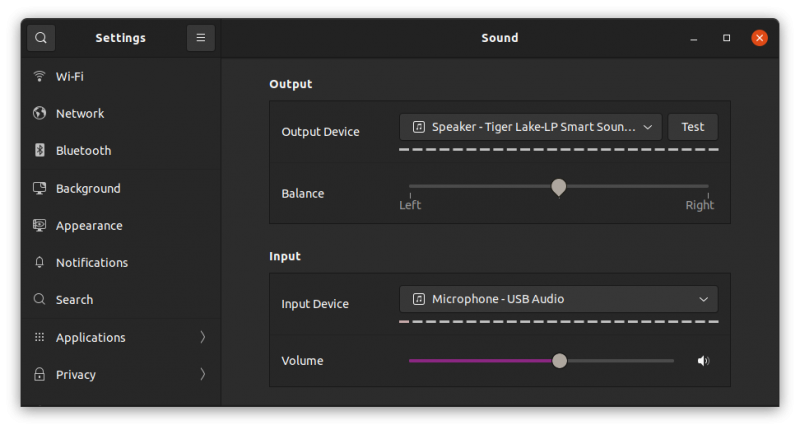
Not exactly a rocket science, right? And yet, it takes several clicks to reach to that settings.
If you want to simplify the process and save a few clicks, you can install an applet indicator that allows you to switch the audio source right from the top menu.
This is helpful if you connect your laptop to a monitor via HDMI or via a docking station. The audio sources gets changed automatically and you have to manually select it again.
There are several such plug-ins available but I am going to mention just two of them here.
Use Sound Switcher Indicator
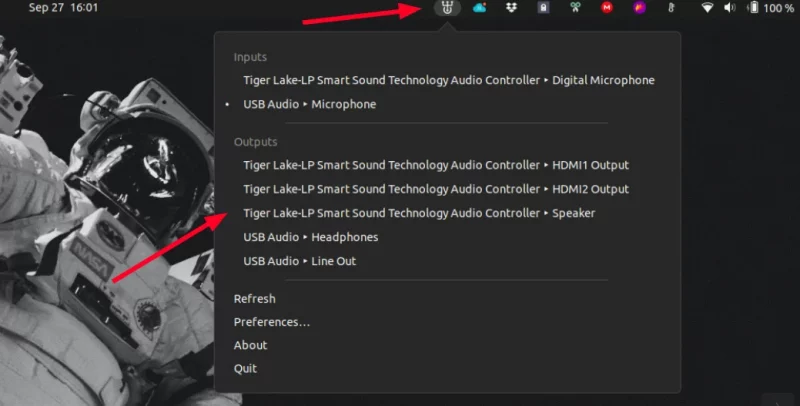
Sound Switcher Indicator is an applet indicator developed by Dmitry Kann. The purpose of the applet indicator is very simple, it lets you switch between different audio sources such as integrated speakers, headphone and HDMI in two mouse clicks.
Open a terminal and use the following commands one by one to install Sound Switcher Indicator in Ubuntu:
sudo apt-add-repository ppa:yktooo/ppa
sudo apt update
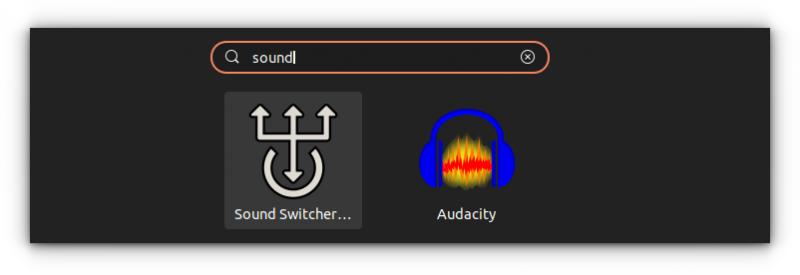
sudo apt install indicator-sound-switcherOnce installed, search for Sound Switcher in the system menu and start it.
It adds an icon on the top panel that you can quickly access to select the audio sources.
It is automatically added to the list of startup applications. This means that it will be run automatically when you turn on the system in future.
It also allows you to rename the audio sources so that you can easily distinguish them from similar sounding names.
Remove Sound Switcher indicator
If this applet indicator does not work or meet your expectations, you can remove it easily.
In a terminal, use the following command to remove it:
sudo apt remove indicator-sound-switcherNow remove the PPA as well:
sudo apt-add-repository -r ppa:yktooo/ppaUsing GNOME Extensions to switch audio sources
One of the most common ways to to customize Ubuntu and enhance its capabilities is to use GNOME Extensions. This is valid for the default Ubuntu version that uses GNOME desktop environment.
I hope you know how to use GNOME Extensions. I am not going in details here. Use the following command to enable the extension support to your system:
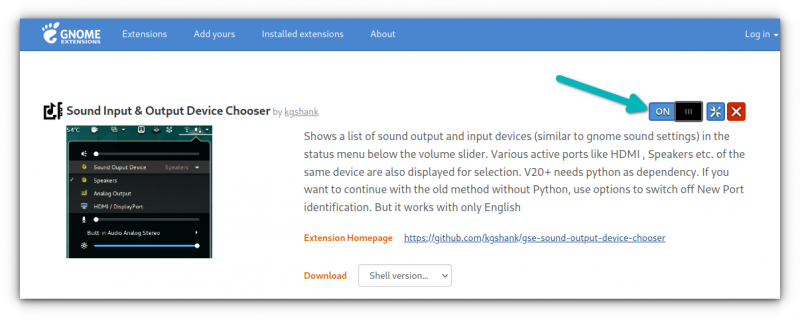
sudo apt install chrome-gnome-shell gnome-shell-extension-prefsNow, visit the page of Sound Input & Output Device Chooser GNOME extension. You’ll see a switch. Just toggle it on. You have to install the browser extension first, you’ll be prompted for that.
Open the GNOME Extensions apps to enable this extension:
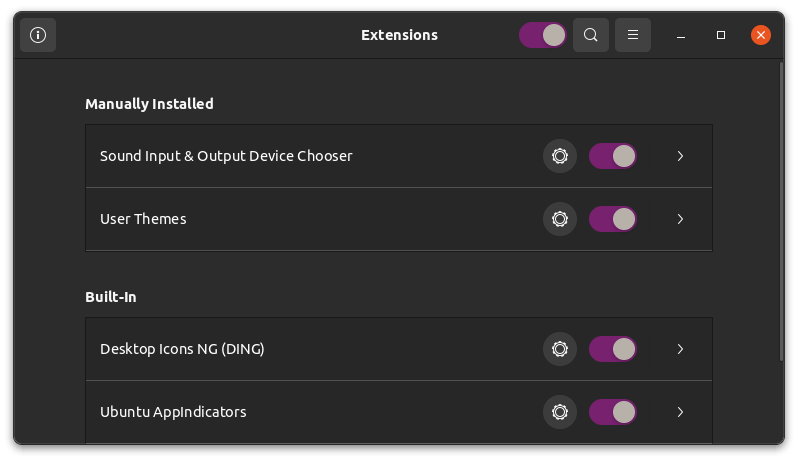
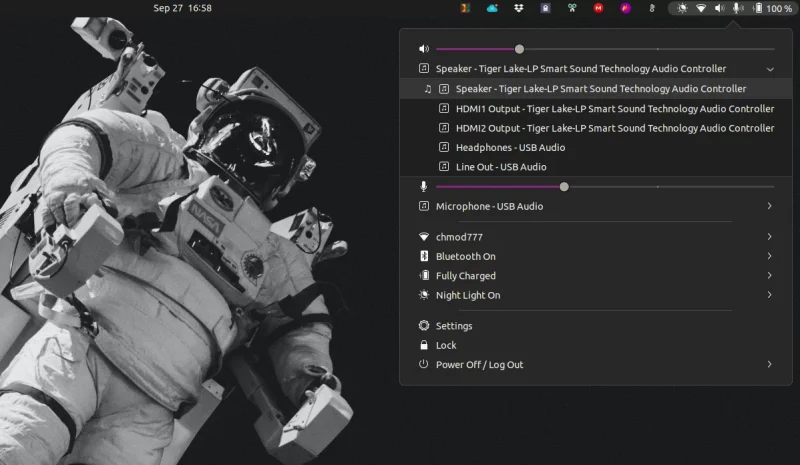
You’ll see that the system menu in the top panel is changed slightly. When you click on it, you’ll see the options to select between available audio input and output devices.
There are several other GNOME extensions that provide similar feature. You can search for it on the GNOME Extensions website to find options like Audio Output Switcher.
I hope you find this nifty trick helpful in switching the audio sources on Ubuntu.
