
Among all the various Ubuntu versions, Ubuntu Budgie is the most underrated one. It looks elegant and it’s not heavy on resources.
Read this Ubuntu Budgie review or simply watch this video to see what Ubuntu Budgie 18.04 looks like.
If you like Budgie desktop but you are using some other version of Ubuntu such as the default Ubuntu with GNOME desktop, I have good news for you. You can install Budgie on your current Ubuntu system and switch the desktop environments.
In this post, I will tell you exactly how to do that. But first, a little introduction to Budgie for those who are unaware of it.
Budgie desktop environment is developed mainly by Solus Linux team. It is designed with focus on elegance and modern usage. Budgie is available for all major Linux distributions for users to try and experience this new desktop environment. Budgie is pretty mature by now and provides a great desktop experience.
You may not see any issue at all as well. It’s your call if you want to try different desktop.
Install Budgie on Ubuntu
This method is not tested on Linux Mint, so I recommend that you not follow this guide for Mint.
For those on Ubuntu, Budgie is now a part of the Ubuntu repositories by default. Hence, we don’t need to add any PPAs in order to get Budgie.
To install Budgie, simply run this command in terminal. We’ll first make sure that the system is fully updated.
sudo apt update && sudo apt upgradesudo apt install ubuntu-budgie-desktopWhen everything is done downloading, you will get a prompt to choose your display manager. Select ‘lightdm’ to get the full Budgie experience.
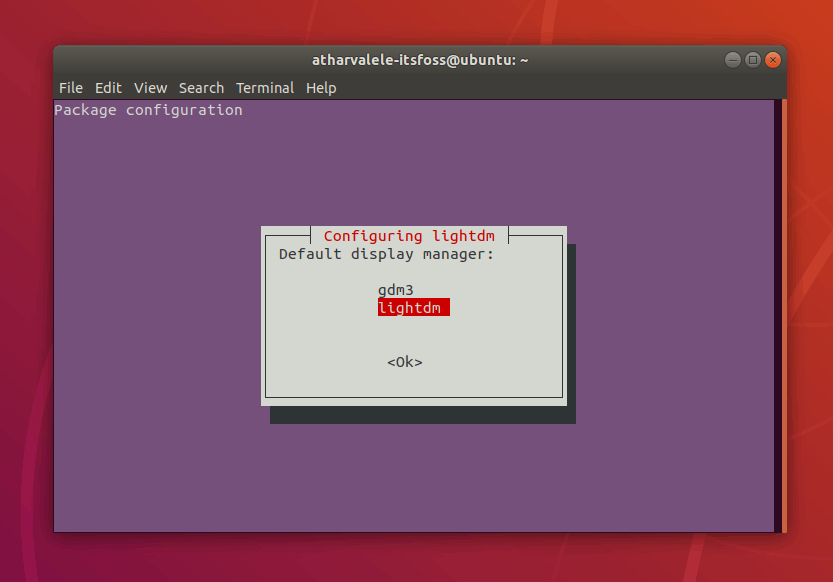
After the installation is complete, reboot your computer. You will be then greeted by the Budgie login screen. Enter your password to go into the homescreen.
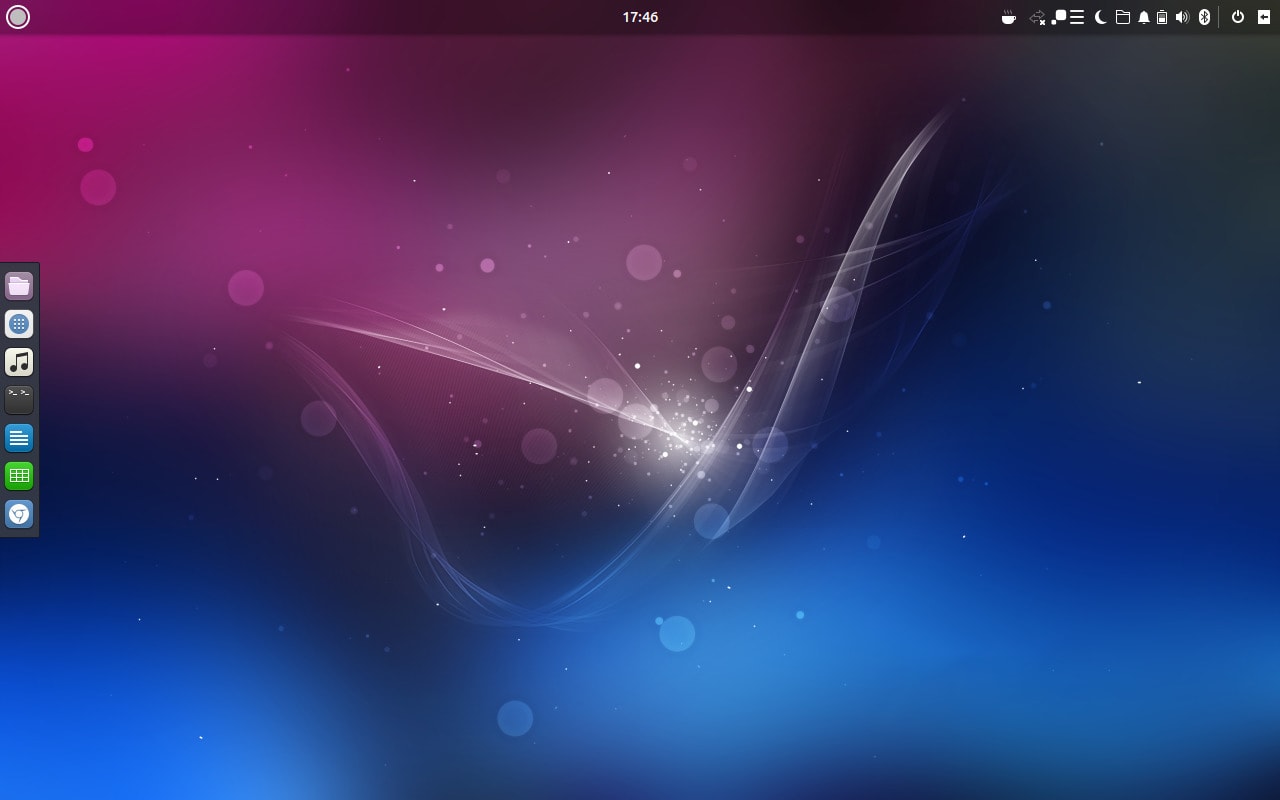
Switching to other desktop environments
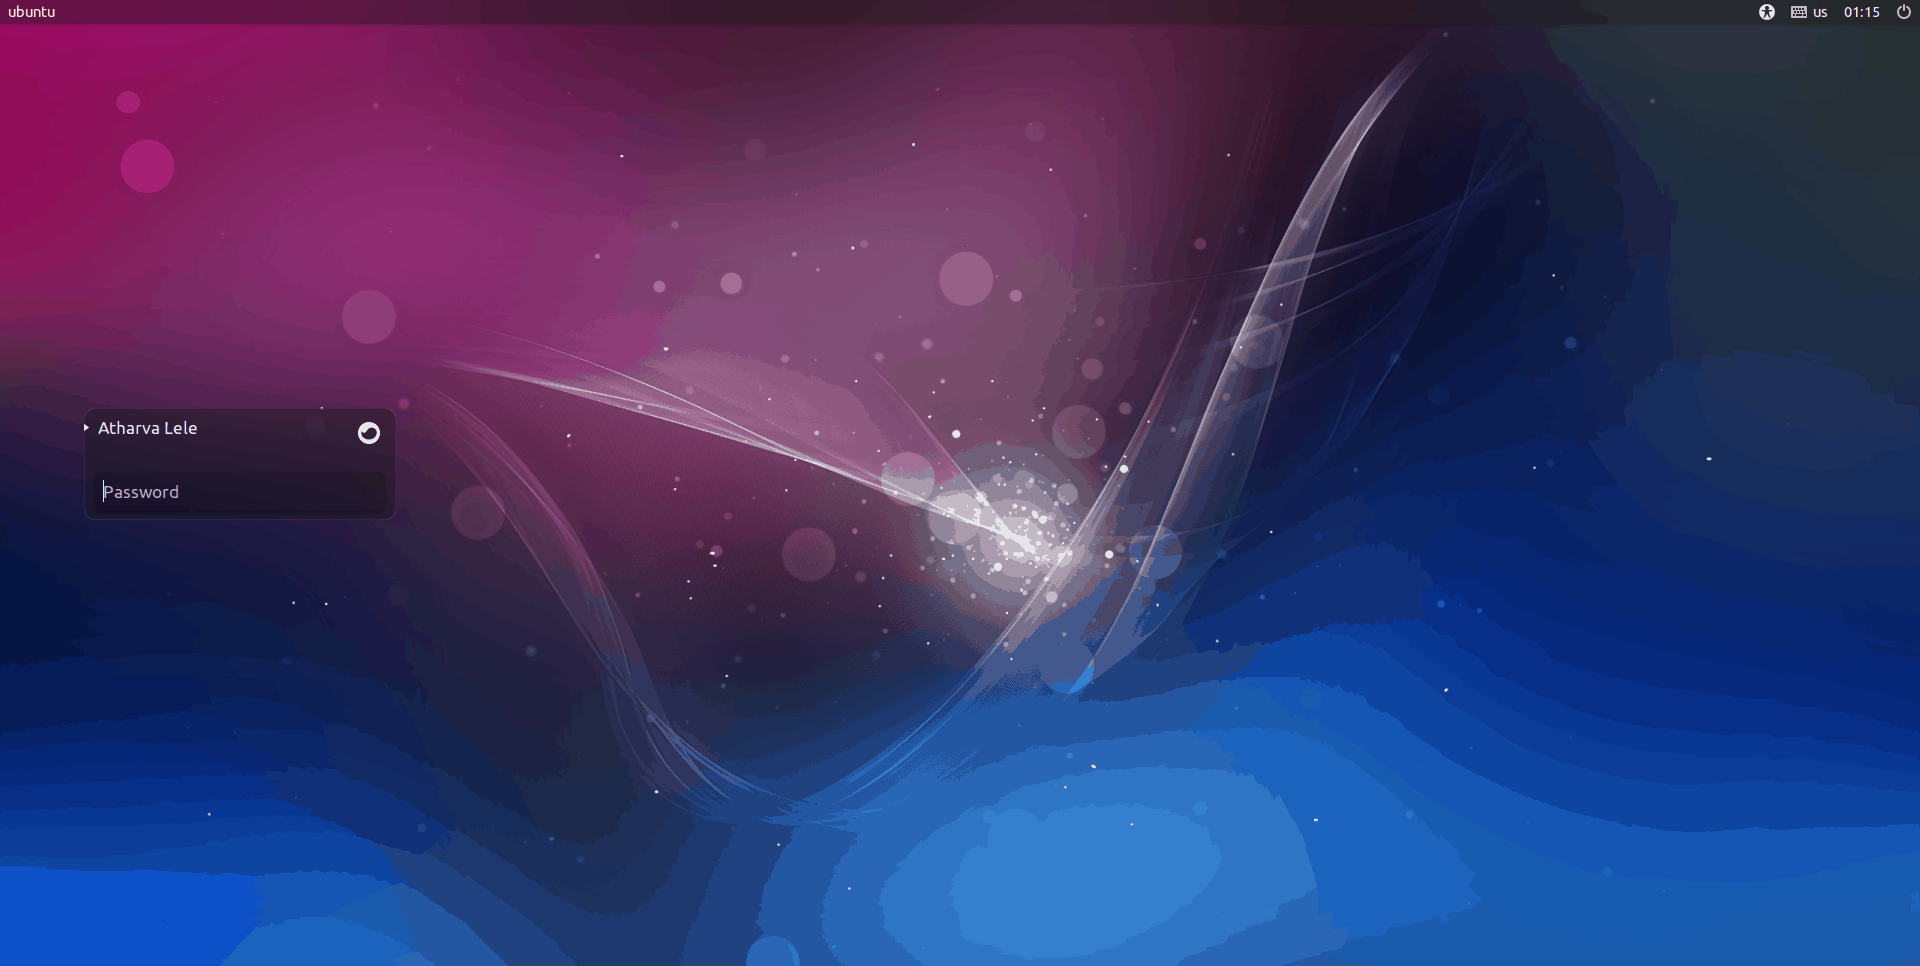
You can click the Budgie icon next to your name to get options for login. From there you can select between the installed Desktop Environments (DEs). In my case, I see Budgie and the default Ubuntu (GNOME) DEs.
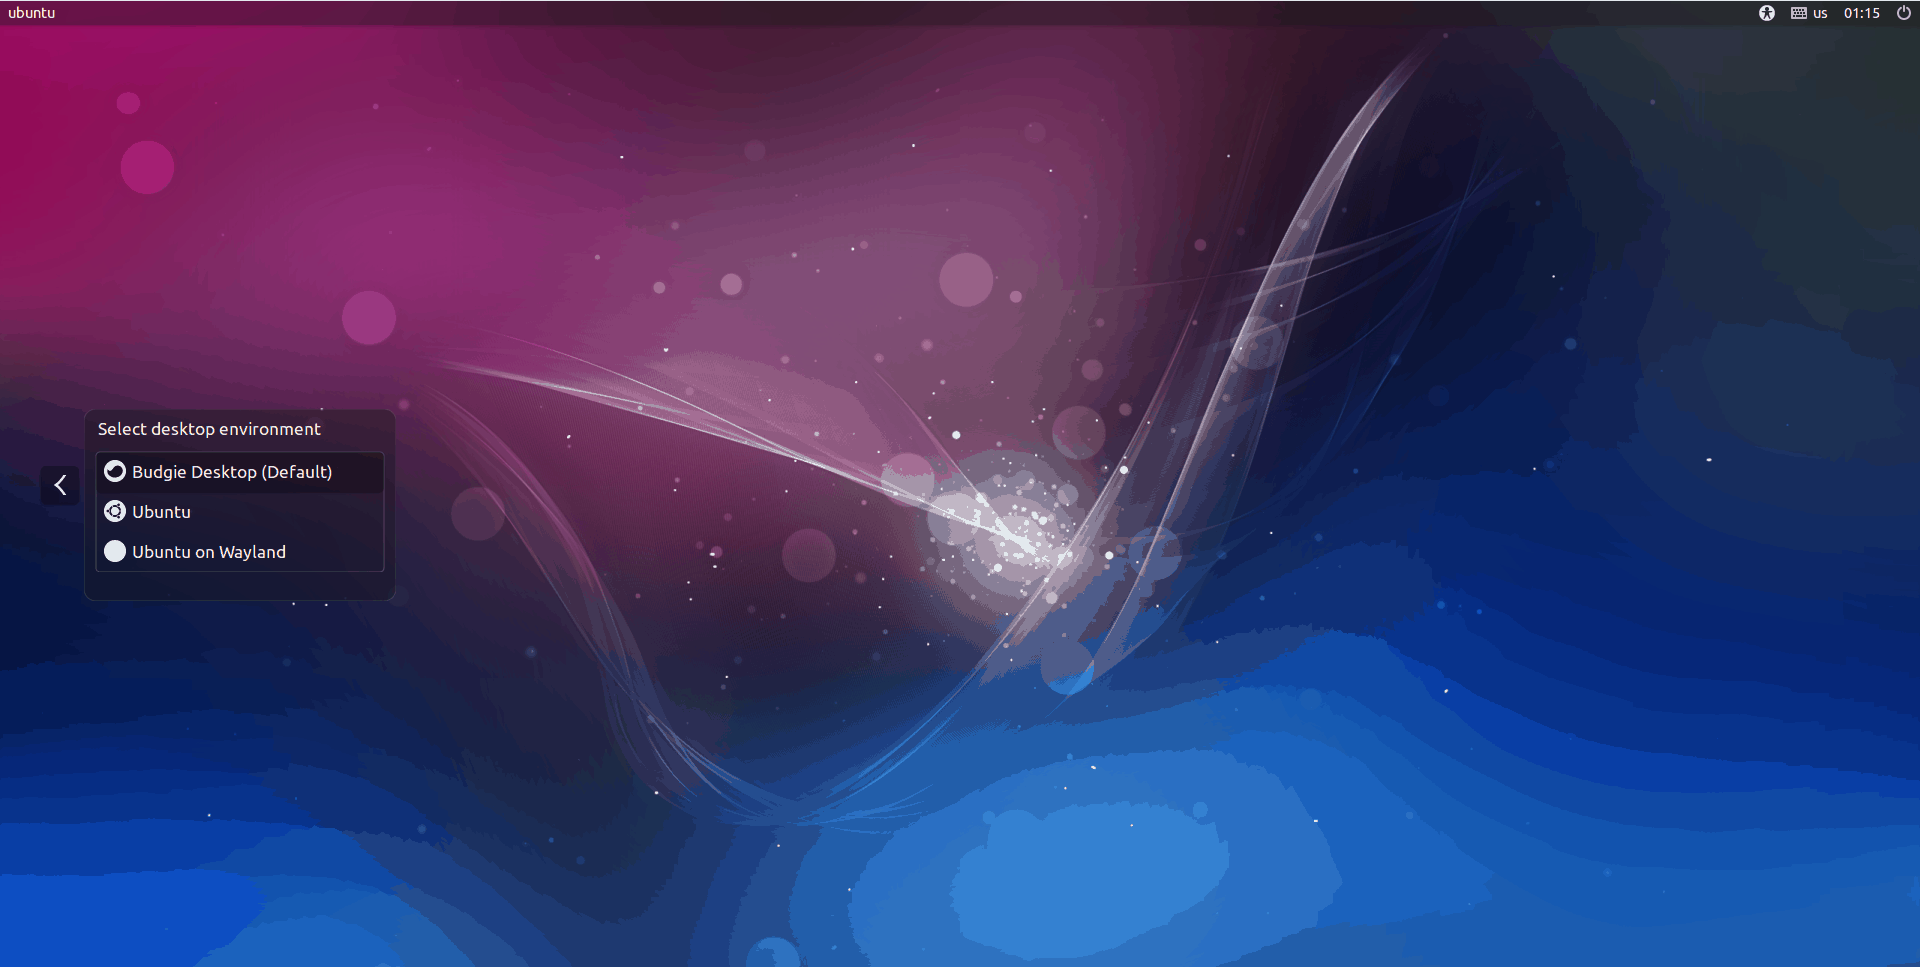
Hence whenever you feel like logging into GNOME, you can do so using this menu.
How to Remove Budgie
If you don’t like Budgie or just want to go back to your regular old Ubuntu, you can switch back to your regular desktop as described in the above section.
However, if you really want to remove Budgie and its components, you can follow the following commands to get back to a clean slate.
sudo apt remove ubuntu-budgie-desktop ubuntu-budgie* lightdm
sudo apt autoremove
sudo apt install --reinstall gdm3
After running all the commands successfully, reboot your computer.
Now, you will be back to GNOME or whichever desktop environment you had.
More desktop choices are available
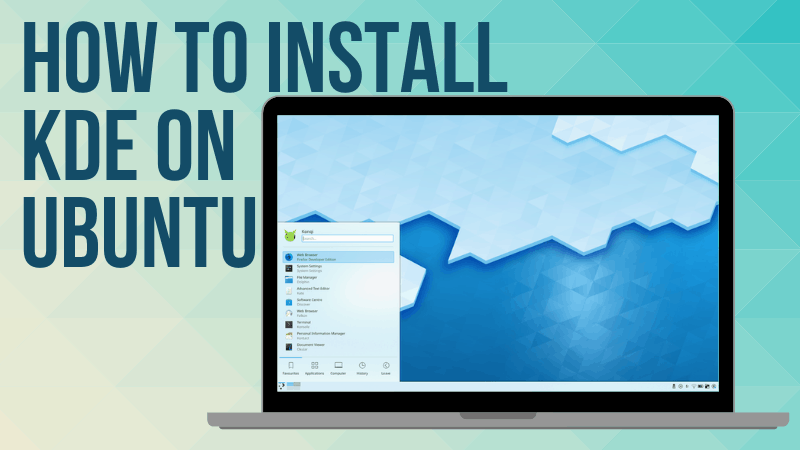
The classic KDE desktop can also be easily installed on Ubuntu.
Speaking of classic, how about getting the classic GNOME looks back in the form of Cinnamon desktop?
Budgie is one of the best desktop environments for Linux. Hope this short guide helped you install the awesome Budgie desktop on your Ubuntu system.
If you did install Budgie, what do you like about it the most? Let us know in the comments below. And as usual, any questions or suggestions are always welcome.


