So, you have used Linux inside Windows using WSL. Your goal is achieved. You learned Linux or completed your project and you don't need WSL anymore.
It is only logical to get rid of unnecessary applications. This frees up disk space and keeps the system clean.
So, we end this WSL series by discussing the removal of WSL from Windows. Let's see the steps.
Step 1: Uninstall all the Linux distributions
Before uninstalling WSL from your system, you should uninstall all the Linux distributions that you have installed using WSL. This can be done in two steps:
- Unregister the distribution
- Uninstall the application.
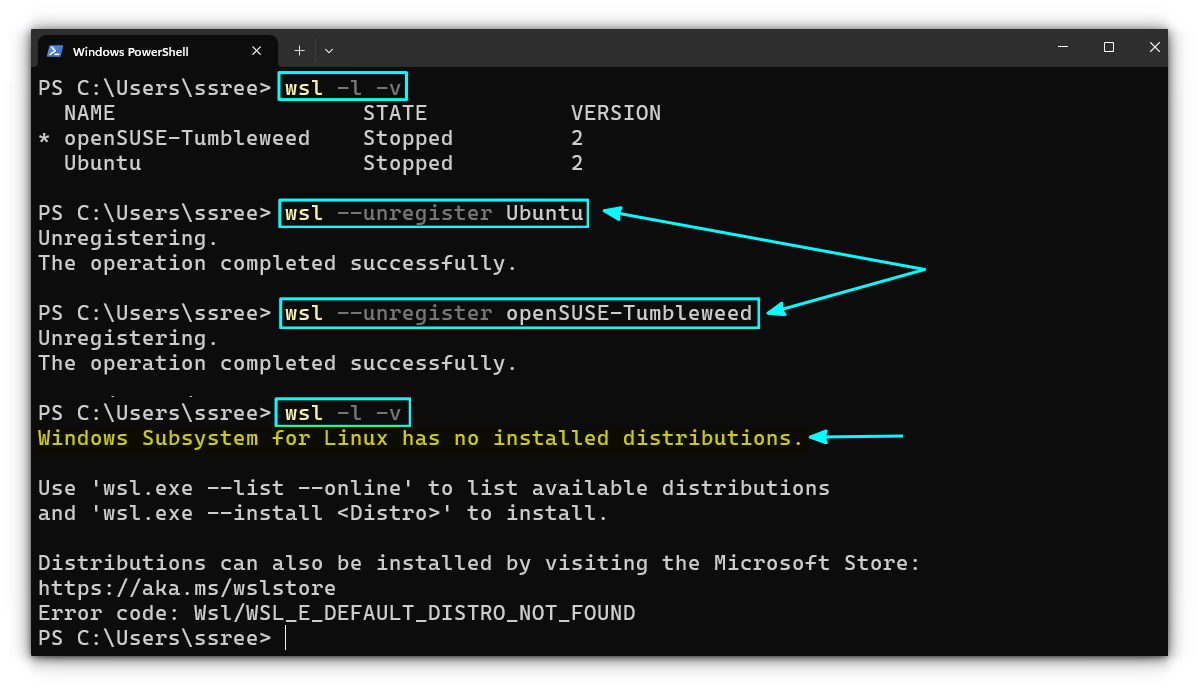
First, unregister a WSL distribution by using this command in Windows command line:
wsl --unregister <distribution_name>
distribution_name should be exactly the same as the name shown while listing the WSL distributions using wsl -l -vRepeat the step for all the distributions you have installed.

Once all the distributions are unregistered, you can uninstall the apps, just like any other app on Windows.
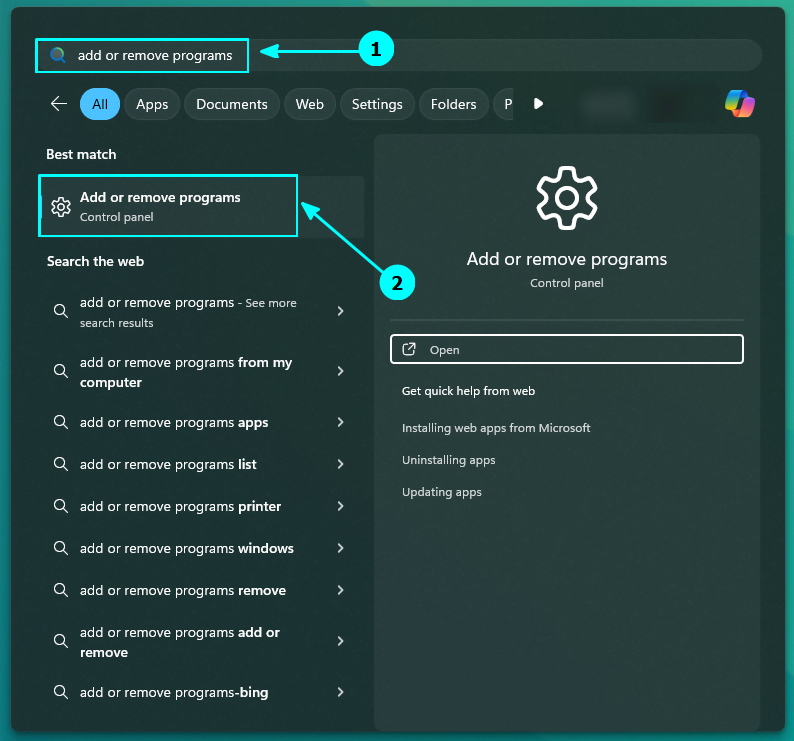
Search for the “Add or Remove Programs” in the start menu.

Inside this window, scroll down and go to the distribution name. Click on the three-dots button adjacent to it. You will see an “Uninstall” option. Use it.

Repeat the steps for the rest of the distributions.
Step 2: Uninstall WSL from the system
Once you have removed all the installed WSL distributions, it's time to uninstall the WSL app.
It can be done the same you installed it in the first place.
If you installed Windows Subsystem for Linux App from the Microsoft Store, you can uninstall the app from the Microsoft Store itself. Open the “Add or Remove programs” window. Inside that, remove components that are related to WSL, like the Windows Subsystem for Linux app, other updates and previews, etc. if installed.
If you installed WSL as a Windows feature, you can turn off the respective feature.
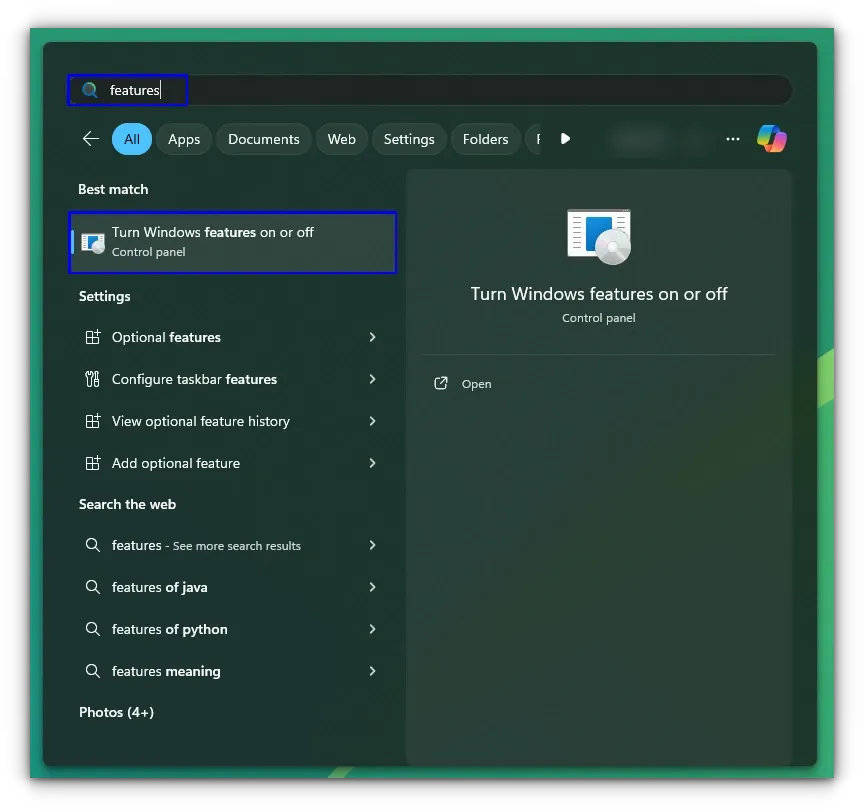
Search for “features” in the Windows Start menu and open it.

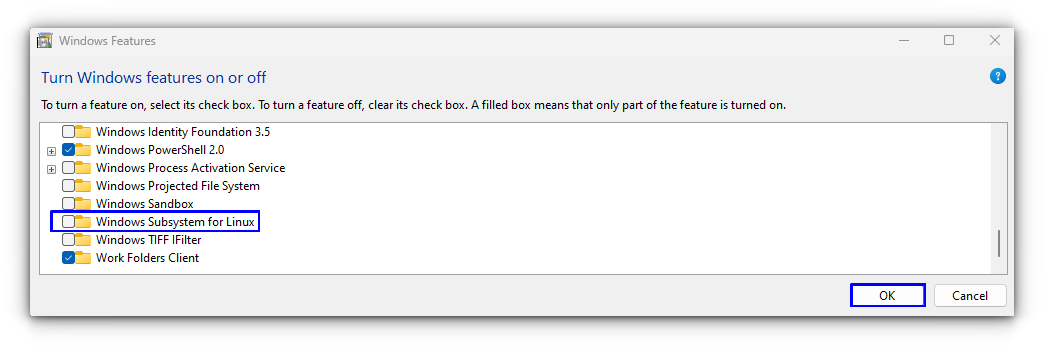
Inside the features window, turn off the "Windows Subsystem for Linux" feature by unchecking the box.

If you are not planning to use Virtual machine setups in the future, you may also turn off the Virtual Machine Platform feature. Although I'll suggest keeping it. You never know when you are in the mood for a VM.
You should reboot your system when prompted. That's it. You have successfully removed WSL from Windows.
I hope you found this WSL series helpful in your Linux journey.


