

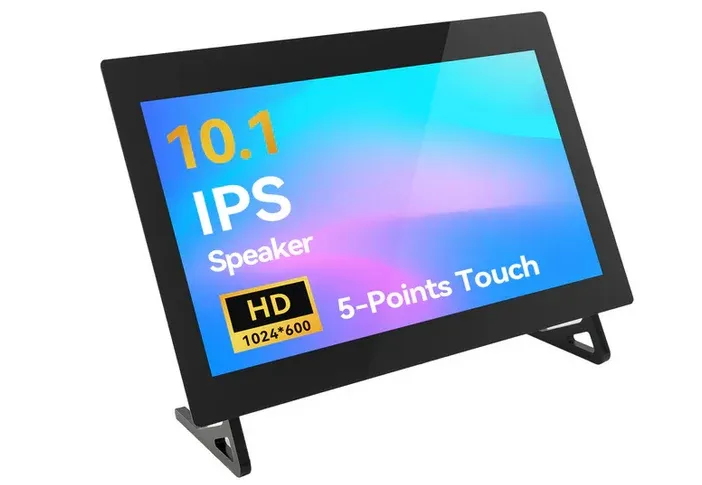
I have got my hands on this 10 inches touchscreen from SunFounder that is made for Raspberry Pi like devices.
If you are considering adding touch capability to your Raspberry Pi project, this could be a good contender for that.
I have used a few SunFounder products in the past but the Pironman case made me their fan. And I truly mean that. This is why before I opened the package, I had a feeling that this will be a solid device.
Let me share my experience with SunFounder's 10 inch DIY Touch Screen with you.
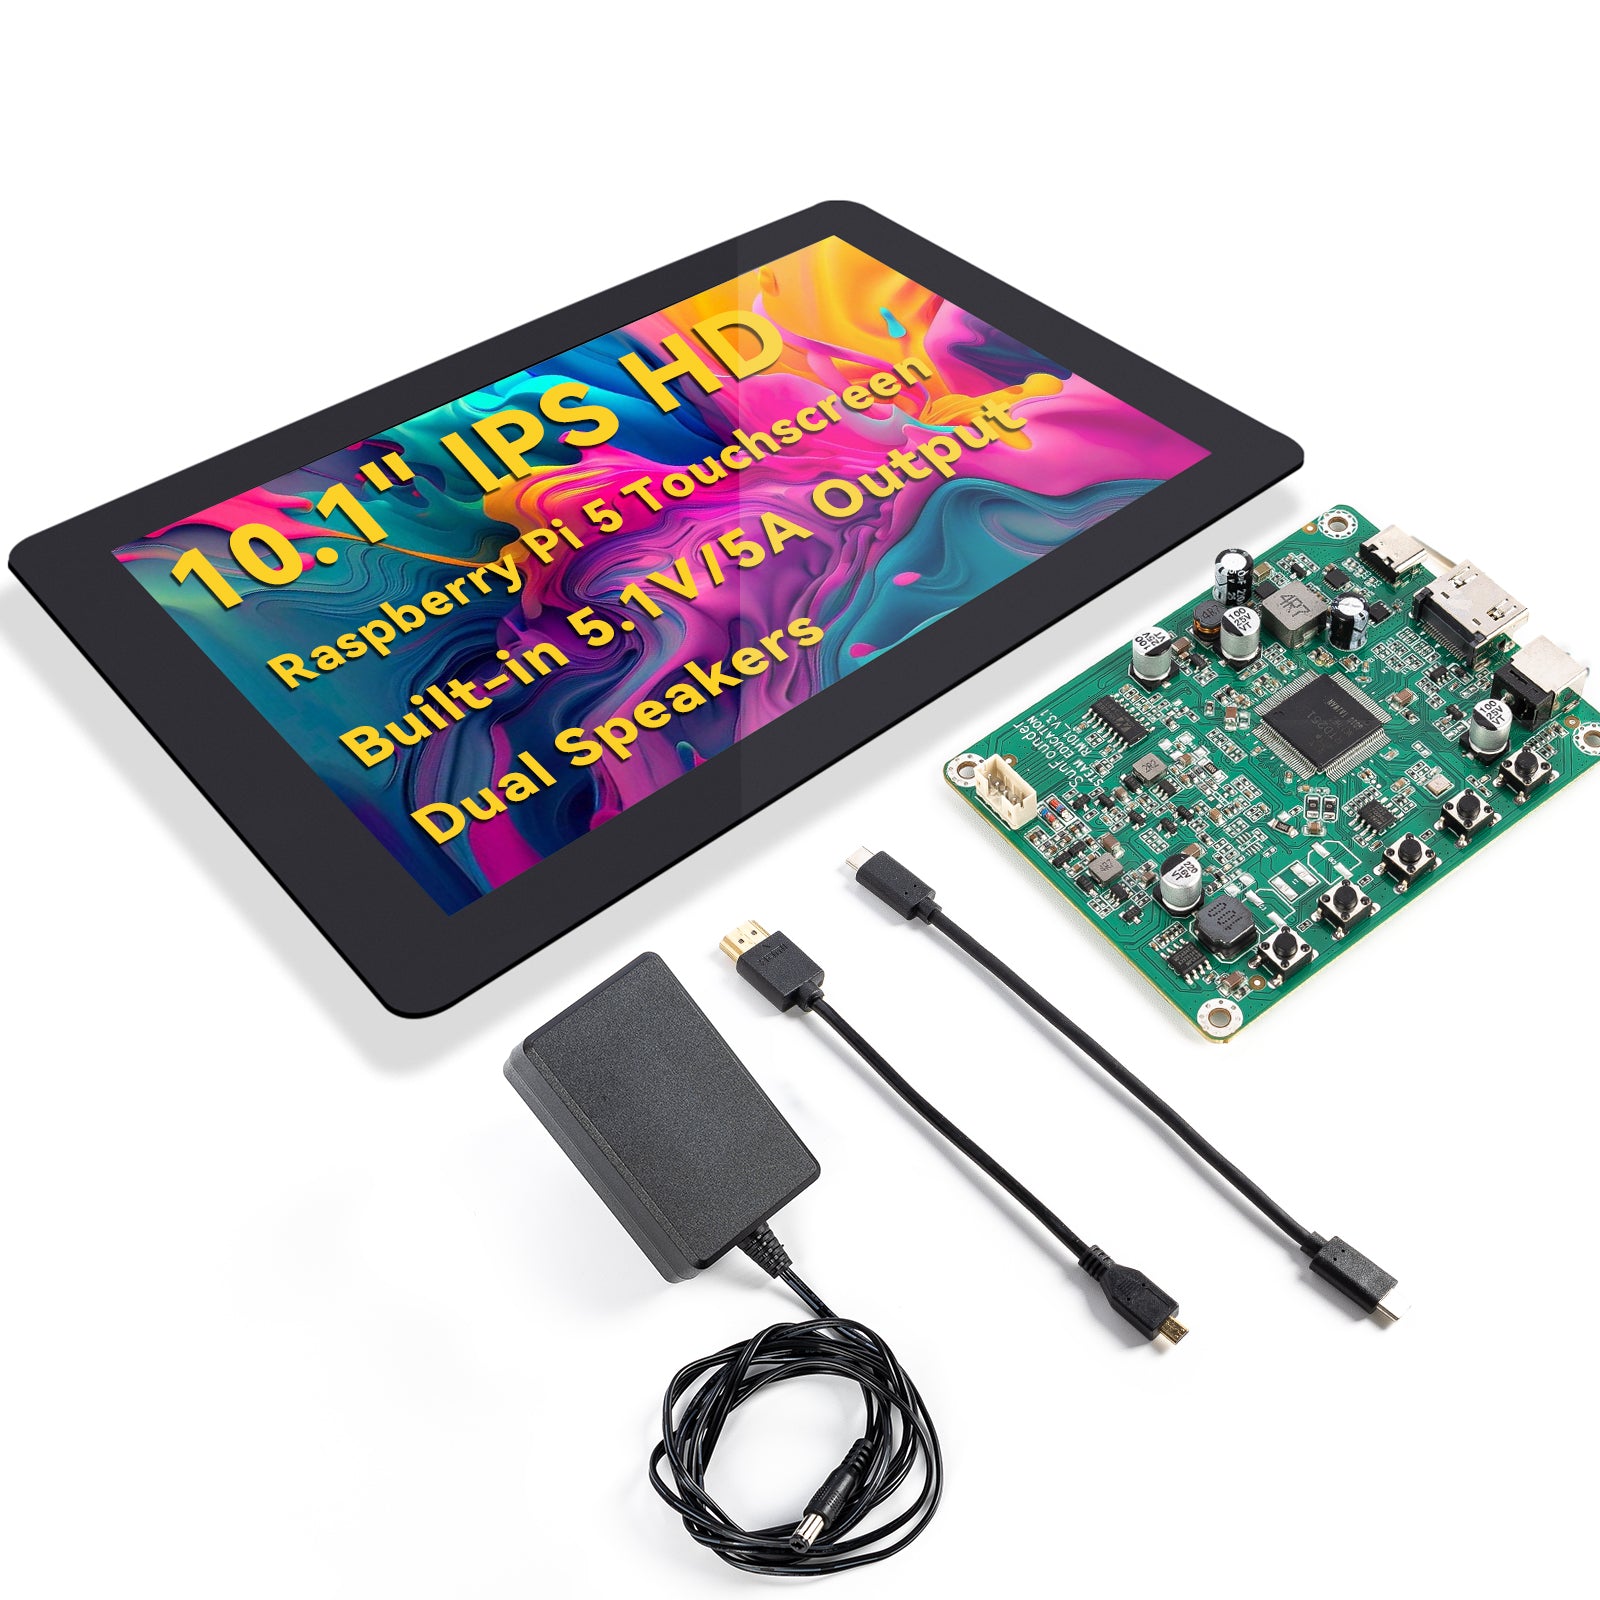
It is a well-thought device that gives a smooth touch experience. A single power cord runs both the screen and Pi. The on-board speakers give you more than just display although they are very basic.
All the interface remain available. The best thing is that it can be used with several other SBCs too.
From 3D printing to cyberdeck to home automation, how you use it is up to you.
The $149.99 price tag is decent for the quality of the touchscreen and the out of box experience it provides for the Raspberry Pi OS.
Technical specifications
Before we get into the nitty-gritty of performance, let's look at what you're actually getting with this display:
| Specification | Details |
|---|---|
| Screen Size | 10 inches (diagonal) |
| Resolution | 1280 x 800 pixels |
| Panel Type | IPS (In-Plane Switching) |
| Touch Technology | Capacitive multi-touch (up to 10 points) |
| Connection | HDMI for display, USB for touch function |
| Compatible with | Raspberry Pi 4B, 3B+, 3B, 2B, Zero W |
| Power Supply | DC 12V/5A power supply with built-In USB-C PD |
| Audio | 2 speakers |
| Dimensions | 236mm x 167mm x 20mm |
| Viewing Angle | 178° (horizontal and vertical) |
| Weight | Approximately 350g |
Assembling
SunFounder has a thing for assembling. Like most of their other products, the touchscreen also needs some assembling. After all, it is properly called 'a 10 -inch DIY touchscreen' so there is obviously a DIY angle here.
The assembling should not take you more than 10–15 minutes to put all the pieces together.
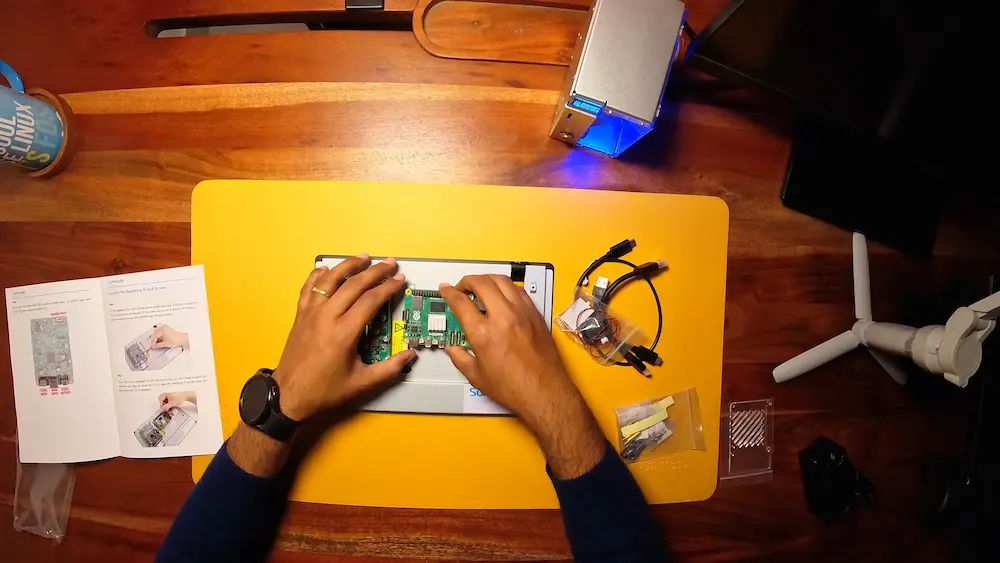
The assembly basically requires attaching the single board computer with the screws, taping the speakers and connecting it to the touchscreen cable.
It's actually fun to do the assembly. Not everyone will be a fan of this but I am guessing if you are into maker's electronics, you won't be unhappy with the assembly requirement.
Experiencing SunFounder DIY Touchscreen
The device is powered by a 12V/5A DC power that also powers the Raspberry Pi with 5.1V/5A. There are LED lights at the back that indicate if the Pi is turned on or not.
There is no on-board battery, in case you were wondering about that. It needs to be connected to the power supply all the time to function. Although, if you need, you can always attach a battery-powered system to it.
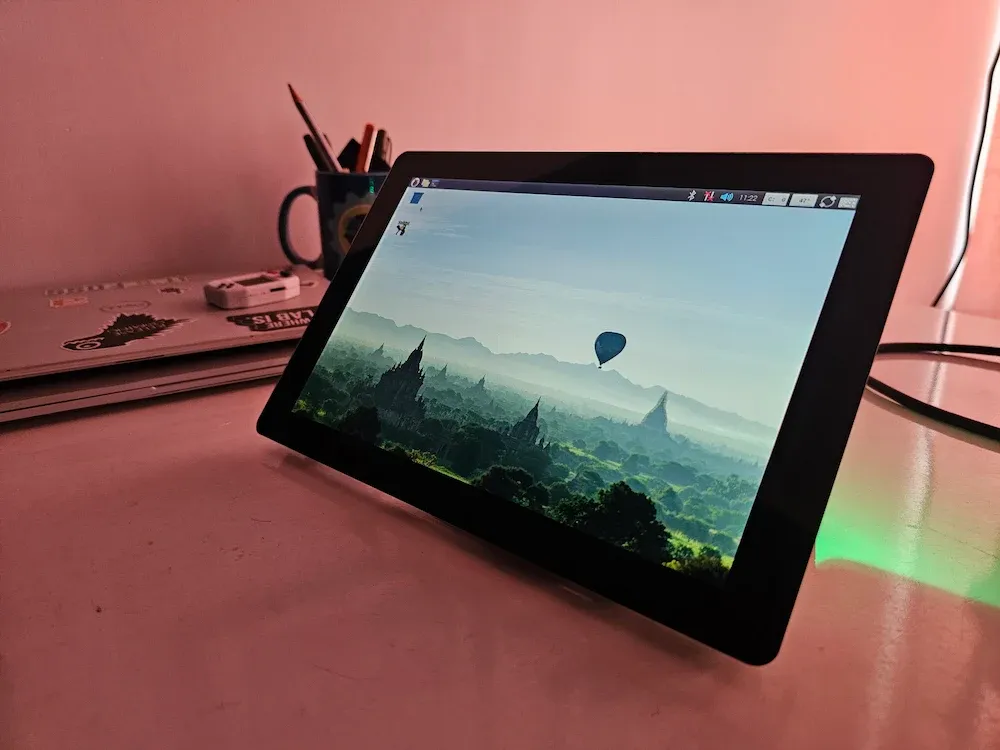
The display is IPS and the surface feels quite premium. Some people may find it a bit glossy and slippery but the IPS screens have the same look and feel in my experience.
Colors are vibrant, text is crisp, and the IPS panel means viewing angles are excellent.
The 10 point capacitive touch works out of the box. The touch response is quite good. I noticed that the double-click mouse action actually needs 3 quick taps. It took me some time to understand that it is the intended behavior.
My 4-years old daughter used it for playing a few games on GCompris and that worked very well. Actually, she sees the Raspberry Pi wallpaper and thinks it's her computer. I had to take the device off her hands as I didn't want her to use it as a tablet. I would prefer that she keeps on using a keyboard and mouse with her Pi.
On-screen keyboard
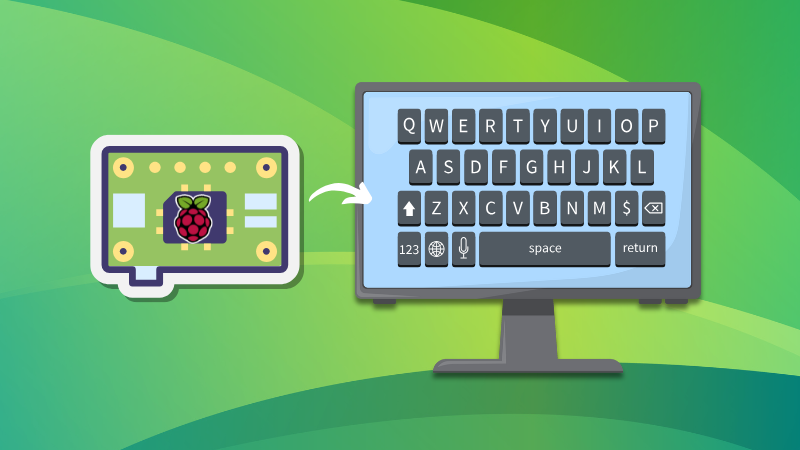
SunFounder claims that no drivers are required and the touchscreen is ready to be plugged in and play if you use Raspbian OS.
While I didn't have to install any drivers, and the touchscreen worked fine, I had to install squeekboard package to activate the on-screen keyboard on my Raspberry Pi 5 with Raspbian OS.
The official SunFounder document mentions that this package should be preinstalled in Raspbian OS but that was not the case for me. Not a major issue as the on-screen keyboard worked fine too after installing the missing package.
Speakers
Before I forget, I should mention that the touchscreen also has two tiny speakers at the bottom. They are good enough for occasional cases where you need audio output. You won't need to plugin a headphone or external speakers in such cases.
But if you want anything more than that, you'll need to attach proper speakers. It really depends on what you need it for.
Dude, where is my stand?
It would have been nice to have some sort of stand with the screen. That would make it easier to use the touchscreen as a monitor on the table.
At first glance, it seems like it is more suitable as a wall mount to display your homelab dashboard or some other information.
But it's not completely impossible to use it without a dedicated stand on the desk. I used the extra M 2.5 screws to increase the length of the bottom two screws. That gave it a stand like appearance.
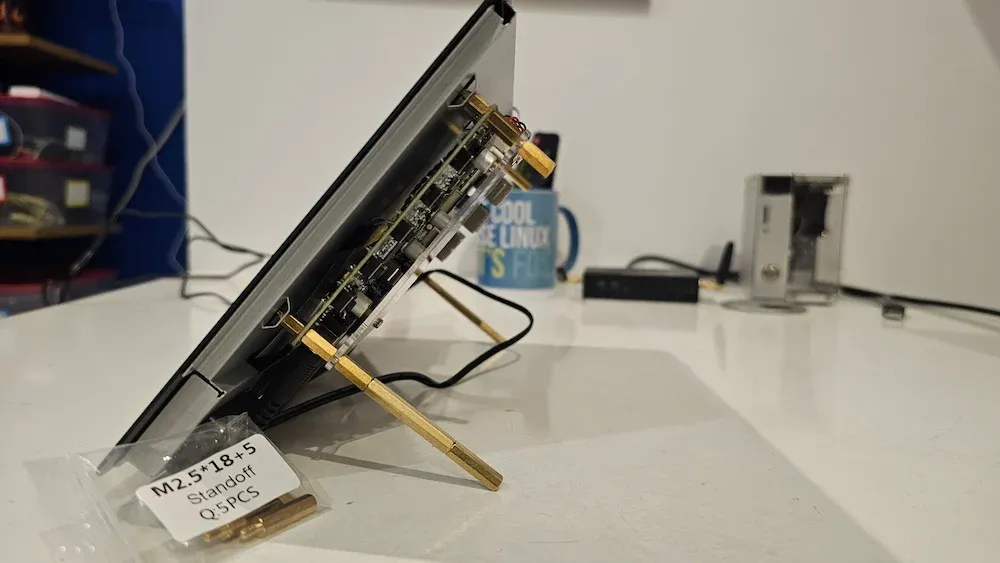
I thought I was smart to utilize those extra screws as a stand. Later I found out that it was intended for that purpose, as the official document also mentioned this trick.
I remember the older model of this touch screen used to have a dedicated stand.
I still think that dedicated stand attachments would have been a better idea.
By the way, if you want and have the resources, you can 3D print a custom case for the touchscreen. SunFounder provides the 3D Printer File and all necessary steps on its documentation website.
What can you use it for?
The imagination is your limit. There are no dearths of touch-focused Raspberry Pi projects.
Here are a few usages I can think of:
- Cyberdeck setup
- Smart home dashboard
- Retro gaming setup
- Use in 3d printers
- Robotics control interface
- In-car entertainment system (I mean, why not, if you have an ancient car and want to do some tinkering)
- Mini kiosk for small businesses
- Homelab dashboard display
- Weather station and agenda display
- Digital photo frame
Should you get it?
The answer always depends on what you need and what you want.
If you are on the lookout for a new touchscreen for your homelab or DIY projects, this is definitely worth a look.
Sure, the price tag is more than the official Raspberry Pi touchscreen but SunFounder's touchscreen has better quality (IPS), is bigger with better resolution, has speakers and supports more SBCs.
Basically, it is a premium device, whereas most touchscreen available on lower prices have a very toy-ish feel.
If affordability is not a concern and you need excellent touch experience for your projects, I can surely recommend this product.
