If you are running Java programs on Ubuntu using Eclipse, Maven or Netbeans etc, you’ll need to set JAVA_HOME to your path. Otherwise, your system will complain that “java_home environment variable is not set”.
In this beginner’s tutorial, I’ll show the steps to correctly set Java Home variable on Ubuntu. The steps should be valid for most other Linux distributions as well.
The process consists of these steps:
- Making sure Java Development Kit (JDK) is installed.
- Finding the correct location of JDK executable.
- Setting the JAVA_HOME variable and making the change permanent.
Step 1: Check if JDK is installed
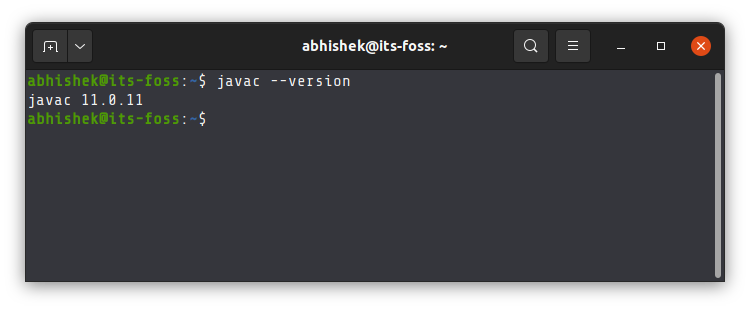
The simplest way to check if Java Development Kit (JDK) is installed on your Linux system is by running this command:
javac --versionThe above command checks the version of Java compiler. If it is installed, it will show the Java version.

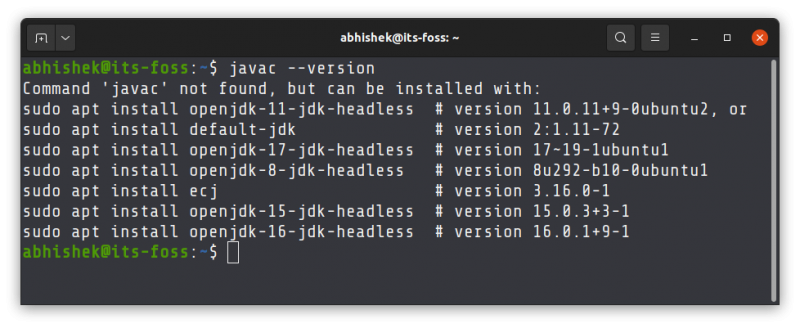
If the command shows an error like javac command not found, you’ll have to install JDK.

If Java Compiler is not installed on your system, install Java Development Kit using this command:
sudo apt install default-jdkThis will install the default Java version in your current Ubuntu version. If you need some other specific Java version, you’ll have to specify it while installing Java on Ubuntu.
Once you have made sure that Java Compiler is present on your system, it’s time to find its location.
Step 2: Get the location of JDK executable (Java Compiler)
The executable is usually located in the /usr/lib/jvm directory. I won’t left you on your own for a guessing game. Instead, let’s find out the path of the Java executable.
Use the which command to get the location of Java Compiler executable:
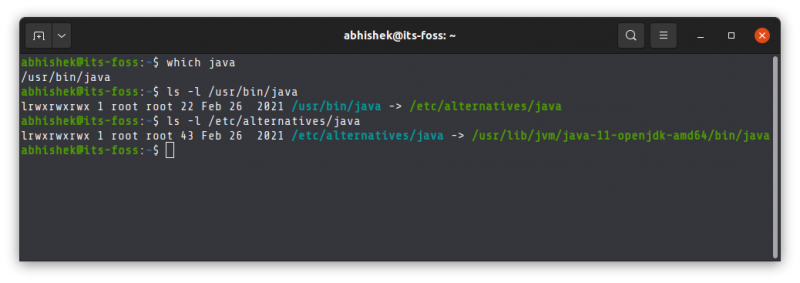
which javacThe problem here is that the location it gives is actually a symbolic link. You’ll have to follow it a couple of times:

And when you find a path like /usr/lib/jvm/java-11-openjdk-amd64/bin/javac, you remove the /bin/javac from it to get something like /usr/lib/jvm/java-11-openjdk-amd64
An easier method is to follow the symbolic link and get to the actual executable file directly using this command:
readlink -f `which javac` | sed "s:/bin/javac::"The readlink command follows a symbolic link. I have used ` around which java. This is called command substitution and it replaces the command with its output. Sed is then used to replace /bin/javac by nothing and thus removing it altogether.
In my example, the location of the executable file is /usr/lib/jvm/java-11-openjdk-amd64. It could be different for you. Copy the correct path you got from the above command in your system. You know, you can copy paste in the Ubuntu terminal.
Step 3: Setting JAVA_HOME variable
Now that you have got the location, use it to set the JAVA_HOME environment variable:
export JAVA_HOME=/usr/lib/jvm/java-11-openjdk-amd64/bin/javaCheck the value of JAVA_HOME directory:
echo $JAVA_HOME
Try to run your program or project in the SAME TERMINAL and see if it works.
This is not over yet. The JAVA_HOME variable you just declared is temporary. If you close the terminal or start a new session, it will be empty again.
To set JAVA_HOME variable ‘permanently’, you should add it to the bashrc file in your home directory.
You can use the Nano editor for editing files in the Linux terminal. If you do not want that and take a simple copy-paste approach, use the following commands:
Back up your bashrc file (in case you mess it, you can get it back):
cp ~/.bashrc ~/.bashrc.bakNext, use the echo command to append the export command you used at the beginning of this section. Change the command below to use the correct path as displayed by your system in.
echo "export JAVA_HOME=/usr/lib/jvm/java-11-openjdk-amd64" >> ~/.bashrcVerify that it has been correctly added to the end of the file:
tail -3 ~/.bashrcThe above tail command will show the last 3 lines of the specified file.
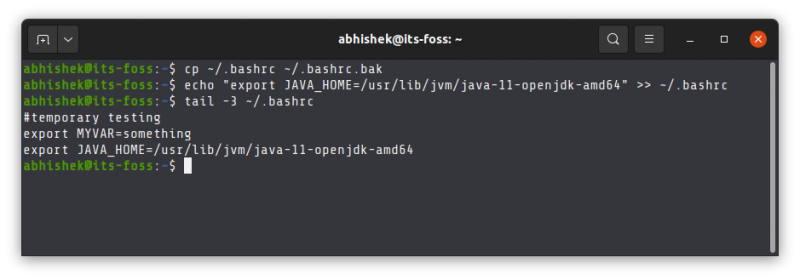
Here’s the entire output of the above three commands.

Now, even if you exit the session or restart the system, the JAVA_HOME variable will still be set to the value you specified. That’s what you want, right?
Do note that if you change the default Java version in the future, you’ll have to change the value of JAVA_HOME and point it to the correct executable path.
I hope this tutorial not only helped you to set Java Home, it also taught you how you are doing it.
If you are still facing issues or have any questions or suggestions, please let me know in the comments.

