

In the wake of the Hachette vs. Internet Archive lawsuit, it's becoming clearer how fragile access to knowledge can be.

The fight over digital rights makes one thing certain: self-hosting is no longer just for tech enthusiasts—it's a way to safeguard the future of information.
And hey, if the world suddenly descends into chaos and governments crumble, wouldn’t it be nice to have your own library of human history and science on tap?
I am not a doomsday survivalist (yet), but I like post-apocalyptic movies and games. And they have taught me that preserving knowledge is crucial for the human race.
Avoiding all the doomsday talk, self-hosting projects are also helpful in cases where there is not consistent internet or where you want to have a controlled environment.
Whatever may be the reason, if this is something that interests you, let me share my latest adventures of self-hosting Wikipedia and Arch Wiki on a Raspberry Pi with the help of a project named Kiwix.
What is Kiwix?
Kiwix is an innovative platform that creates highly compressed versions of entire websites, packaged into single files called ZIM files.
These files are compact enough to be stored on mobile phones and computers or even hosted locally on a server like a Raspberry Pi.

Since ZIM files are binaries, they require specific software. Thus Kiwix offers standalone apps for Windows, macOS, Linux, Android and even Docker images.
This means you can store your content directly on your device, no network needed.
But today after binge watching some bush-craft videos, I'm highly motivated to host my own Wikipedia on my Raspberry Pi 5, so let's begin.
What you’ll need
- Raspberry Pi: Any model should work. Actually, you could follow it on some other system as well because I'll use Docker here.
- Storage: You need around 90 GB of free storage. External HDDs/ SSDs are highly preferred.
- Ethernet cable or Wi-Fi connection: To connect your Raspberry Pi to the internet.
- Keyboard and Monitor (optional): For initial setup.
Installing Kiwix in a Docker container
For the installation process, we'll be using Docker to set up Kiwix on your Raspberry Pi.
Please ensure that Docker is installed on your Raspberry Pi. I’ll jump straight into setting up our Kiwix container.
💡 If you are new to Docker, you can get this Docker course for beginners from our other website, Linux Handbook.


Step 1: Download the kiwix zim file
Head over to the Kiwix library, find the version of Wikipedia or any other file that fits your needs, and download it before moving to the next steps.
You can see that the library has a lot of options to download like iFixit, Project Gutenberg, Ted, etc.

For this setup, I’ll be using the Wikipedia top 100 articles and some other files.
While the full version of Wikipedia with all media is over 100 GB, this smaller version provides all the text and essential knowledge you need without taking up too much space on your Raspberry Pi.
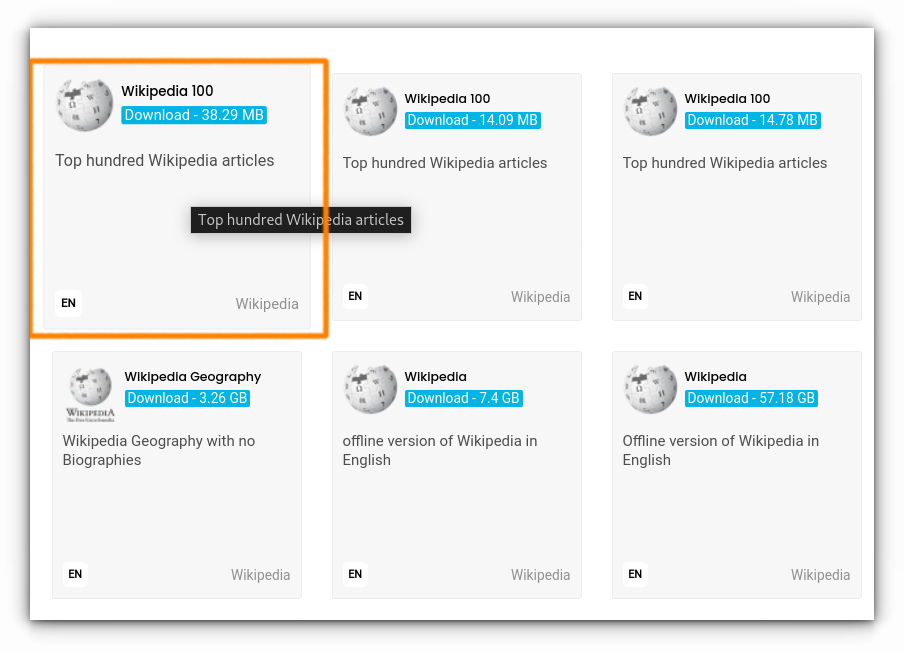
Click on the "Download - 38.29MB" and a modal window will popup with options for downloading:
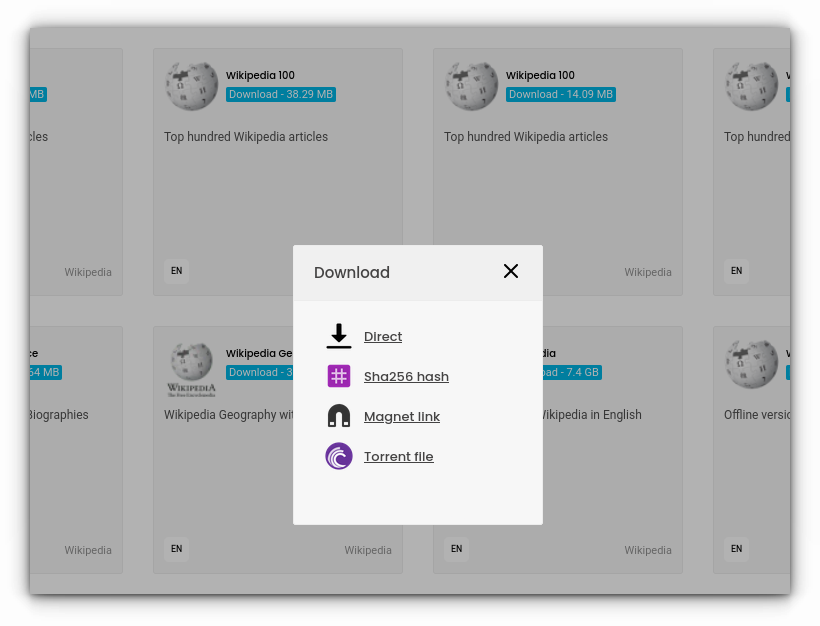
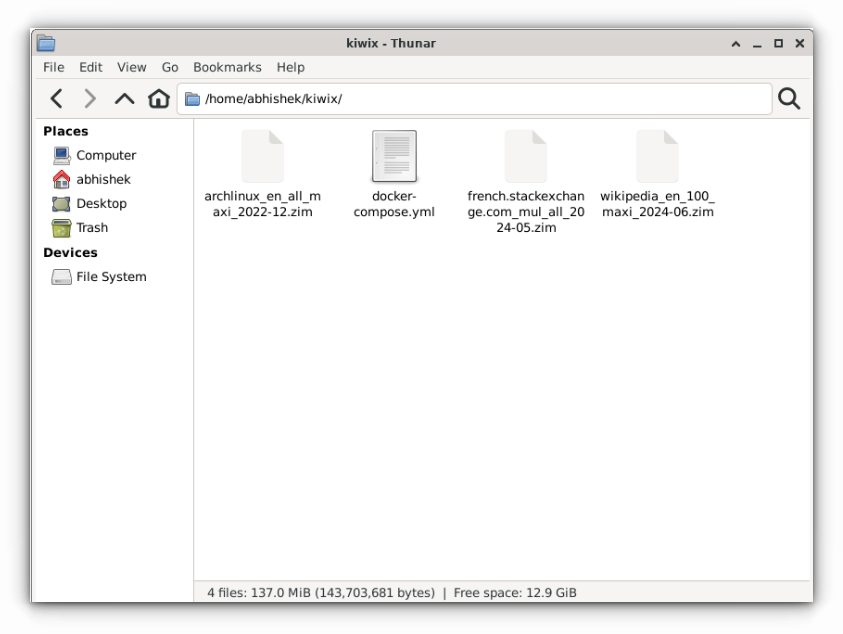
I will be saving this file to the /home/user/kiwix directory, which I'll later mount as a volume in my Docker container.
Step 2: Running a docker container
You can run containers either with docker run command which is quite straightforward or if you are like me and prefer to use docker-compose.
For your convenience, I have explained both methods:
Method 1. Using Docker run
This command let's you run the Kiwix container without any hassle:
docker run -v /home/user/kiwix:/data -p 8080:8080 ghcr.io/kiwix/kiwix-serve '*.zim'Here’s a breakdown of this command:
docker run: This is the basic command to start a new Docker container.-v /home/user/kiwix:/data: This option maps a folder on your host machine (/home/user/kiwix) to a folder inside the container (/data).-p 8080:80: This maps port 80 inside the container. This means you can access the Kiwix service by visitinghttp://localhost:8080on your web browser.kiwix/kiwix-serve: This specifies the Docker image to use.*.zim: This part tells the Kiwix server to serve all ZIM files with the.zimextension from the/datadirectory.

This command starts Kiwix server in a Docker container, makes your ZIM files available to it, and allows you to access the server through your web browser on port 8080.
Method 2. Using Docker Compose
Create a YAML file named docker-compose.yml and add the following data to it:
version: '3'
services:
  kiwix-serve:
    image: ghcr.io/kiwix/kiwix-serve
    volumes:
      - /home/user/kiwix:/data
    ports:
      - '8080:8080'
    command: '*.zim'
I'm using nano to create this file:

Here’s a breakdown of the docker-compose.yml file:
version: '3': Defines the Docker Compose version.services:: Specifies the services to run, in this case, a Kiwix server.image: ghcr.io/kiwix/kiwix-serve:3.7.0: Uses the Kiwix server Docker image.volumes:: Maps the host folder (/home/user/kiwix) to the container’s/datafolder, allowing access to ZIM files.ports:: Maps port 80 inside the container to port 8080 on the host for web access.command:: Tells the Kiwix server to serve all ZIM files with the.zimextension from the/datadirectory.
Here's the docker-compose.yml file with all the zim files in the same directory:
Next, you need to run it using this command:
docker-compose up -d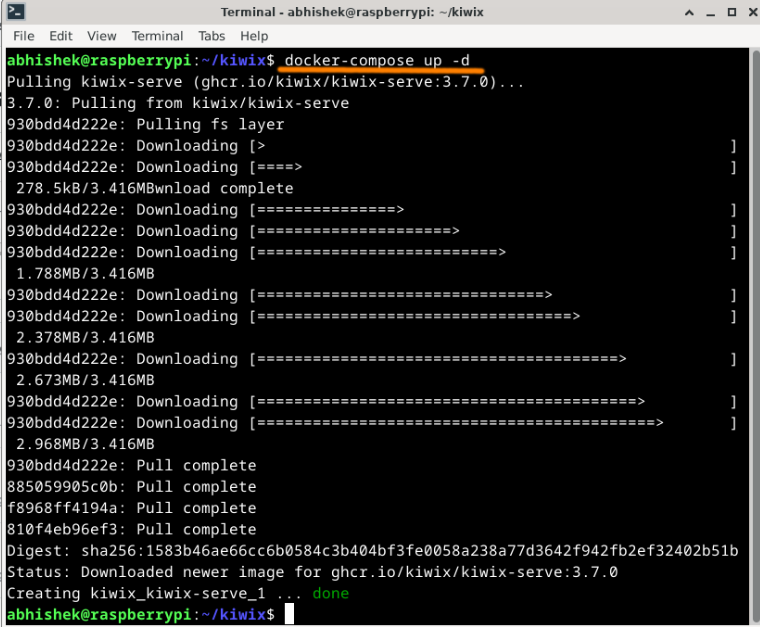
This command will start our kiwix server in -d daemon mode on port 8080.
Kiwix first run
Now that your Kiwix server is up and running, it's time to see it in action.
Open your web browser and go to your Pi's local IP address http://192.168.*.*:8080.
You’ll be greeted with a list of the ZIM files you’ve already stored in your /data directory.
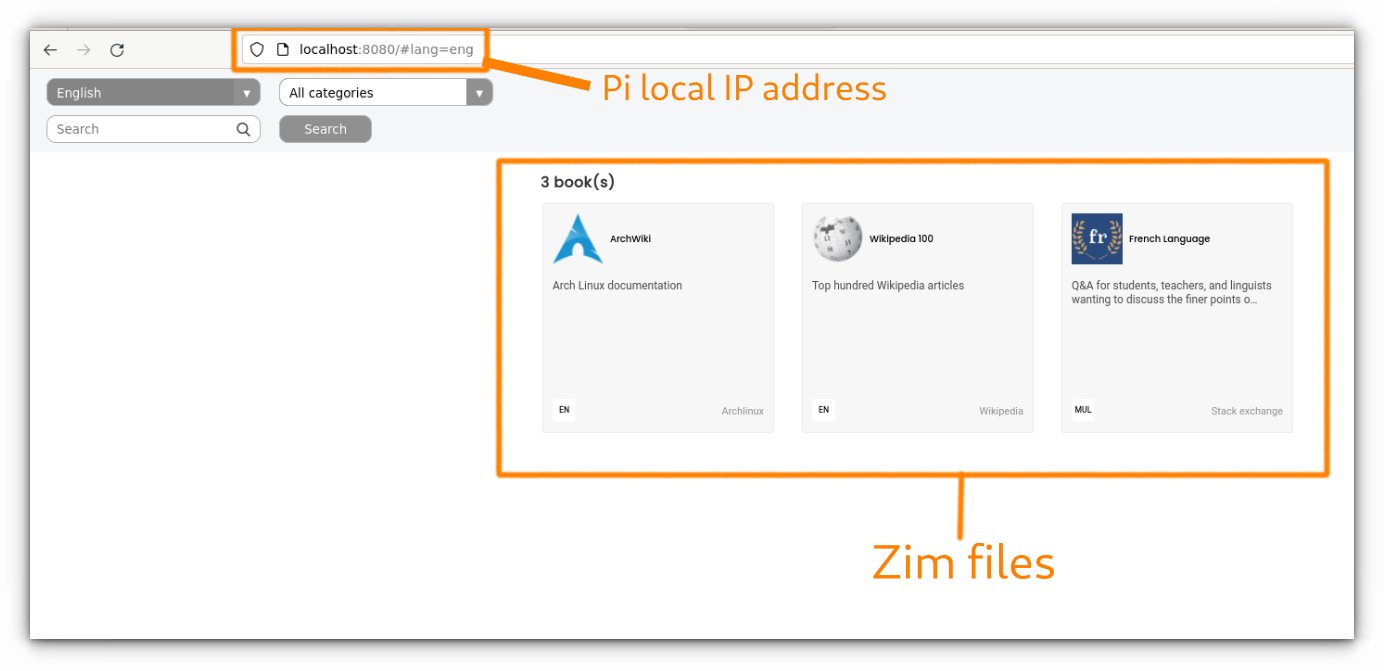
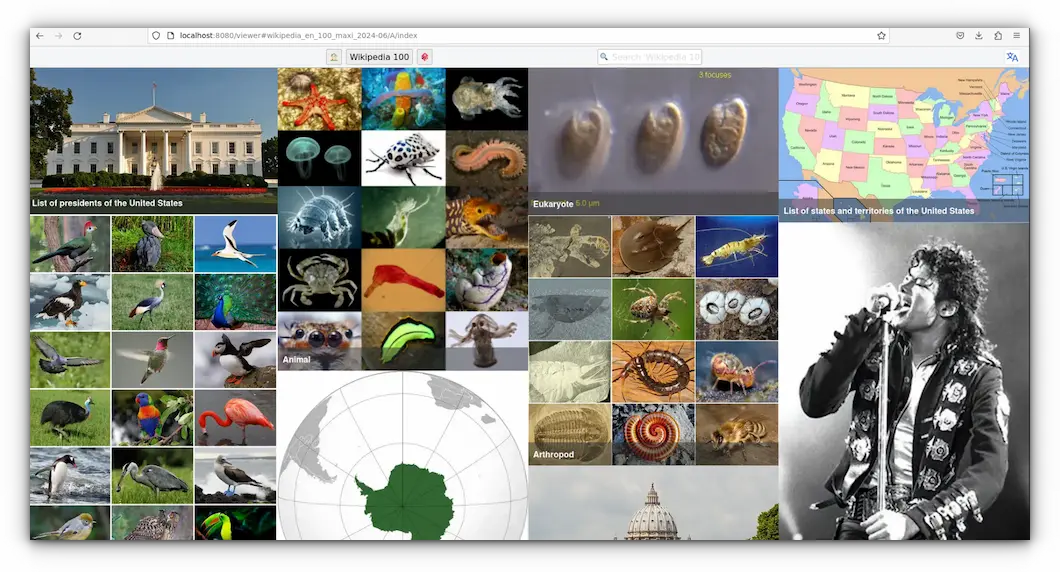
Let's explore each file and see how well do they work in the Kiwix interface. Here's our offline Wikipedia:
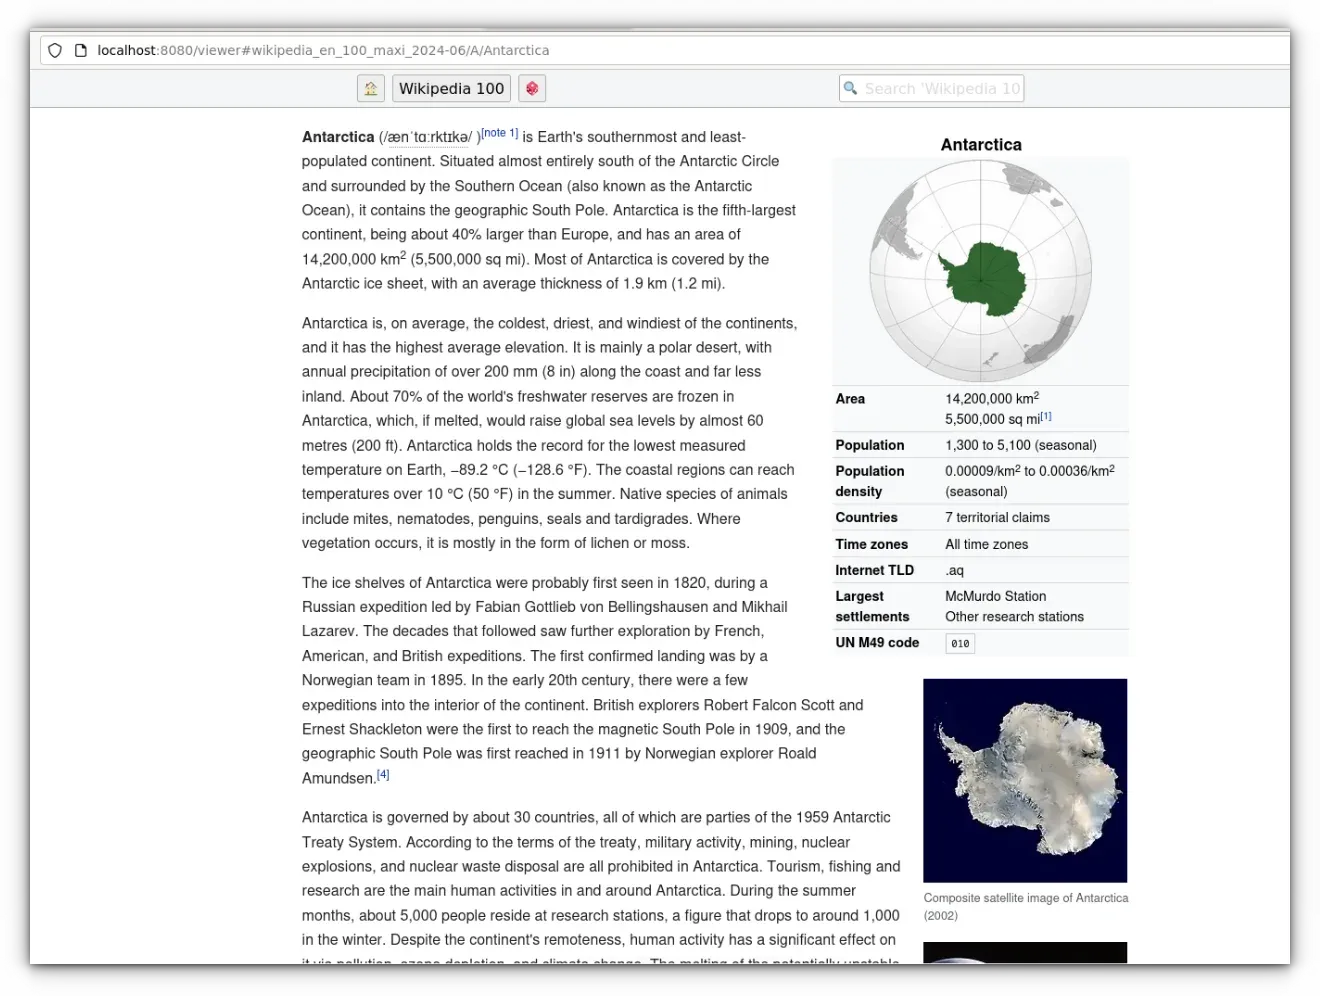
Reading about Antarctica:
Archwiki: Because when the world goes into chaos, someone’s got to say, “By the way, I use Arch.”

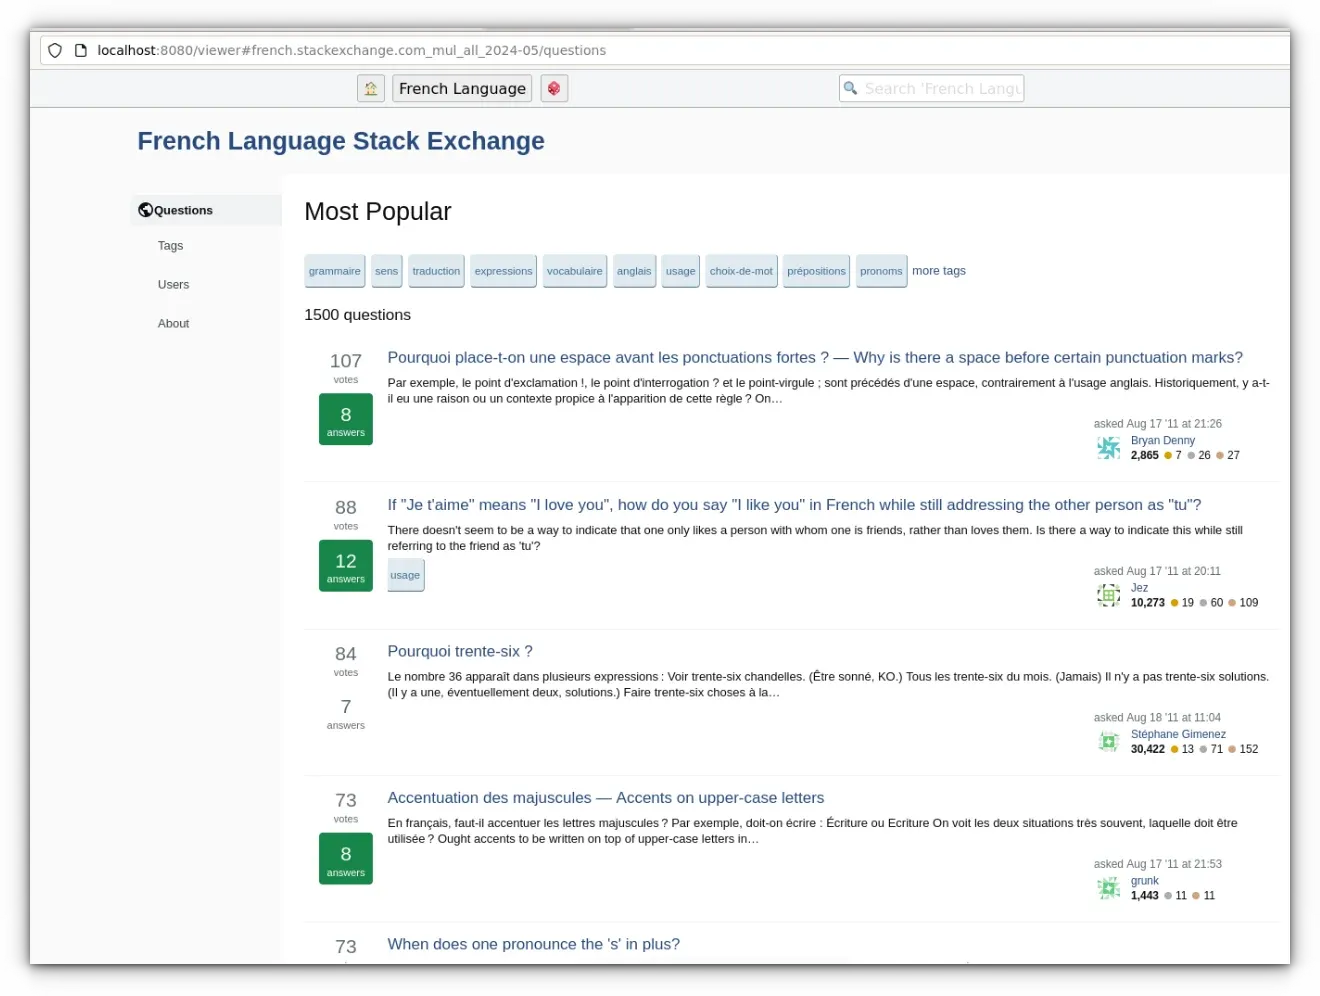
and our last document of French Language Forum: A collection of resources and conversations in French.
Final Thoughts
Setting up Kiwix on the Raspberry Pi was straightforward, but microSD cards aren’t ideal for long-term storage. They get expensive and slow, especially if you’re loading big ZIM files.
I’d suggest adding an external HDD or SSD for more space and speed- it’s a much more practical solution.
If you’re serious about going off-grid or just want a reliable offline knowledge base, Kiwix is a great place to start.
When the internet goes down, having your own library could be a game-changer.
What’s your apocalypse plan? Let me know in the comments!

