

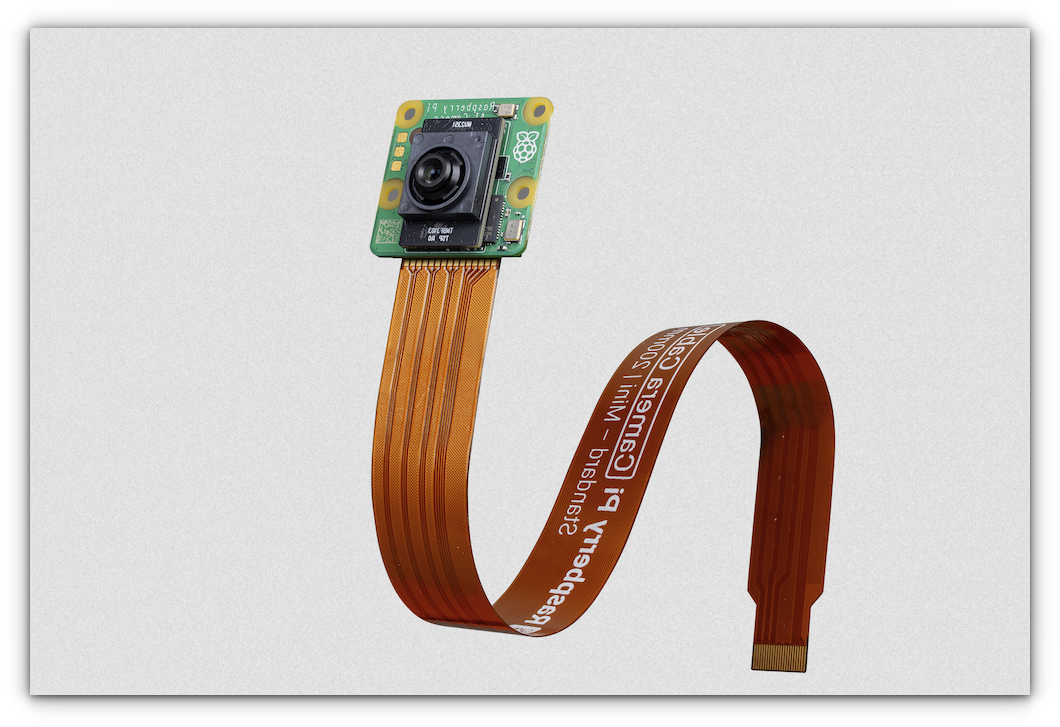
The Raspberry Pi ecosystem just got a massive upgrade with the release of the new Raspberry Pi AI Camera, designed in collaboration with Sony.
This isn’t your run-of-the-mill camera module that just snaps pictures or records video, it’s built to perform AI tasks right on the camera itself, freeing up the Raspberry Pi’s CPU and GPU to do other work.
Whether you're a tech enthusiast or a professional developer, this new camera promises to change the game for edge AI and computer vision projects.
But is the Raspberry Pi AI Camera really worth all the hype?
Let's dig into the details and find out what makes this tiny piece of hardware so special.
What's the hype?
At the heart of the Raspberry Pi AI Camera is the Sony IMX500 sensor, a 12.3-megapixel beast that doesn’t just capture pixels it 'processes' them.
Unlike traditional Raspberry Pi camera modules that rely on the Pi’s CPU or an external AI accelerator for image analysis, this camera does it all onboard.
It features 8MB of dedicated memory that’s used exclusively for running AI models directly on the sensor, allowing it to handle complex tasks like real-time object detection, image segmentation, and pose estimation.
Why does this matter? Because it lets you run computer vision tasks without hogging your Raspberry Pi’s resources.
While the Pi is busy doing other things like running your robot, managing your smart home, or streaming data to the cloud, the AI camera handles the heavy lifting of visual analysis in the background.
Raspberry Pi AI Camera Specifications
Here's what you're working with when you get your hands on this camera:
- Sensor: Sony IMX500 (12.3 megapixels)
- Resolution: 4056×3040 at 10 fps, or 2028×1520 at 40 fps
- Lens: Manual focus, 4.74mm focal length
- Field of View: 66° horizontal, 52.3° vertical
- Shutter: Rolling shutter (beware of fast motion artifacts)
- AI Processing Resolution: 640×640 (max for AI models)
- Output Formats: RAW10, Bayer, YUV, RGB
- Memory: 8MB for AI model storage and processing
- Size: 25×24×11.9 mm
- Price: $70
The AI Camera’s manual focus is one of its few drawbacks. While we’ve gotten used to the motorized autofocus found in the Raspberry Pi Camera Module 3, here we’re back to manually adjusting the focus.
It’s not a dealbreaker, but it's certainly not a feature you’d expect in a $70 camera in 2024.
Also, it has a rolling shutter, meaning fast-moving objects might produce some visual distortion.
What it can do?
Thanks to the onboard RP2040 microcontroller and the dedicated memory, the AI Camera can run computer vision models directly on the sensor.
That means no more installing external accelerators like Google’s Coral or relying on the Raspberry Pi’s CPU to process AI models everything happens on the camera itself.
For starters, you’ve got two built-in AI models:
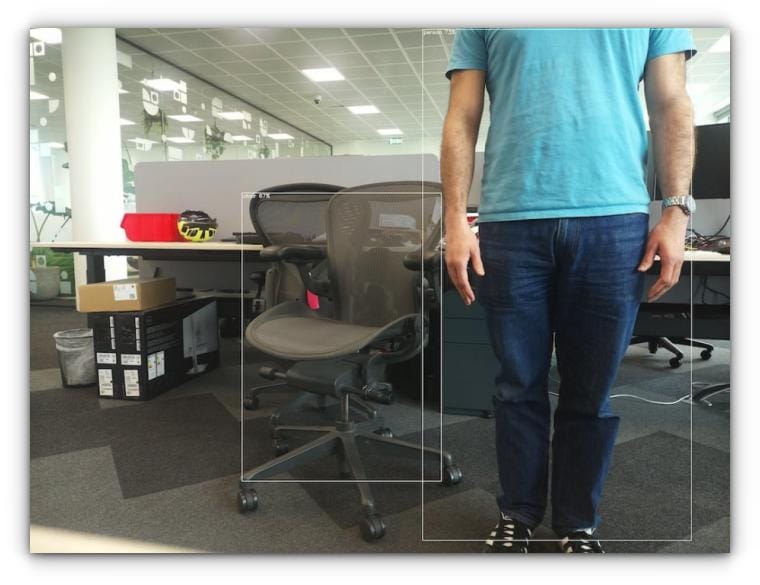
- MobileNet SSD for real-time object detection
- PoseNet for pose estimation
And if you want to go beyond these models, Raspberry Pi has provided a "model zoo" on GitHub with other options like YOLOv8n (for high-speed object detection) and ResNet18 (for image classification).
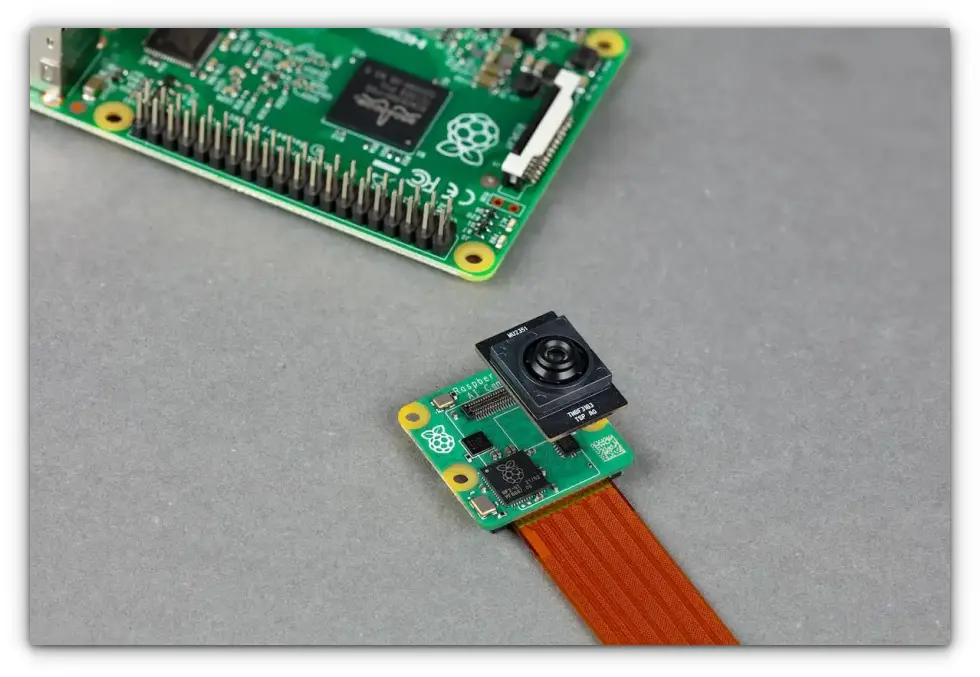
The process is seamless: you connect the AI Camera to your Pi’s CSI interface, load the AI model into the camera’s 8MB of memory, and run your Python script.
Once the model is loaded, it stays there, constantly processing images in real-time, and spitting out metadata or overlaying it on the video feed without burning through your Pi’s CPU cycles.
Project ideas for Raspberry Pi AI camera
The Raspberry Pi AI Camera isn’t just a tool for capturing moments; it’s a platform for building intelligent systems.
Here are some project ideas if you're excited about this new camera:
AI-Enhanced Smart Doorbell
Build a smart doorbell that uses real-time object detection to differentiate between humans, animals, and packages. Send alerts based on the object detected, and never miss a delivery again!
If you're looking for some inspiration, check out this amazing guide by Tom's Hardware, where Ryder built a smart doorbell using a Raspberry Pi.
It's a fantastic project that shows you how to create a person-detecting doorbell system with a bit of machine learning.
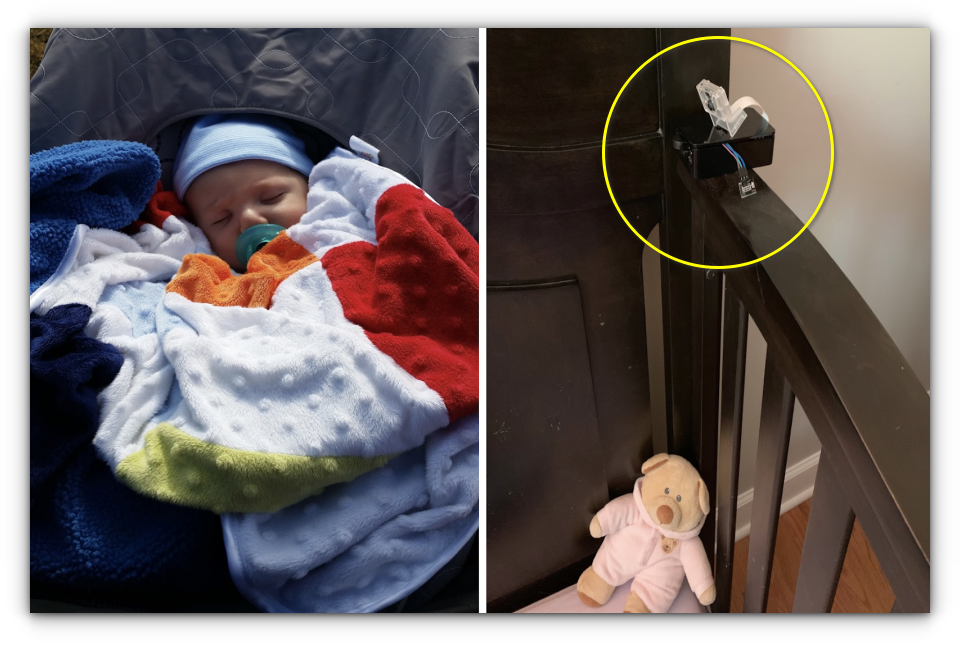
Smart Baby Monitor
With its real-time object detection and pose estimation capabilities, you could create a smart baby monitor that alerts you when the baby is moving, waking up, or if something unusual is happening—giving parents peace of mind.
If you’re thinking of building one yourself, be sure to check out How to Make a Smart Baby Monitor, where Ryan walks you through how he built his own smart baby monitor.
Interactive Gesture Control for Smart Homes
Using the PoseNet model, you can create gesture-controlled smart devices.
Imagine controlling your lights or thermostat with a simple wave or specific hand gesture, no voice assistants required.
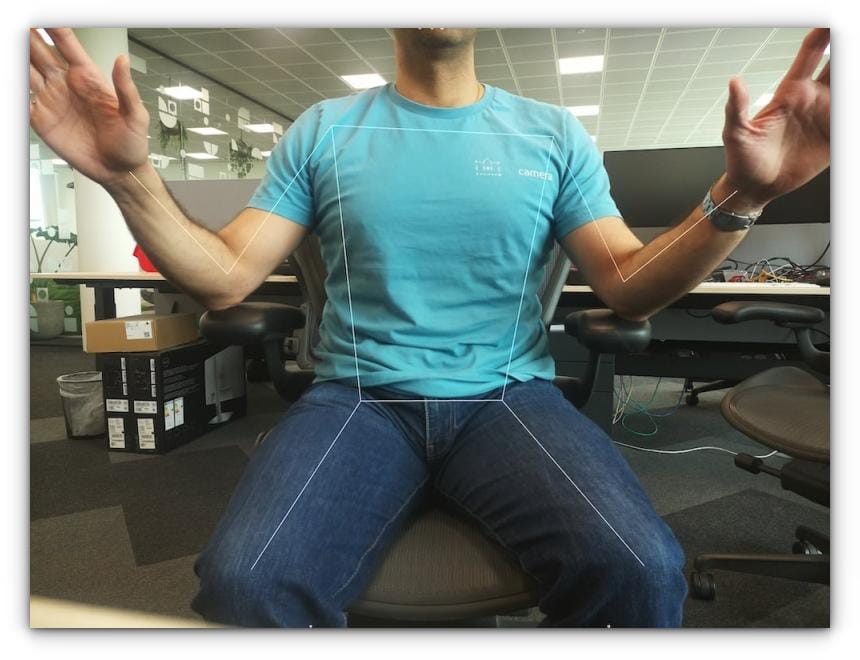
If you are serious about this, you can see in the image below, the system is performing real-time multiple hand recognition with finger segmentation.
This setup enables you to track hand poses or even use specific gestures to trigger commands.
If you’d like to learn more, check out the full article by Core Electronics.
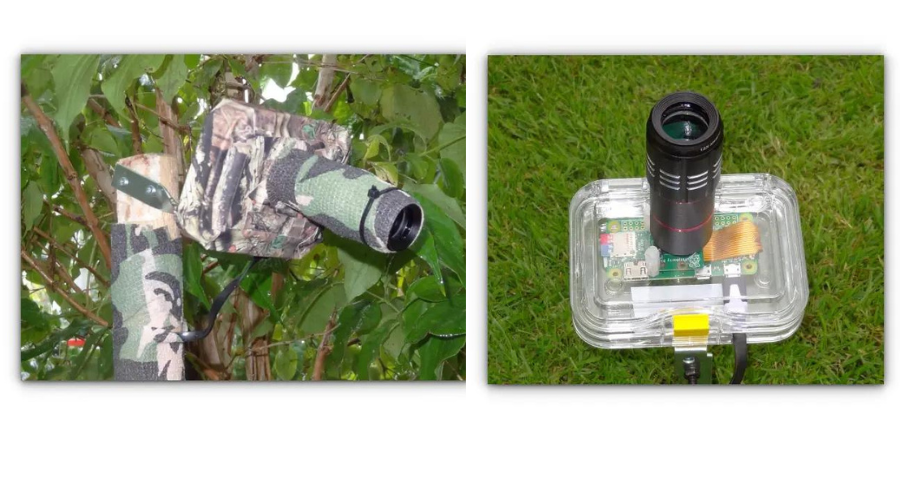
Wildlife Surveillance
The AI Camera can act as a smart wildlife monitor, automatically recognizing specific animals and logging their activity.
Instead of wading through hours of footage, the camera’s AI capabilities can pinpoint when your target animal appears.
In the below image you can see this amazing Motion-Detecting Wildlife Camera setup that relies on the Raspberry Pi Camera Module V2.1 and takes full advantage of the Pi Zero W’s built-in Wi-Fi & Bluetooth to remotely monitor wildlife.
I could not access the official project website which I believe has gone down, but you can still see the marvel that this build became in the article published by PetaPixel.
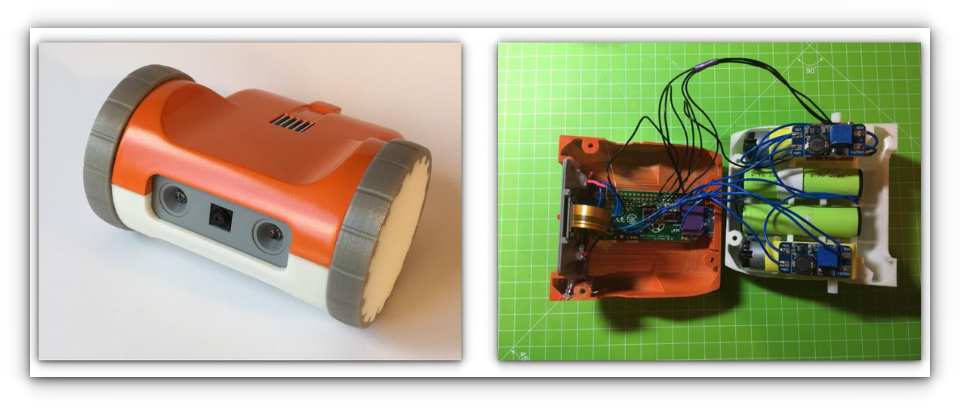
Edge AI for Robotics
In robotics, vision is essential. Equip your robot with the AI Camera for tasks like object avoidance, face recognition, or even advanced object manipulation, all without needing an external AI accelerator.
One standout project in this space is ZeroBot, featured in a Hackaday article. ZeroBot is a Raspberry Pi Zero W-based robot that can be controlled using any computer or smartphone via a web browser.
I think its sleek and efficient, requiring no elaborate external setup to get started, though upgrading to a more powerful Raspberry Pi could enhance its image processing capabilities.
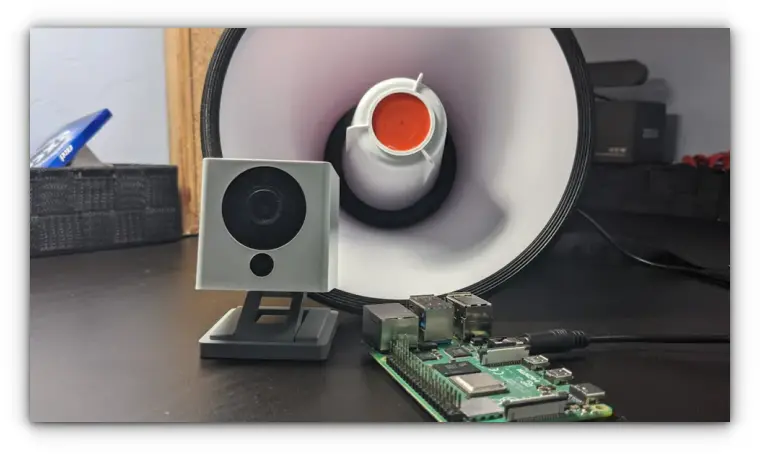
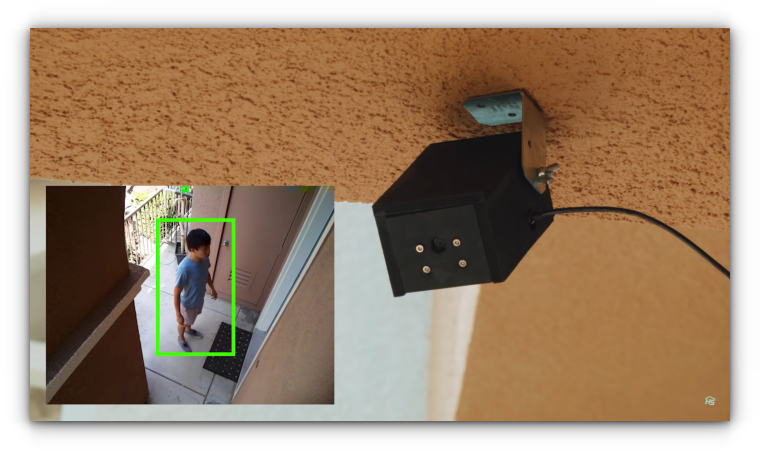
Security and Safety Monitoring
Deploy the AI Camera to monitor spaces for safety hazards, like identifying if a machine is left on, a tool is misplaced, or even if someone has fallen, making it a valuable tool for factories, hospitals, and homes alike.
Check out this project published on Hackster.io that demonstrates how to set up a smart security camera using a Raspberry Pi Zero W and camera module.
Equipped with object detection powered by OpenCV, the camera can alert you via email whenever it detects an intruder. Plus, it streams live video, allowing you to monitor your property in real time, even when you're away.
My Thoughts
As someone who's been following the evolution of Raspberry Pi’s ecosystem for a while, I am really excited about the Raspberry Pi AI Camera.
The idea that you can run real-time computer vision tasks directly on the camera without taxing your Pi’s CPU is impressive.
A worth considering point is the power consumption. At around 1.87W under load, it’s not a deal breaker for most projects, but if you're thinking of using this in a portable, battery-powered setup, you'll need to plan carefully.
In the end, the Raspberry Pi AI Camera feels like a specialized tool for a niche audience. If you’re just after a plug-n-play camera solution for casual use, save yourself the extra cost and go for the Camera Module 3.
But if you’re diving deep into machine learning and need real-time image processing without extra hardware, this AI Camera is a solid choice.
If you’d like to know how to set it up and use it with your Pi, do let us know in the comments below, and we’ll be sure to cover it in the next article!

