When you execute a code and encounter an error, it points out a part of a code and the number of a line where the error lies.
To me, this was the main reason why I wanted to enable line numbers in the nano text editor and you can do it in two ways:
- Display the current line number at the center bottom
- Show all the line numbers on the left side
But before I jump to the detailed part, here's a quick look at what I will be explaining in this tutorial:
| Action | Description |
|---|---|
nano -c Filename |
Open the file with the line numbers at the center bottom. |
Ctrl + C |
It has the same behavior as above but is used inside the Nano editor. |
set constantshow |
Add this line to the ~/.nanorc file and make the above action permanent. |
nano -l Filename |
Open the file with numbers displayed on the left side of the Nano editor. |
Alt + # |
It has the same behavior as above but is used inside the Nano editor. |
set linenumbers |
Add this line to the ~/.nanorc file to show lines on the left side permanently. |
Pretty easy. Right?
Want more details? I got you!
Display only the current line number in Nano
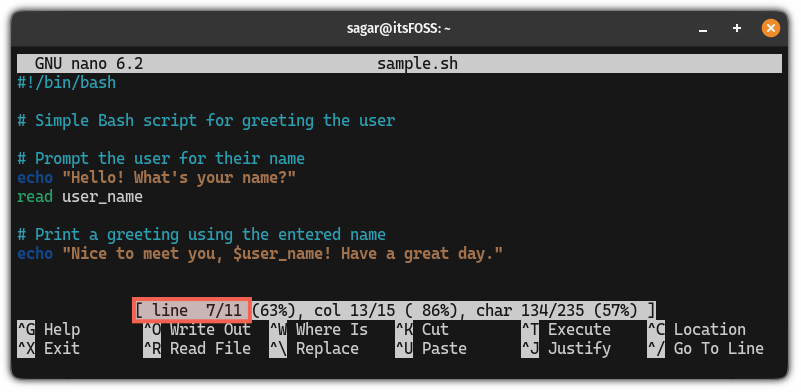
The easiest way to show the current line number is to start the nano editor with the -c flag as shown here:
nano -c Filename
As you can see, it shows the current line number alongside the total number of the file.
Show the current line number in nano using the shortcut
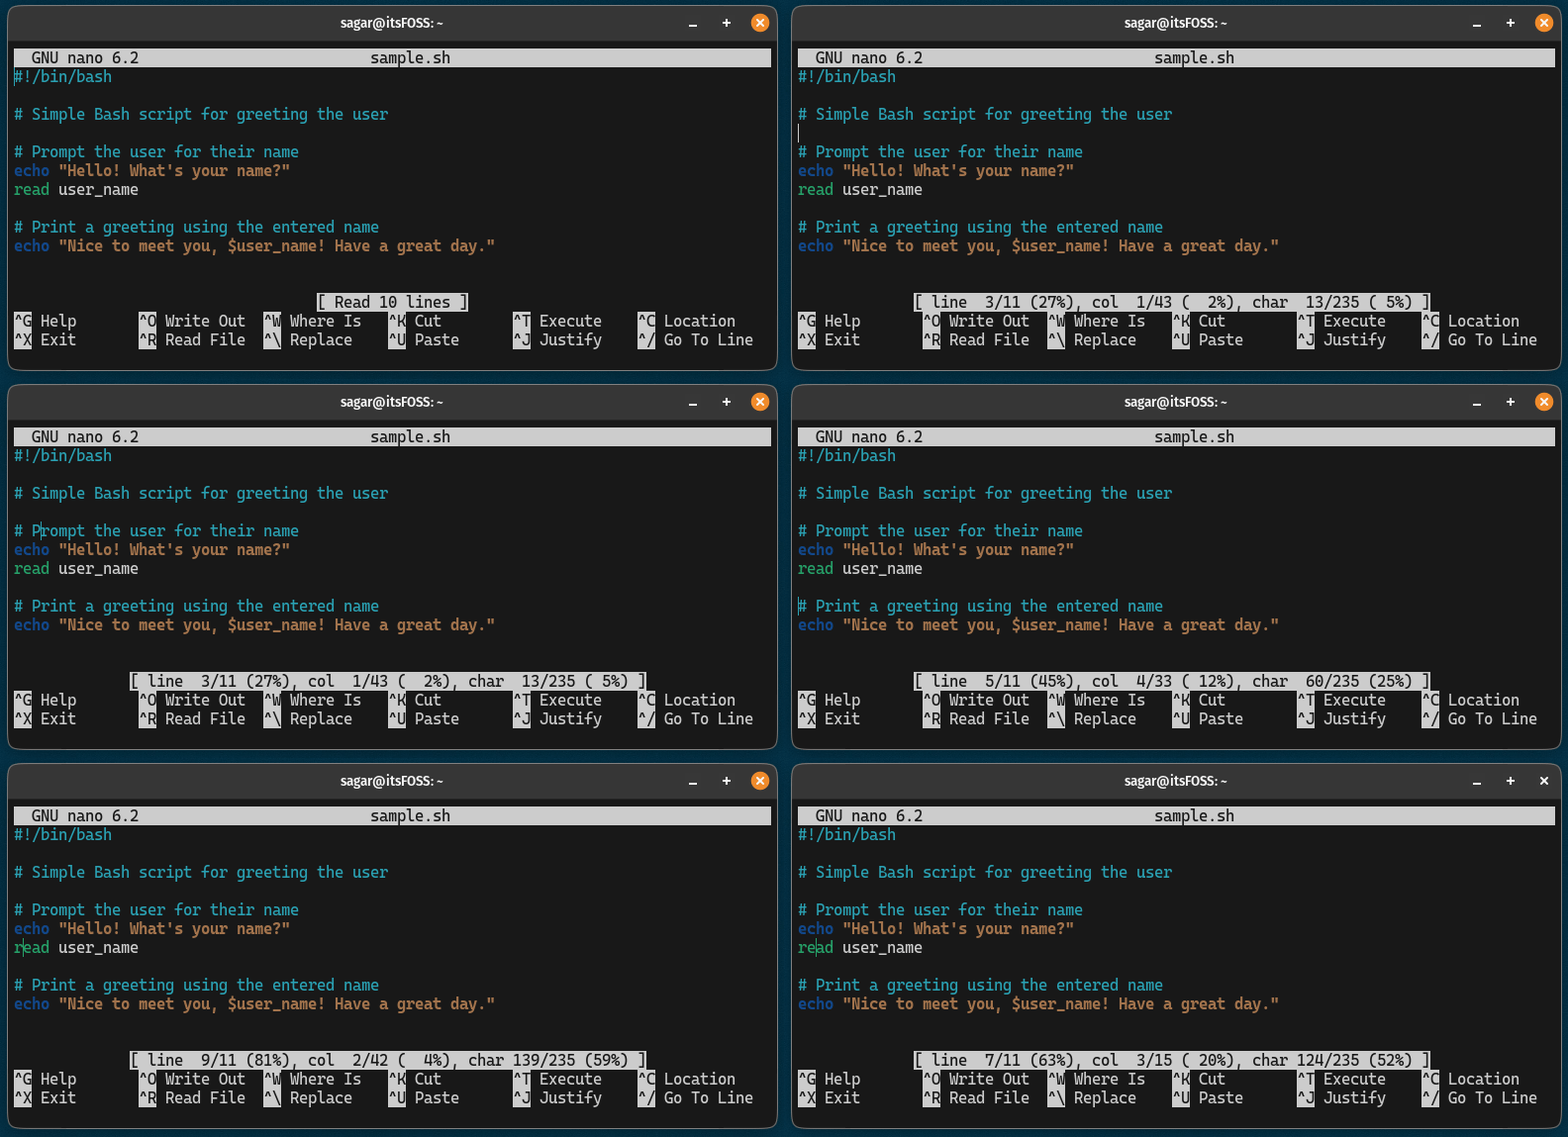
Ctrl + C every time you want to check the number of a line. Sure the above method works like a charm but what if you forgot to start the nano editor with the -c flag?
Well, you can achieve the same using the Ctrl + C shortcut:

Show the current lines in Nano permanently
If you want to show the current lines in the nano editor permanently, then you have to make a few changes in the nano editor:
nano ~/.nanorcNow, paste the following line into the ~/.nanorc file:
set constantshow
Now, save changes and exit from the nano editor.
To take effect from the changes you've made to the nano configuration file, source the file using the following:
source ~/.nanorcFrom now on, you will see nano showing the current line number permanently.
Display the number of every line in the Nano editor
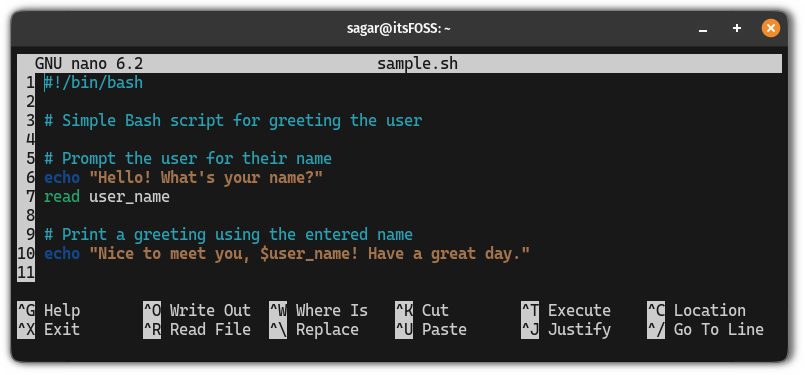
Want to show the number of every line in the nano editor? The easiest way is to start the nano editor with the -l flag:
nano -l File
There you have it!
Show the number of every line in nano using the shortcut
You may forget to use the -l flag with the nano editor or you just want to display the number of every line for little time.
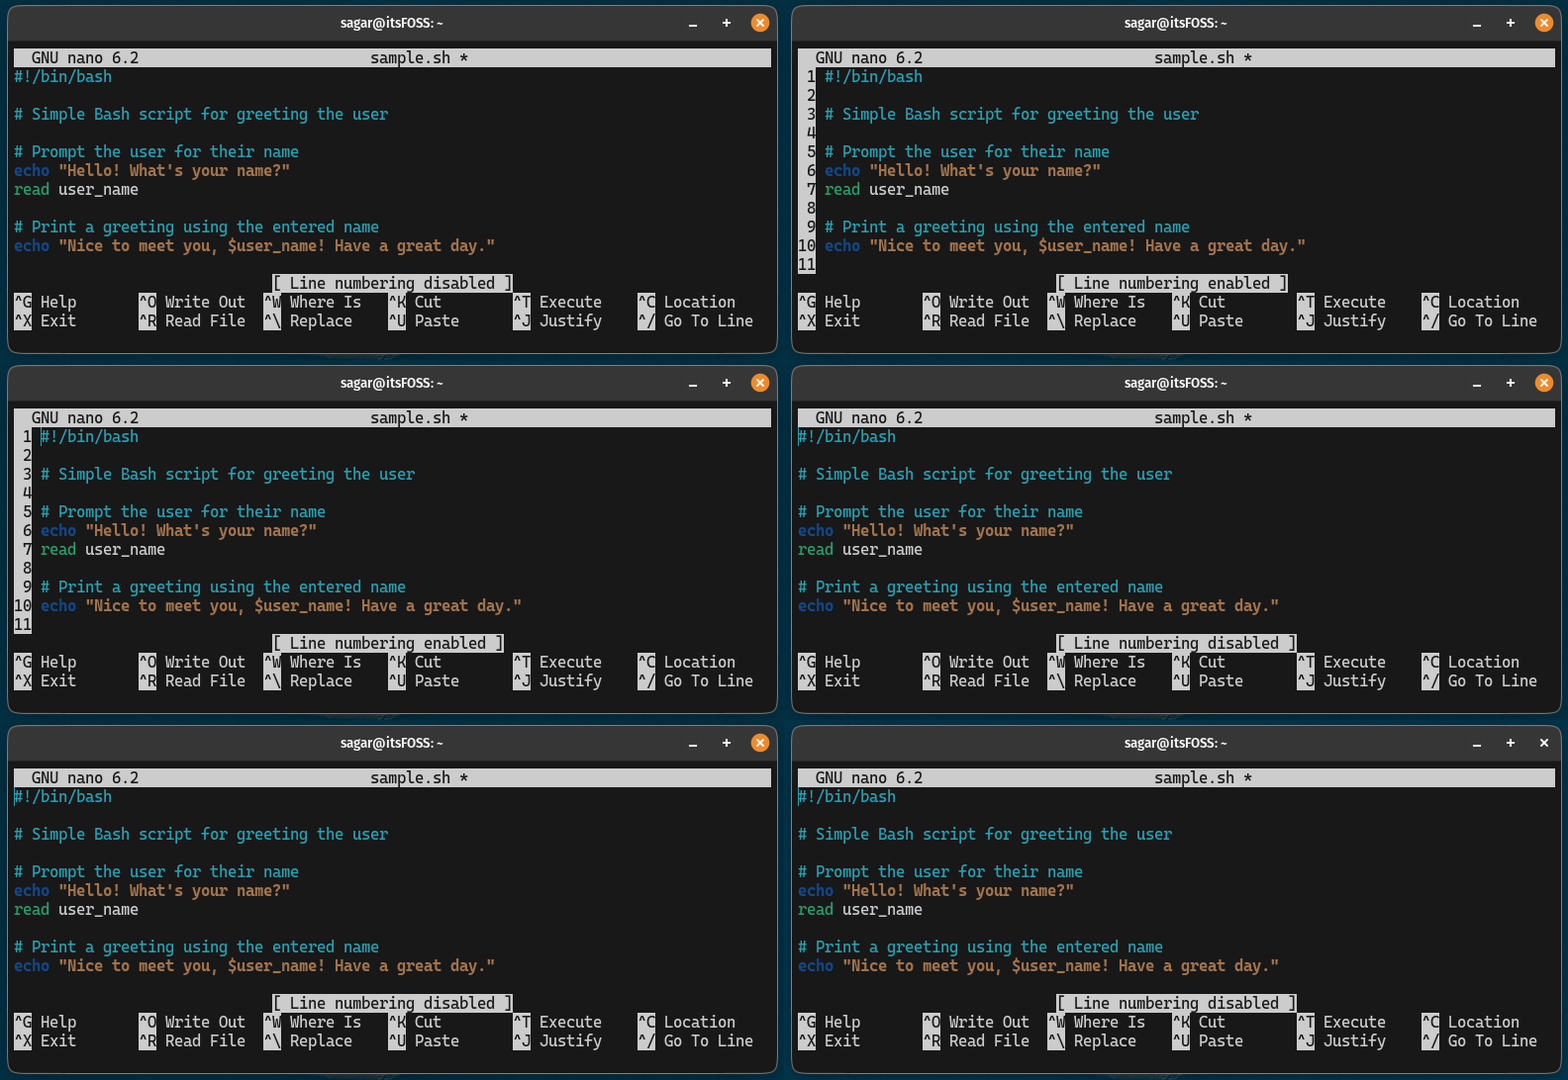
In that case, you can use Alt + # or Alt + Shift + 3 to activate the column indicating the number of every line in the file which can be deactivated using the same shortcut:

As you can see, when you press Alt + #, it enables the line numbers and notifies the action by saying Line numbering enabled.
Show the number of every line in Nano permanently
If you want to enable the line number column permanently, then you have to make a few changes to the nanorc file.
First, open the nanorc file using the following command:
nano ~/.nanorcNext, paste the following line in the nanorc file:
set linenumbers
Now, save changes and exit from the nano text editor.
To take effect from the changes you've made to the nanorc file, source the file using the following command:
source ~/.nanorcThat's it!
Beginner to the Nano editor? Let me help
If you've just started embracing the Linux terminal, you may find the nano editor a little complex, especially if you're switching from a GUI editor.
In that case, you can refer to our beginner's guide to the nano editor:

I hope you will find this guide helpful.


