So, you are willing to try the openEuler Linux distribution, an open source project backed by some of the biggest names in China with the aim to create a unified operating system, specially for developers. It should not be too unfamiliar to you if you have used Fedora, CentOS or any other distribution on the Red Hat side.
Let's see how you can install it in this tutorial.
Download openEuler
First, you need to download the ISO of openEuler from the official website. On the official website, hover over Downloads and select a version of openEuler.
Note that it has ISOs for various types as well; Server, Edge Cloud, Cloud Computing and Embedded.
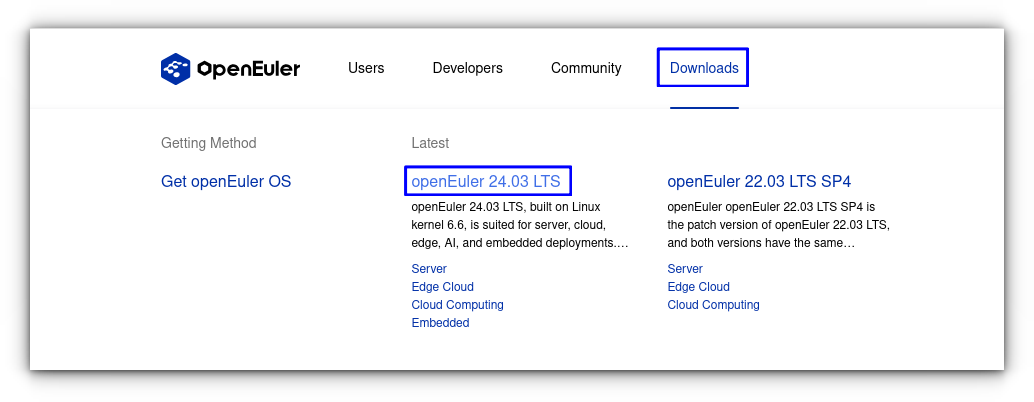
There is no dedicated desktop version. If you are looking to install openEuler on a regular desktop, you install the server version and then install a desktop environment.
And that's what we are going to do in this tutorial.
Download the standard ISO file using the download button. You can also click on View All and then select another Mirror Site column as shown below.
There is also an offline version that includes all the software packages but downloading a 21 GB ISO is not what I advise.
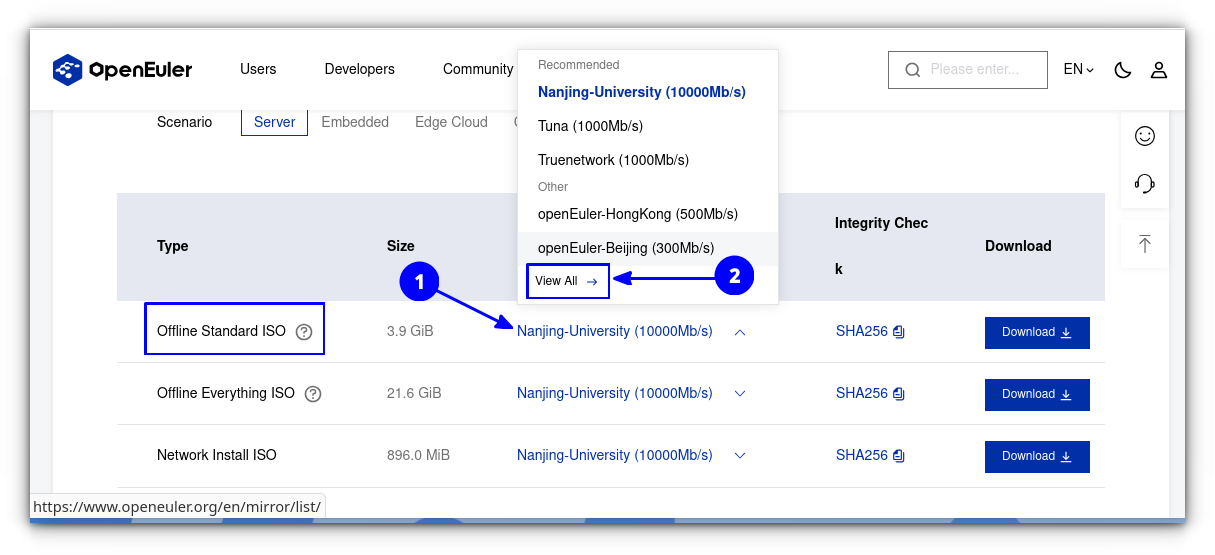
Here, openEuler 24.03 LTS is used.
Install OpenEuler
Once you have downloaded and verified the ISO file, flash it to a USB drive.
When booted, select "Test this media & install openEuler" option.
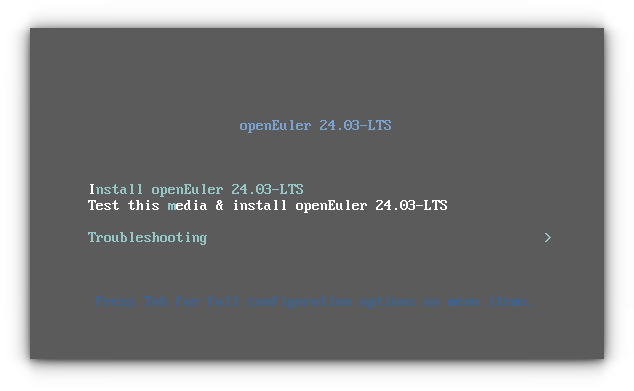
openEuler uses the Anaconda installer, the one used in Fedora. In the first step, select your language and click on continue.
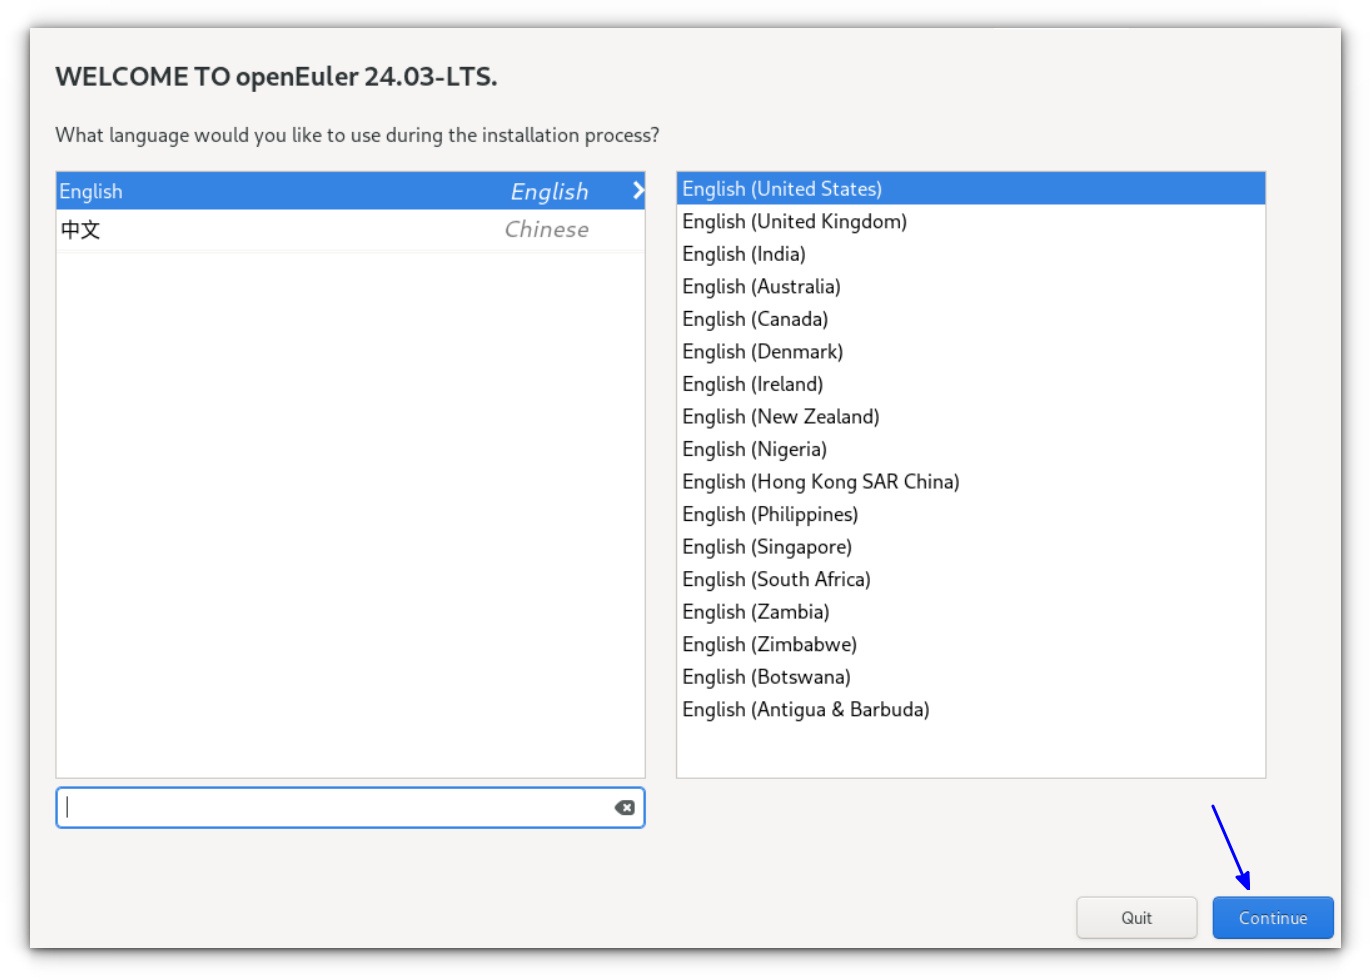
Set the keyboard layout, timezone, and language to your requirements.
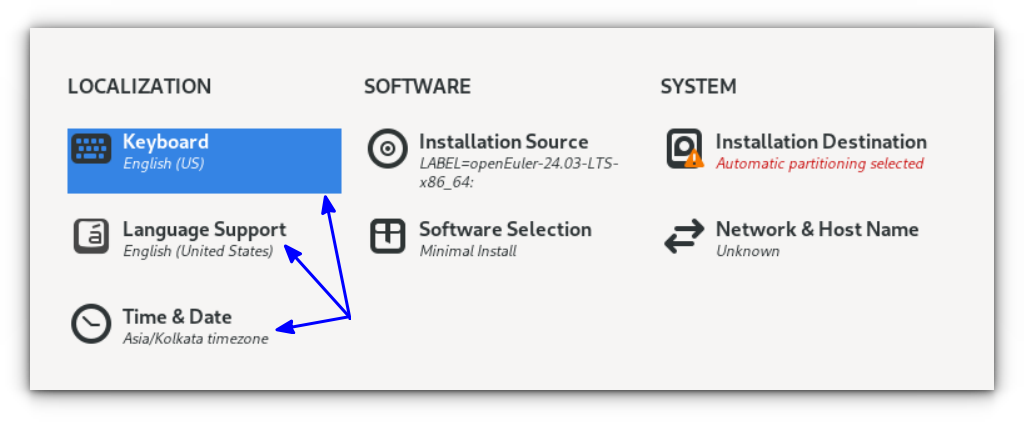
Next, you can see that the Software Selection is Minimal Install. Click on the Software Selection button to get more options.
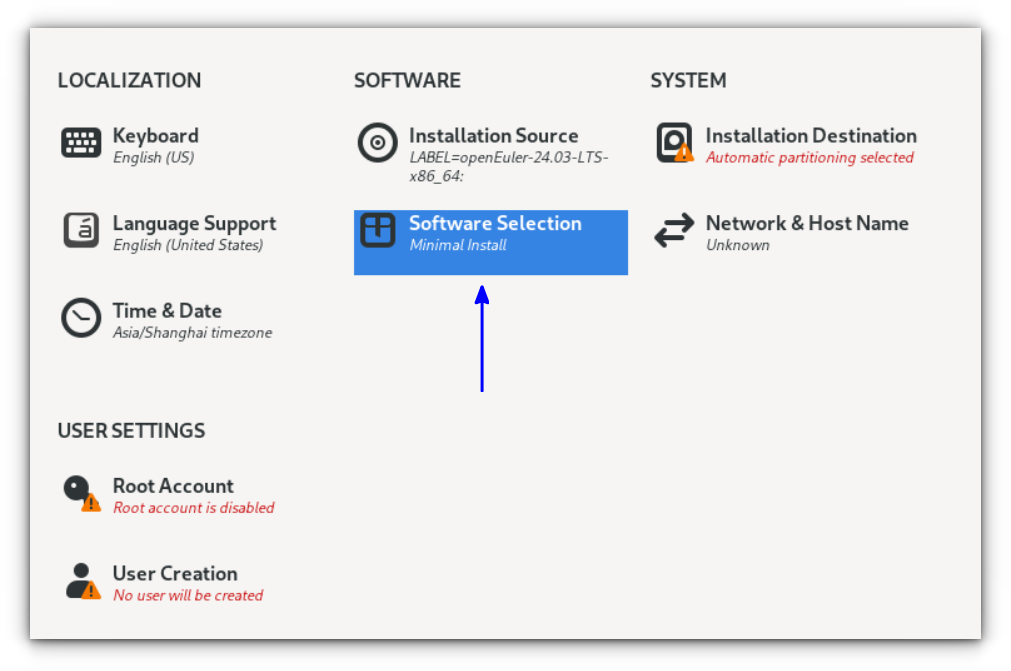
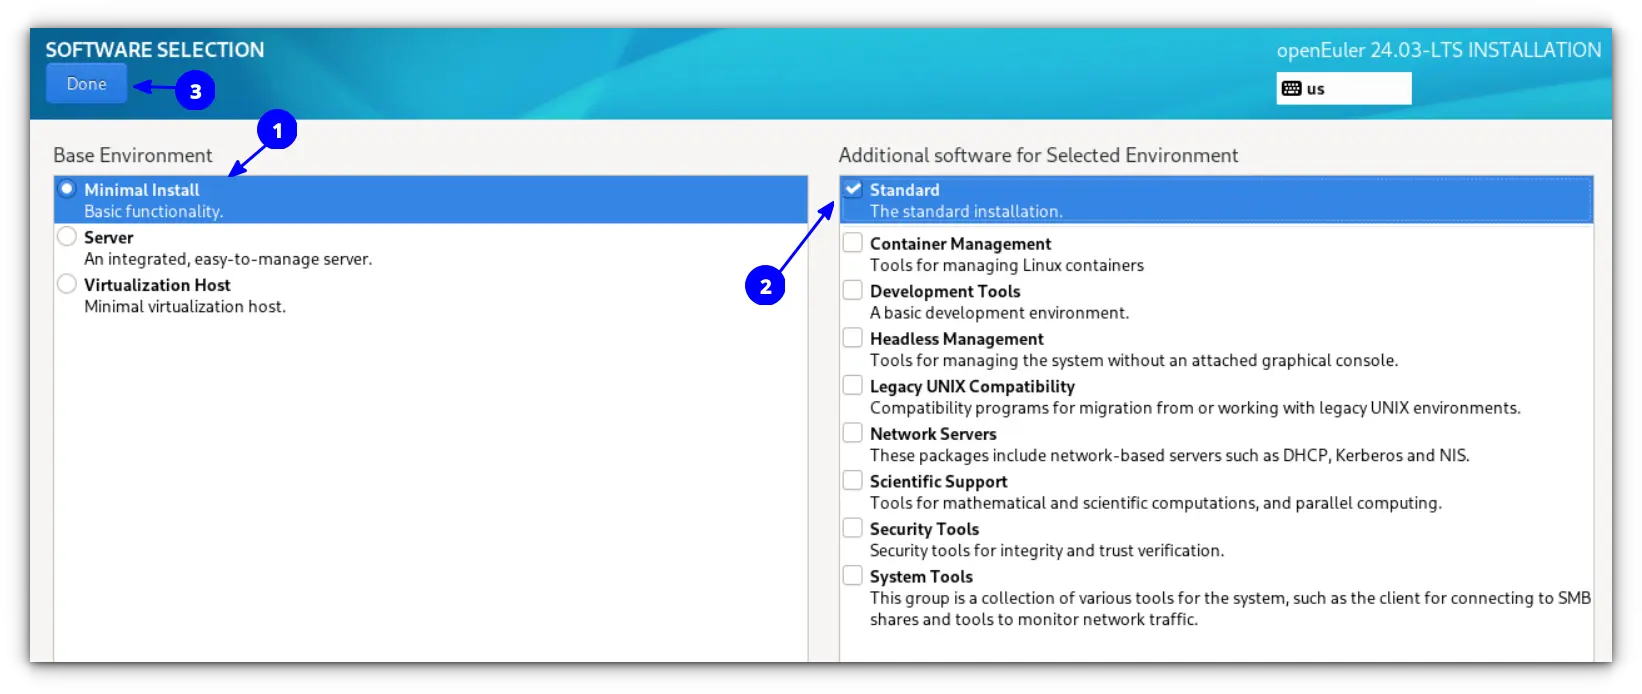
Here, I have selected the Minimal Installation along with the Standard option.
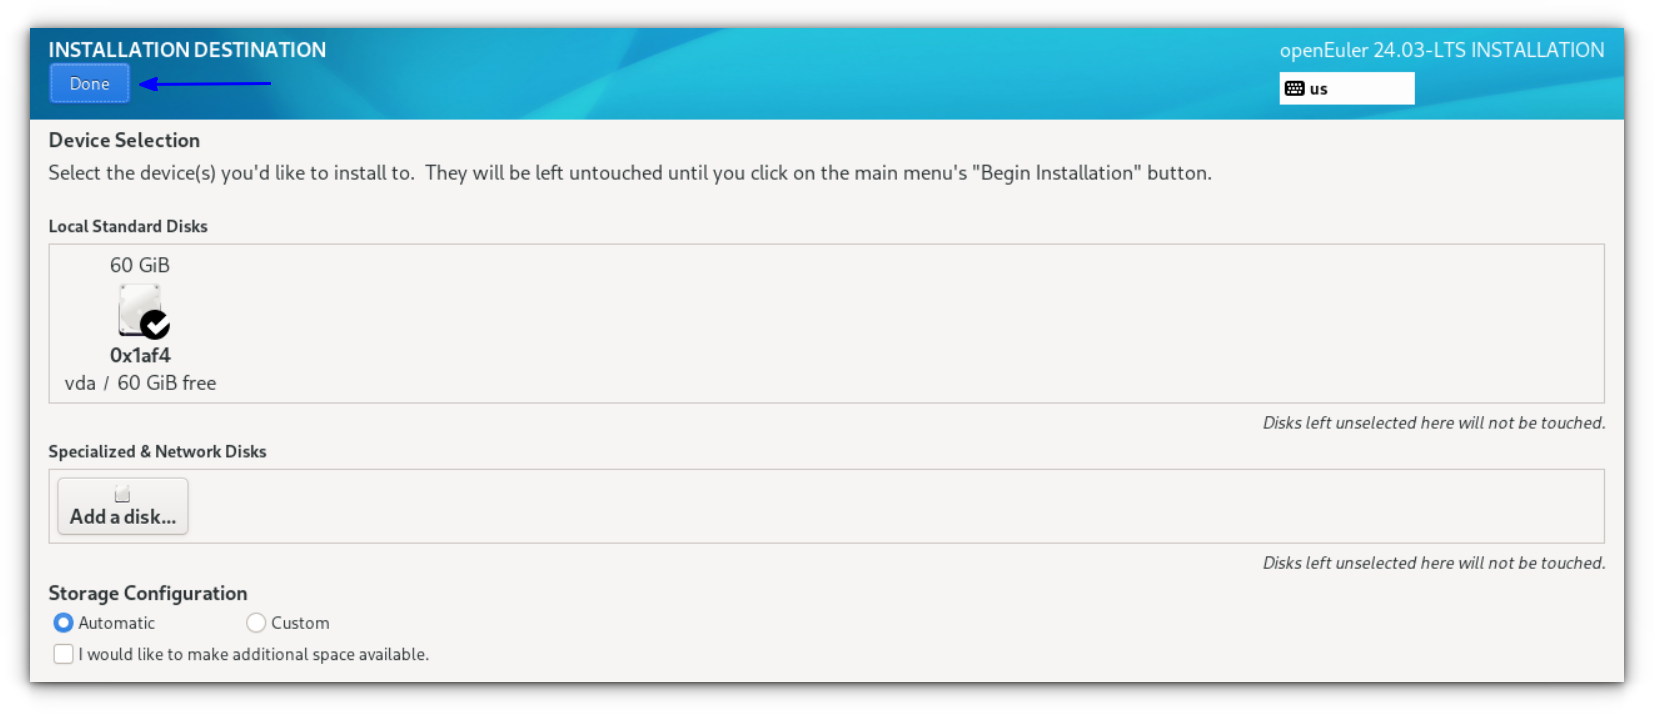
As the next step, click on the Installation Destination button.
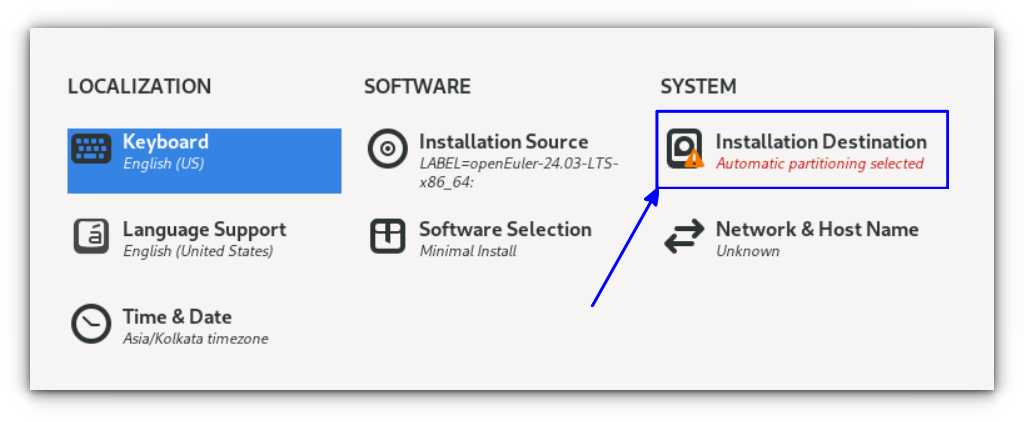
Since it is automatic partitioning, just press the Done button, unless you have some manual partition needed.
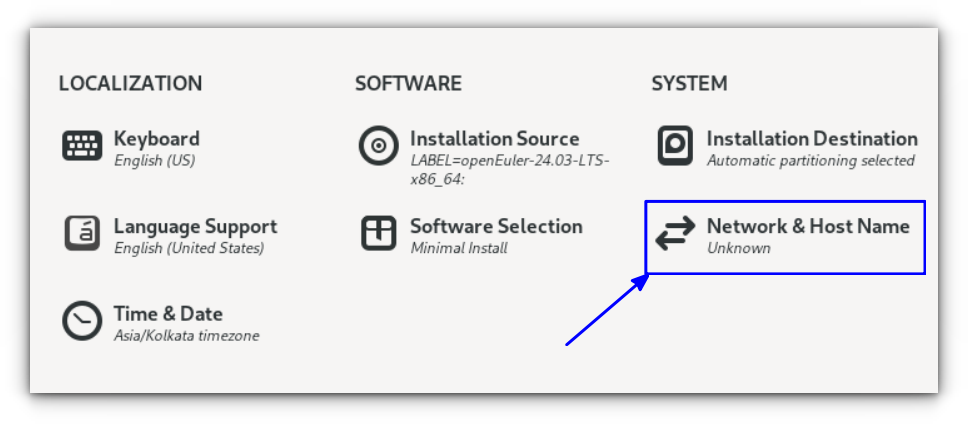
Click on the Network & Hostname button.
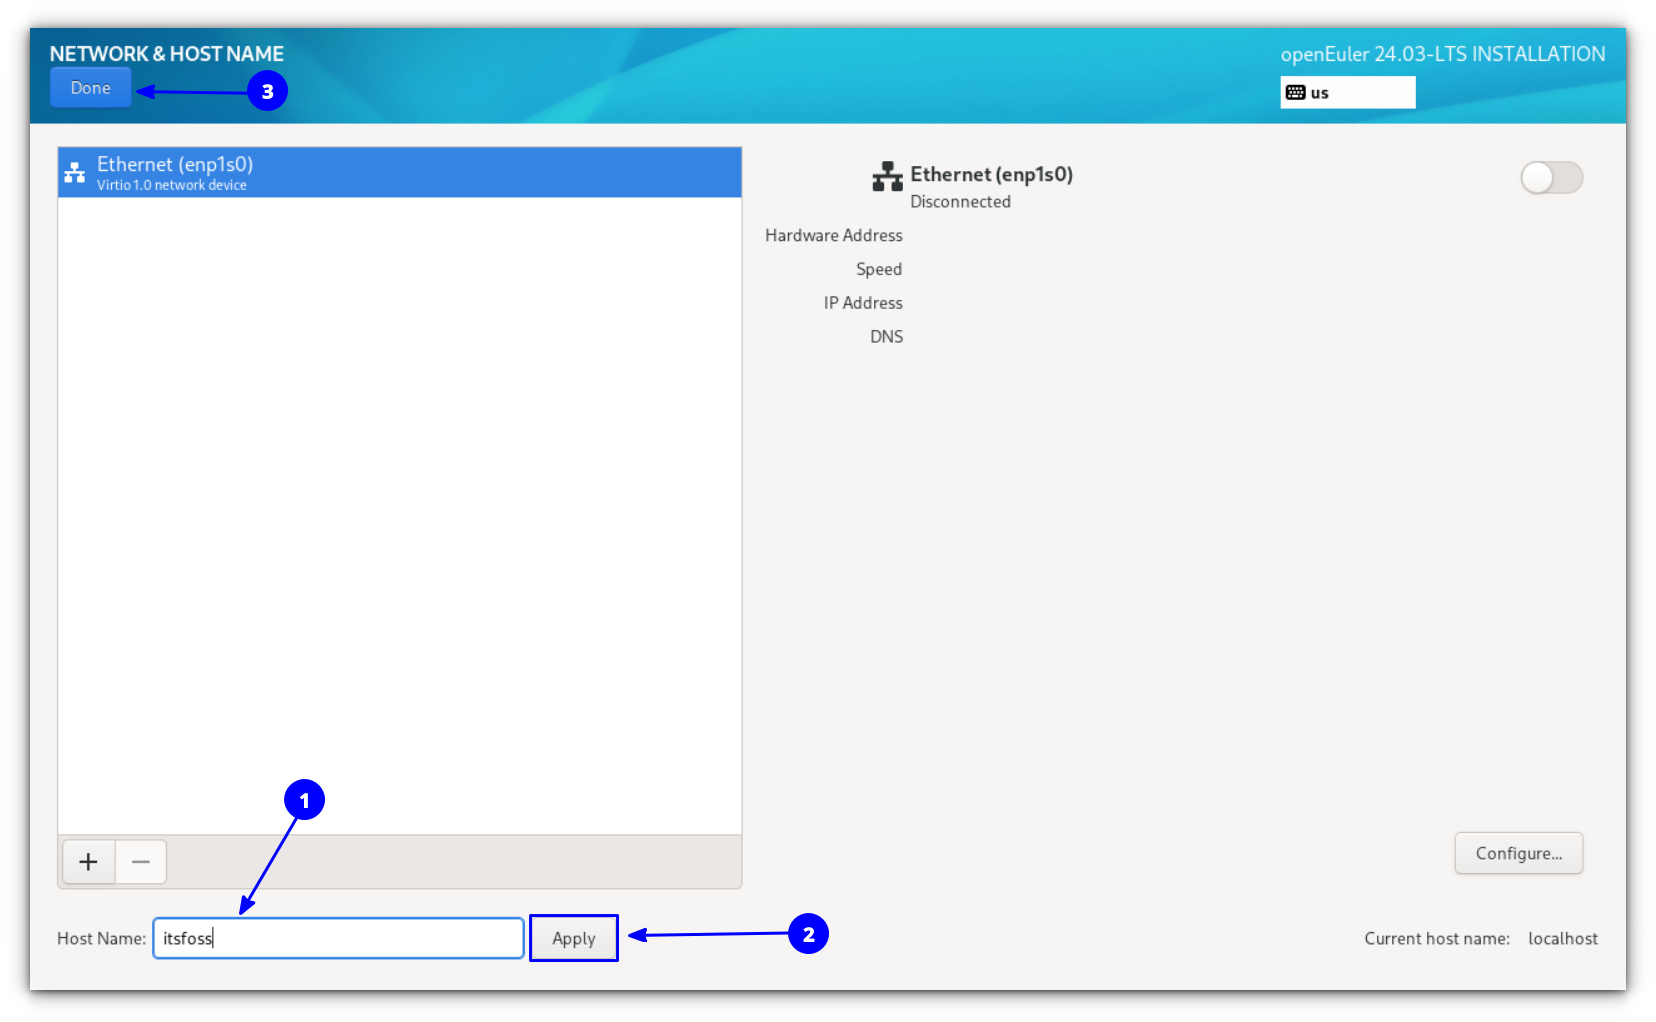
Inside the settings, set a hostname.
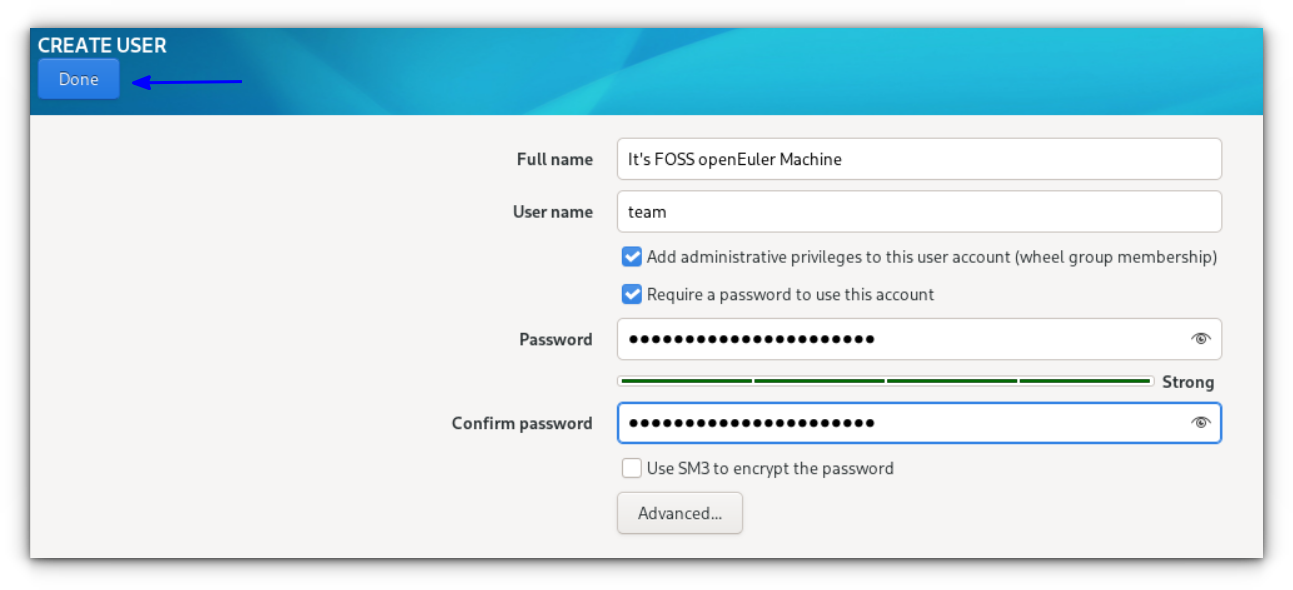
In the user create settings, create a local system user account. Click on the User Creation button.
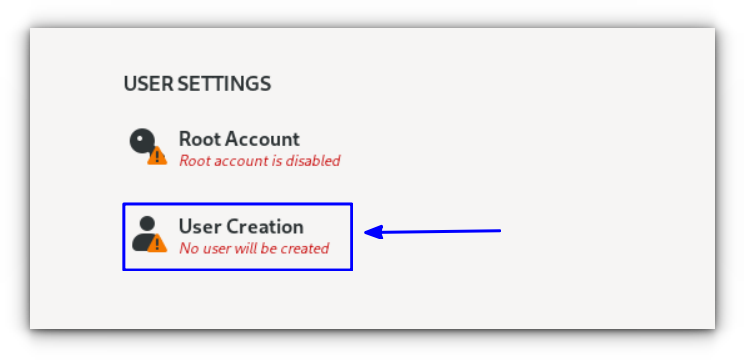
In the user creation window, enter all the credentials and click on Done.
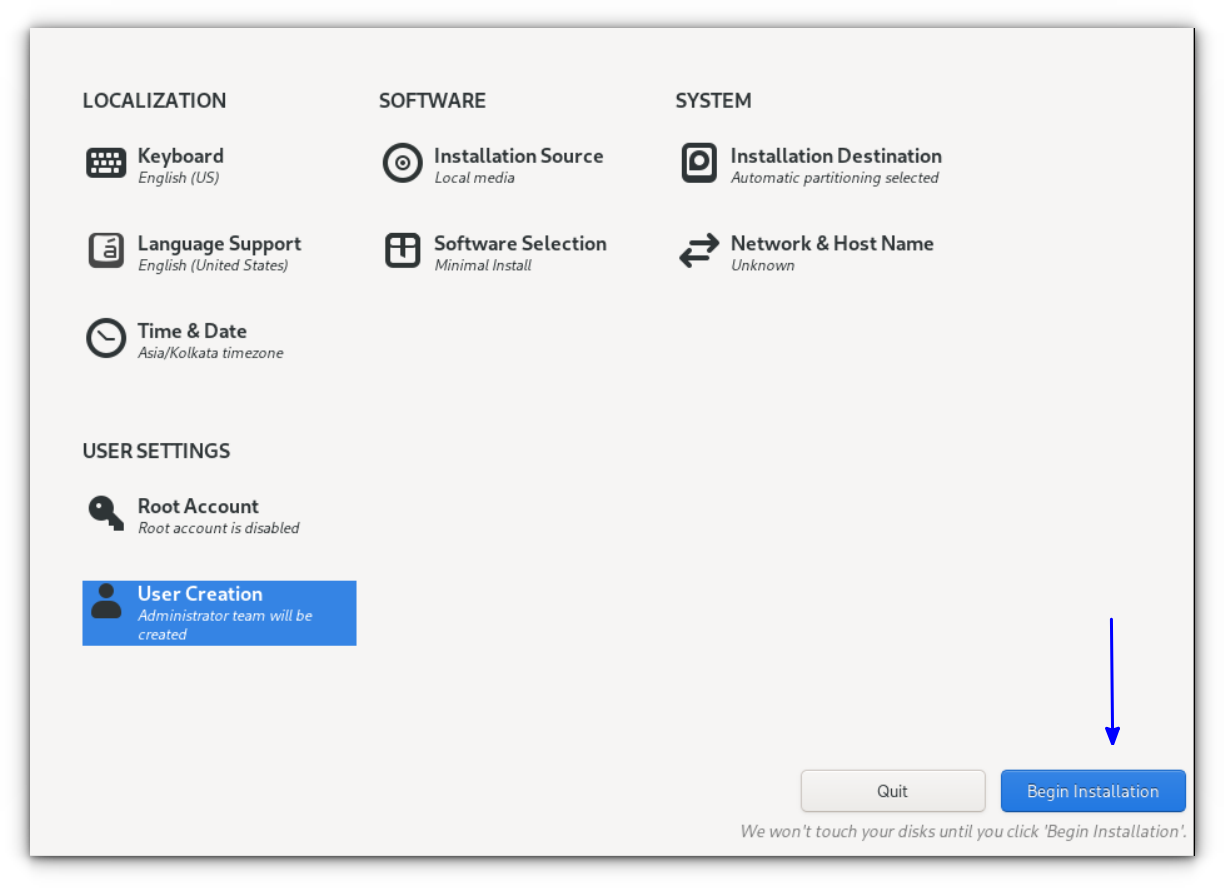
Once all the settings are completed in this stage, click on Begin Installation.
This will start the installation. When the installation is finished, reboot the system.
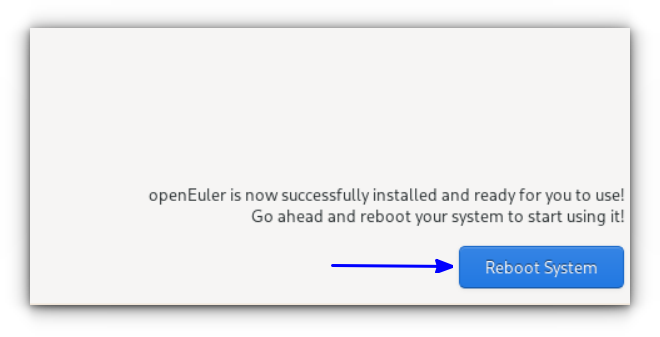
Don't forget to remove the USB device. If you don't remove the USB device and booted into the live environment again, shut down the system, remove the USB and then reboot.
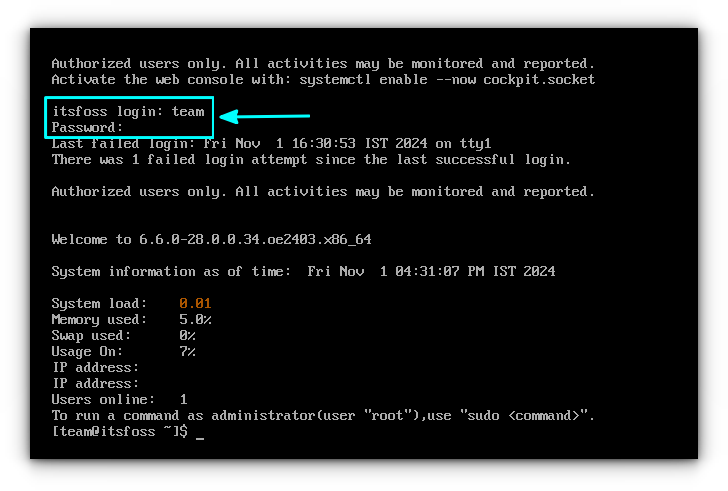
Once you rebooted, you will end up in a command line interface, asking to log in. Enter the username and password you created during the installation step.
Update the system
Since you are installing the system using the installation media, chances are there that, you have numerous package updates.
Since openEuler is based on CentOS, you can use the dnf command to manage packages, just like you do in Fedora.
sudo dnf update
It will take some time to finish the updates. Once updates are applied, reboot the system.
sudo reboot
Install a desktop environment
As said above, the default installation brings you to a command prompt set up. So, you need to install a graphical desktop to make it usable for personal purposes.
In this article, we will take a look at setting the UKUI and Xfce desktop.
Install UKUI desktop
UKUI is a neat desktop, that can be easily set up in openEuler. To install the desktop, use the command given below.
sudo dnf install ukui
To log in to the graphical session in the login time, use the command:
sudo systemctl set-default graphical.target
Once done, reboot the system using:
sudo reboot
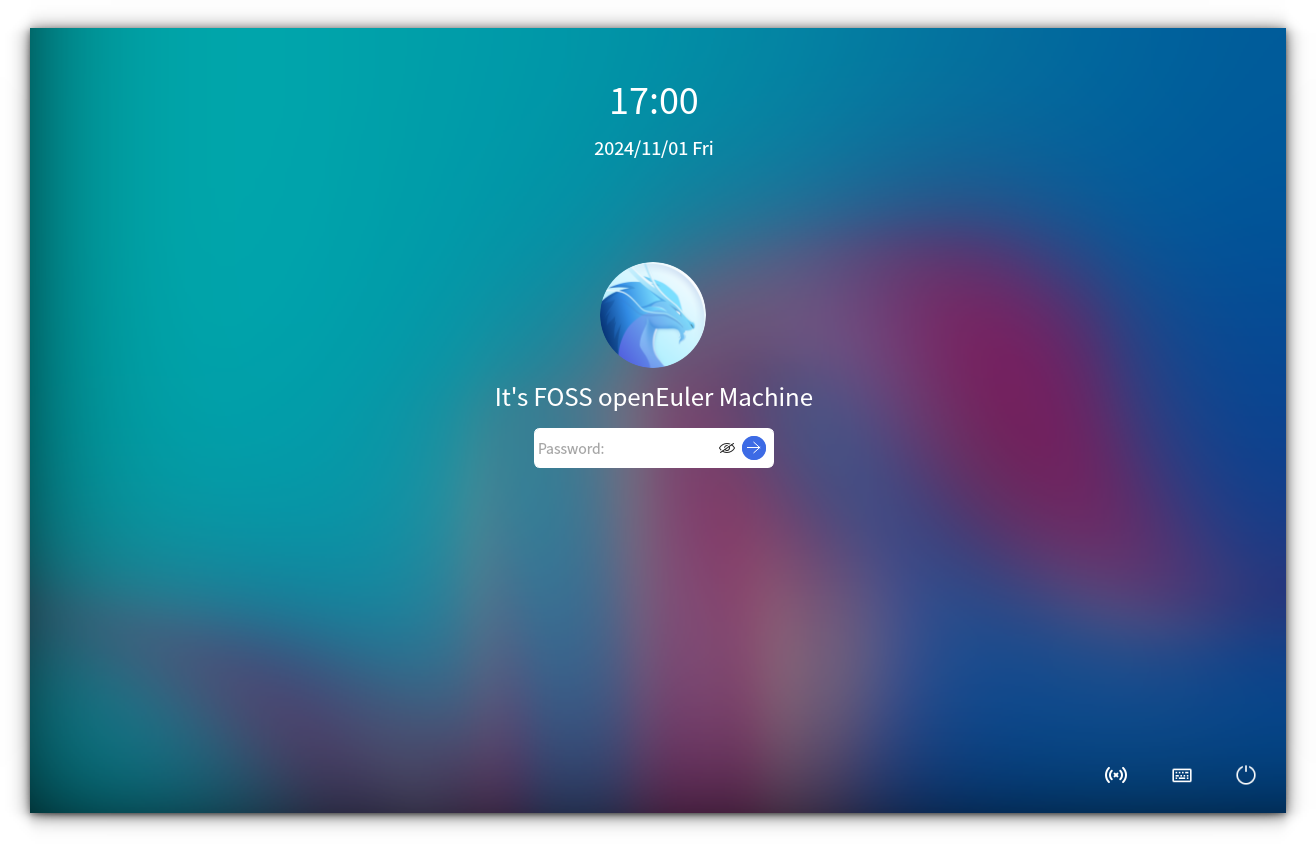
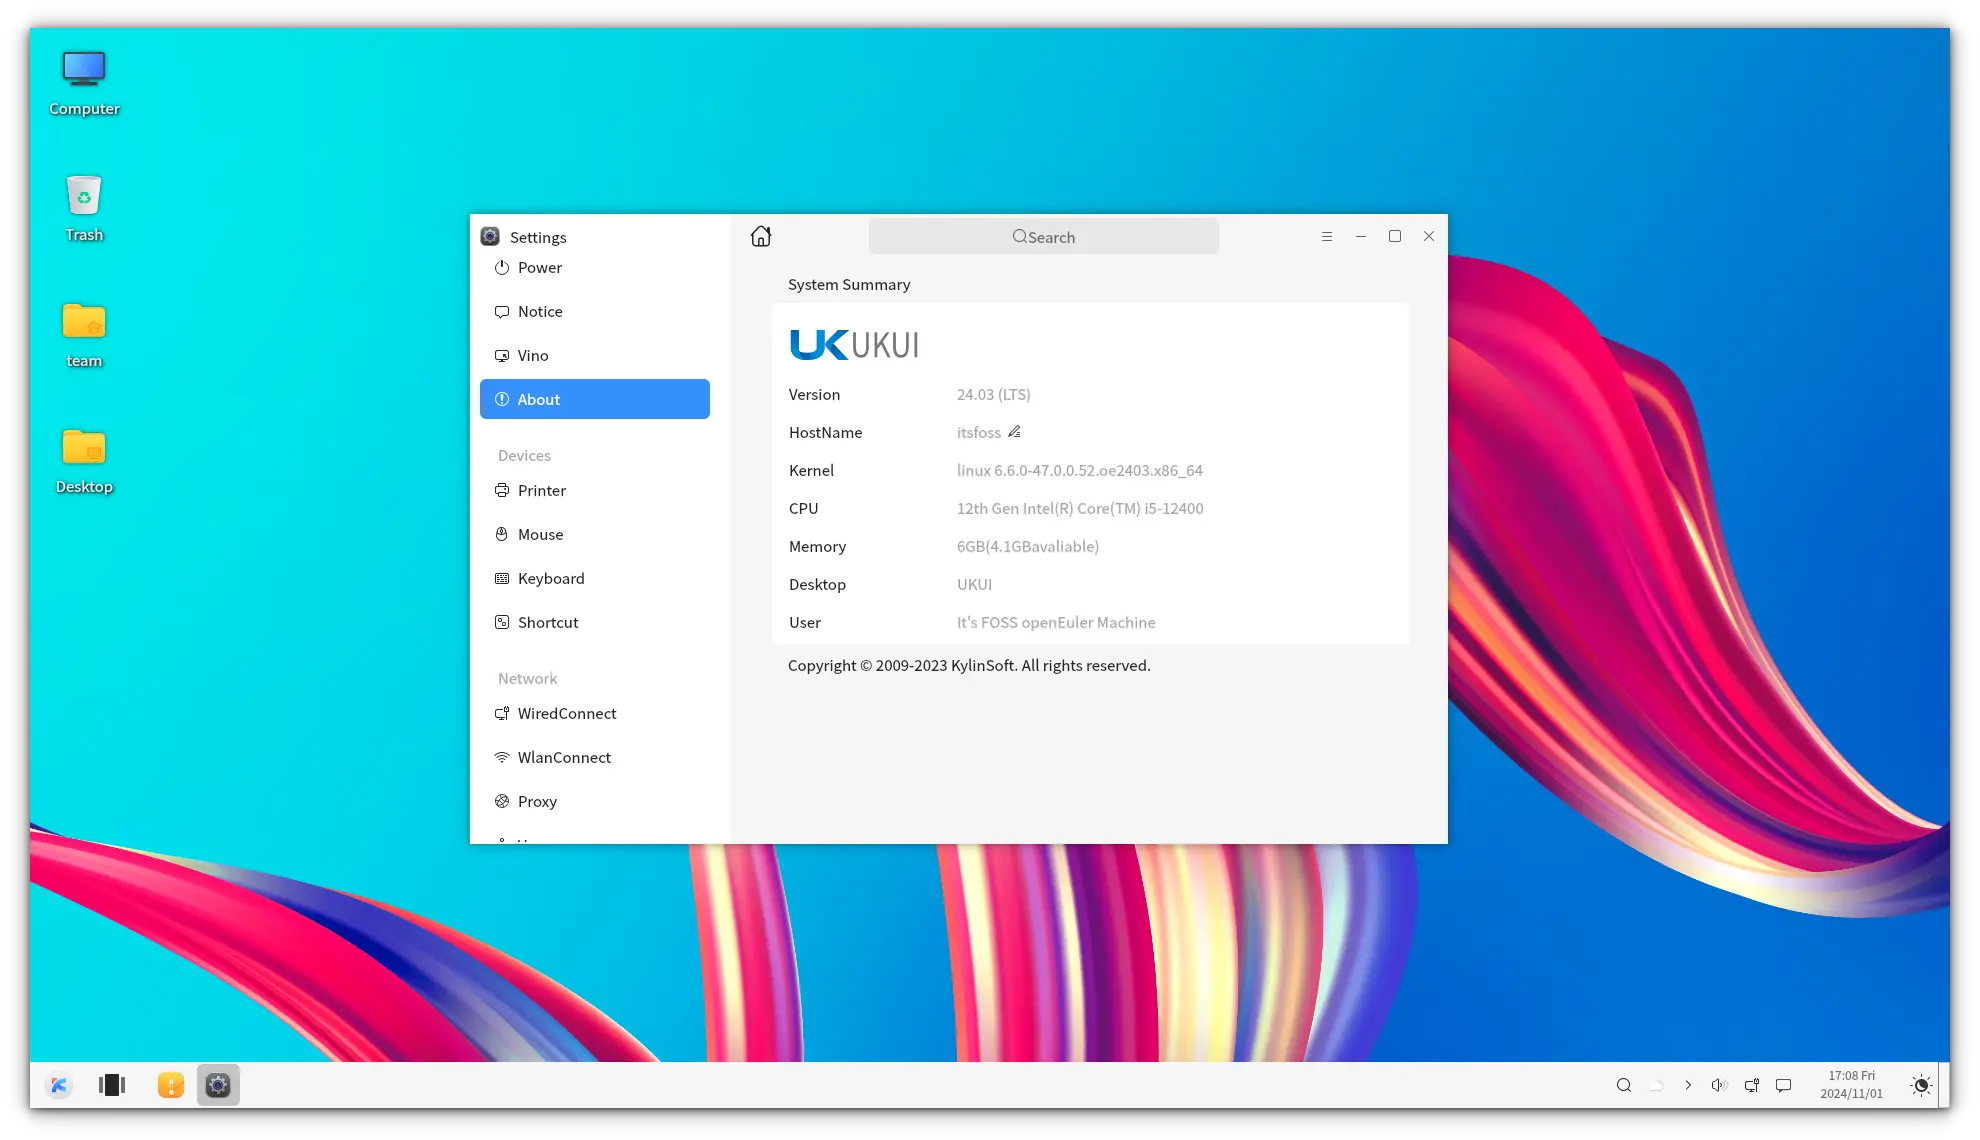
You will be greeted with the UKUI login screen.
Install Xfce Desktop
If you need something a bit more light on resource usage, go for the Xfce desktop. It is relatively easy to install Xfce in openEuler.
After updating the system, install all the necessary font libraries.
sudo dnf install dejavu-fonts liberation-fonts gnu-*-fonts google-*-fonts
Now, install the xorg group of packages.
sudo dnf install xorg-*
Install the Xfce desktop, window manager.
sudo dnf install xfwm4 xfdesktop xfce4-* xfce4-*-plugin *fonts
With Xfce, you can use the LightDM display manager.
sudo dnf install lightdm lightdm-gtk
Now, enable the LightDM display manager to start at login time.
sudo systemctl enable lightdm
To get a GUI login at login time, use the command:
sudo systemctl set-default graphical.target
Now, reboot the system.
sudo reboot
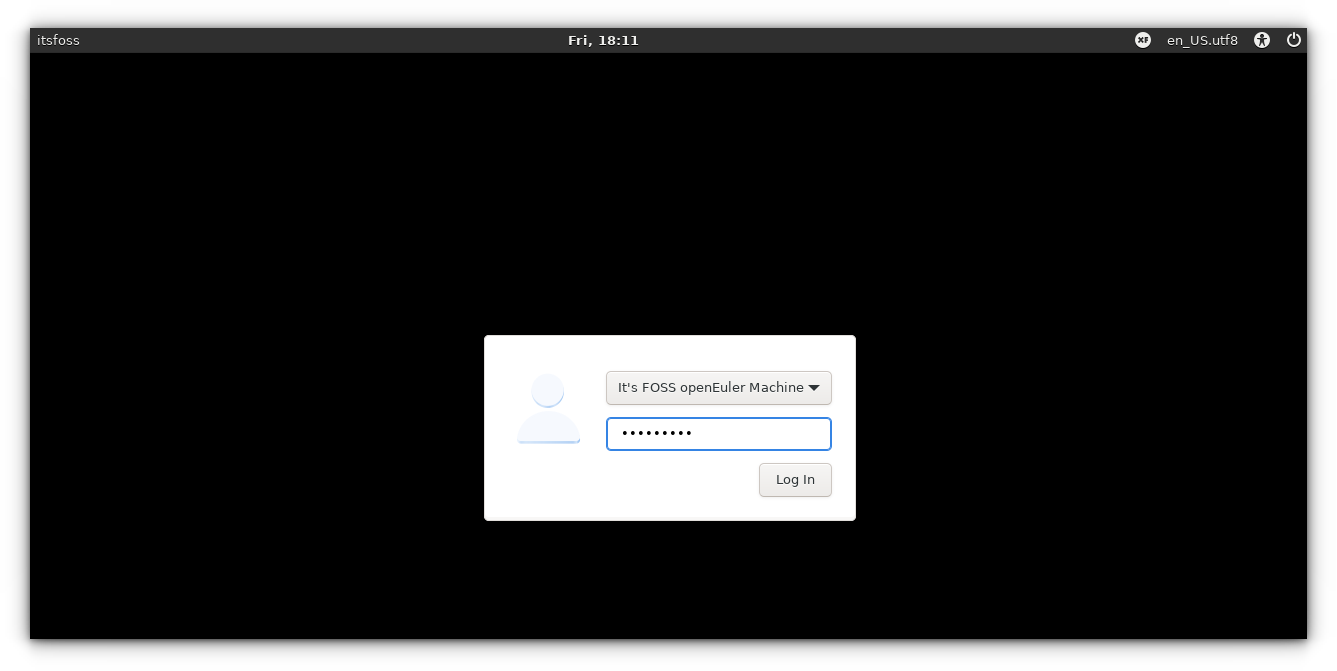
That's it. You will be greeted to the LightDM login screen.
Enter the credentials to log in to the Xfce session.
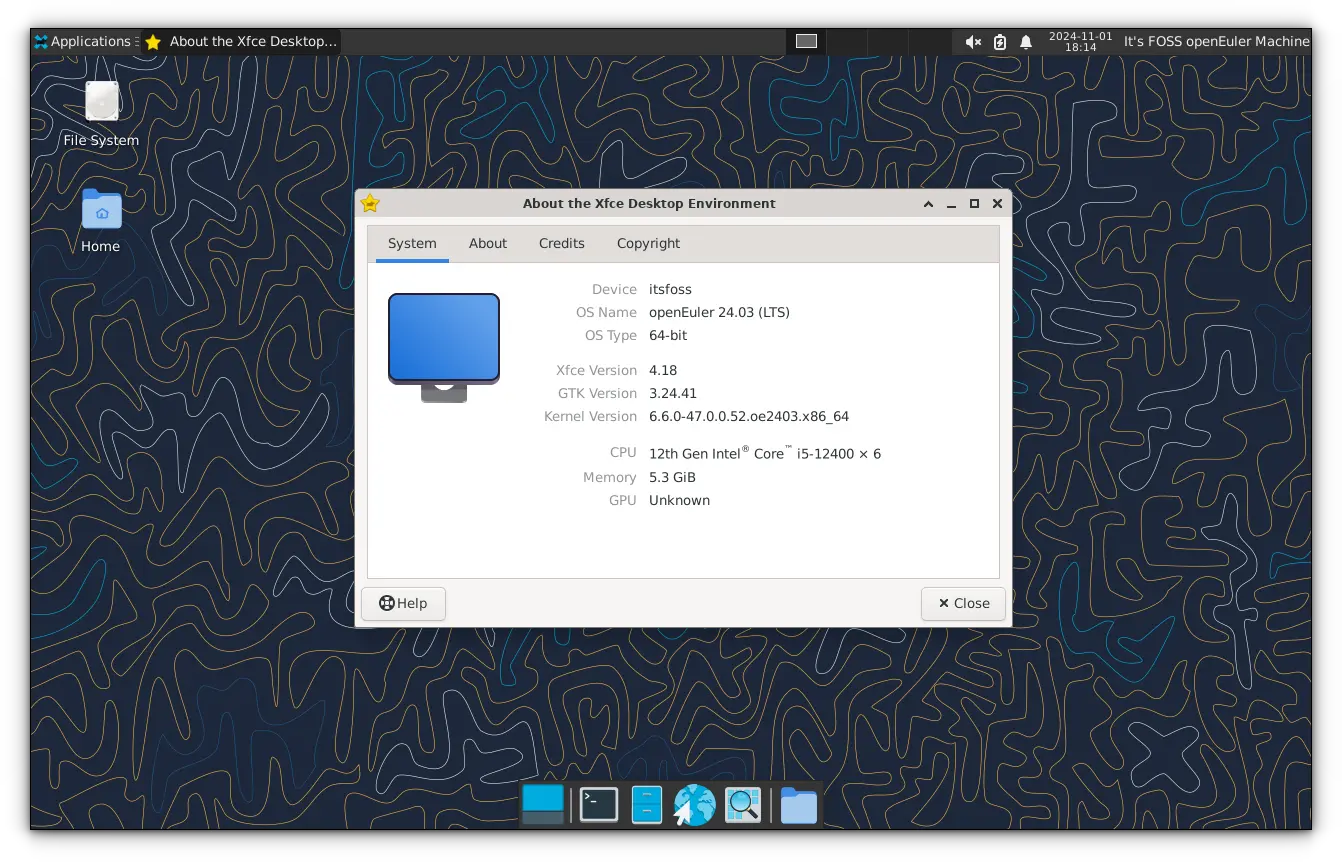
Now you are ready to enjoy the openEuler system.
Conclusion
So, you just learned to install the openEuler distribution with a graphical desktop environment. Now you are ready to test the CentOS-istic distribution and explore it further. Next, we shall see a few tricks on setting things up post installation.


