

Logseq is a versatile open source tool for knowledge management. It is regarded as one of the best open source alternatives to the popular proprietary tool Obsidian.
While it covers the basics of note-taking, it also doubles down as a powerful task manager and journaling tool.
What sets Logseq apart from traditional note-taking apps is its unique organization system, which forgoes hierarchical folder structures in favor of interconnected, block-based notes. This makes it an excellent choice for users seeking granular control and flexibility over their information.
In this article, we’ll explore how to install Logseq on Linux distributions.
Use the official AppImage
For Linux systems, Logseq officially provides an AppImage. You can head over to the downloads page and grab the AppImage file.
It is advised to use tools like AppImageLauncher (hasn't seen a new release for a while, but it is active) or GearLever to create a desktop integration for Logseq.
Fret not, if you would rather not use a third-party tool, you can do it yourself as well.
First, create a folder in your home directory to store all the AppImages. Next, move the Logseq AppImage to this location and give the file execution permission.
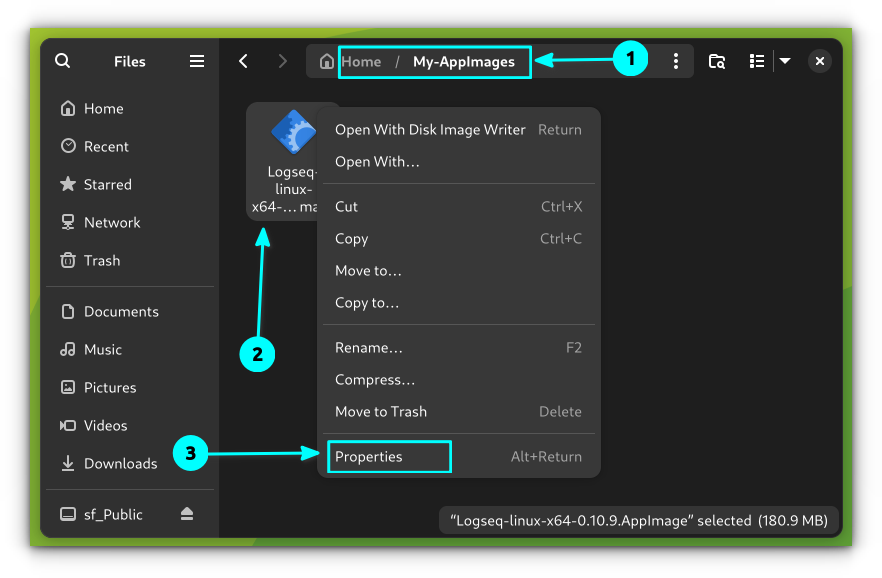
Right-click on the AppImage file and go to the file properties. Here, in the Permissions tab, select "Allow Executing as a Program" or "Executable as Program" depending on the distro, but it has the same meaning.
Here's how it looks on a distribution with GNOME desktop:
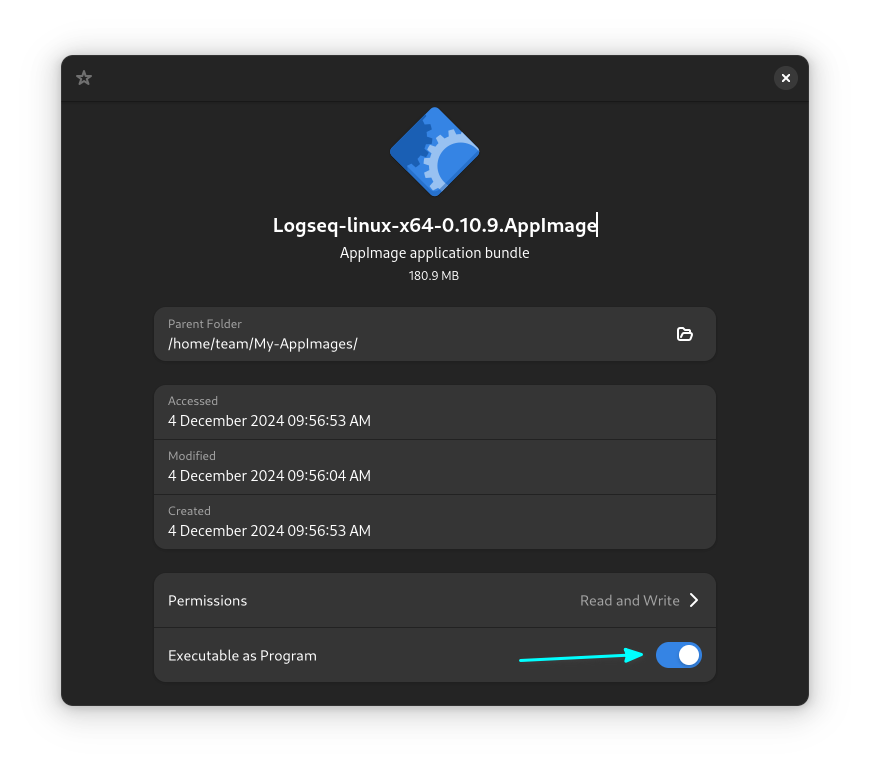
Once done, you can double-click to open Logseq app.
Alternatively, use the 'semi-official' Flatpak
Logseq has a Flatpak version available. This is not an official offering from the Logseq team, but is provided by a developer who also contributes to Logseq.
First, make sure your system has Flatpak support. If not, enable Flatpak support and add Flathub repository by following our guide:

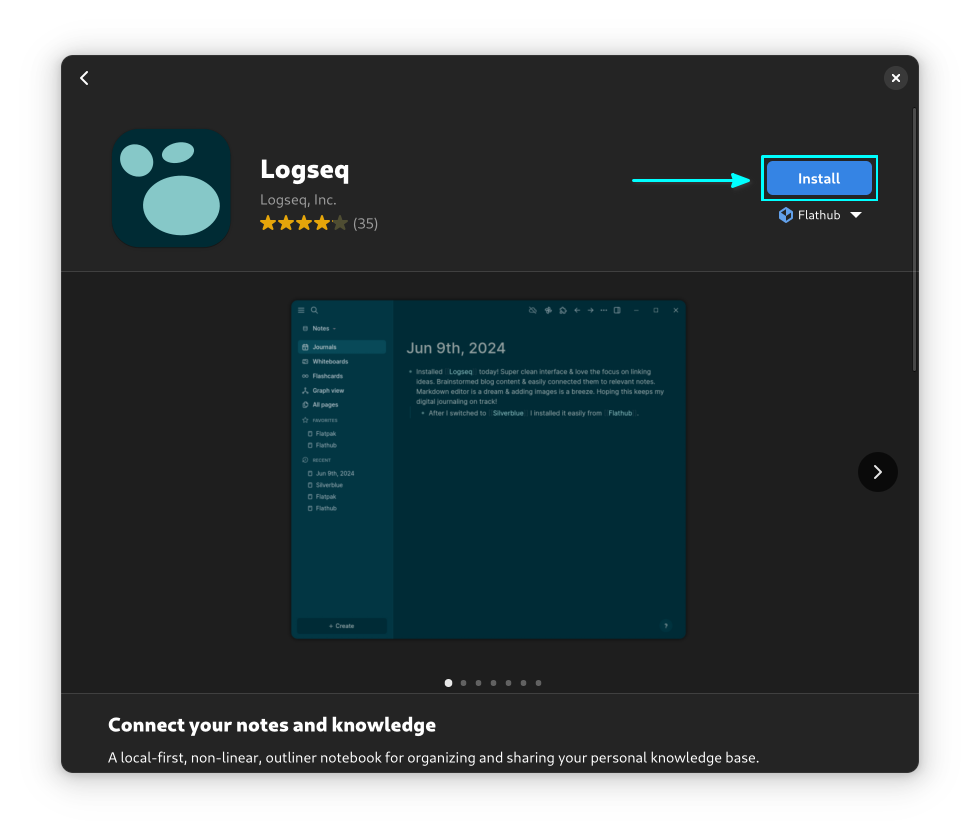
Now, install Logseq either from a Flatpak supported software center like GNOME Software:
Or install it using the terminal with the following command:
flatpak install flathub com.logseq.LogseqOther methods
For Ubuntu users and those who have Snap setup, there is an unofficial Logseq client in the Snap store. You can go with that if you prefer.
There are also packages available in the AUR for Logseq desktop clients. Arch Linux users can take a look at these packages and get it installed via the terminal using Pamac package manager.
Post Installation
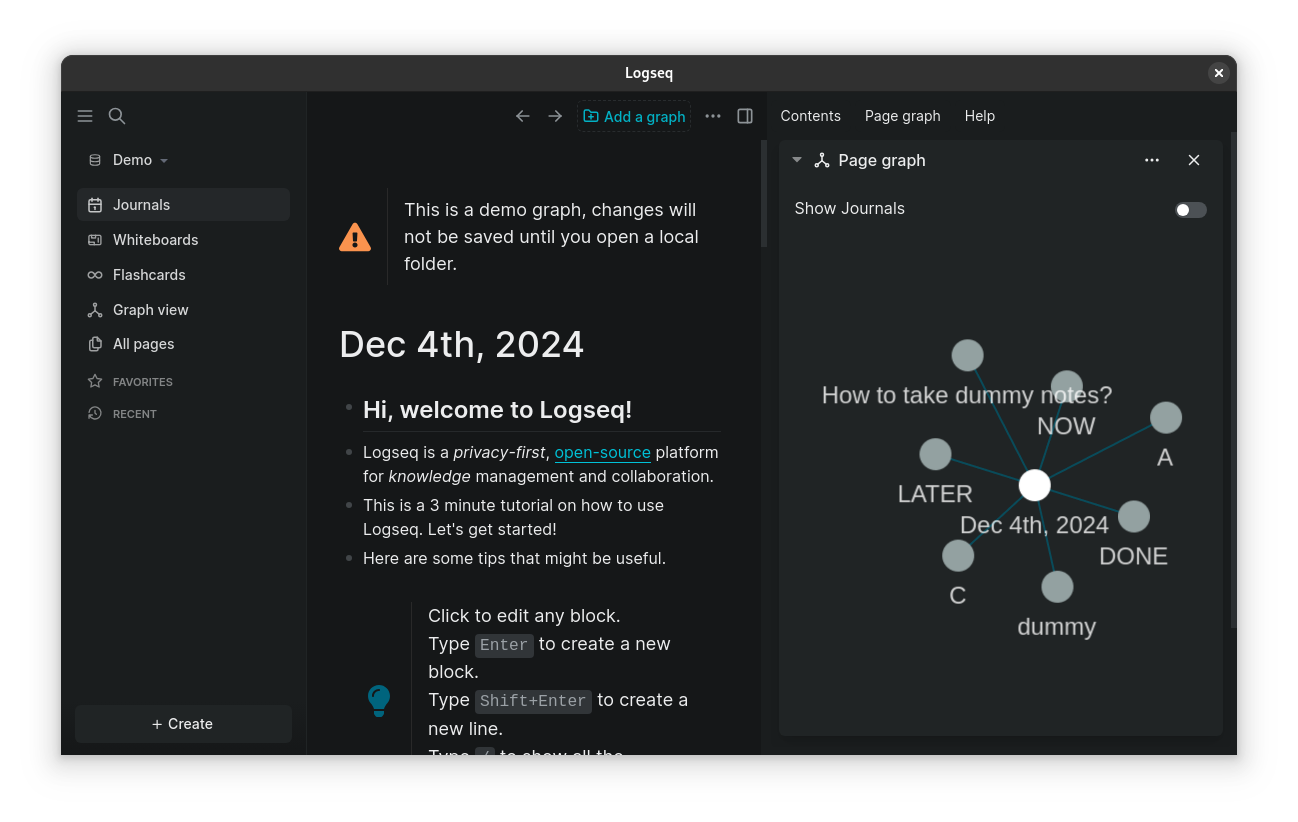
Once you have installed Logseq, open it. This will bring you to the temporary journal page.
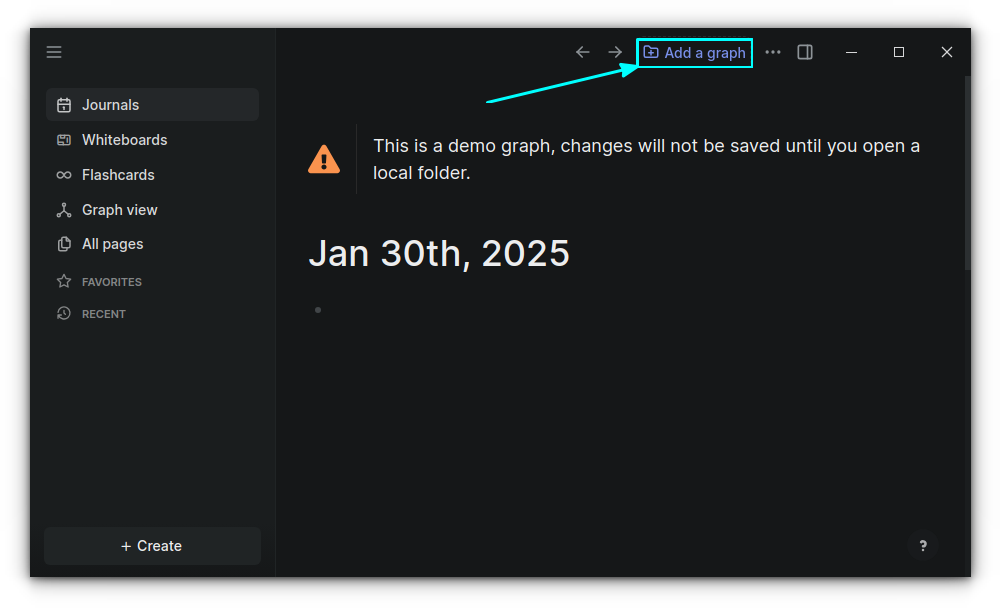
You need to open a local folder for Logseq to start your work to avoid potential data loss. For this, click on the "Add a graph" button on the top-right, as shown in the screenshot below.
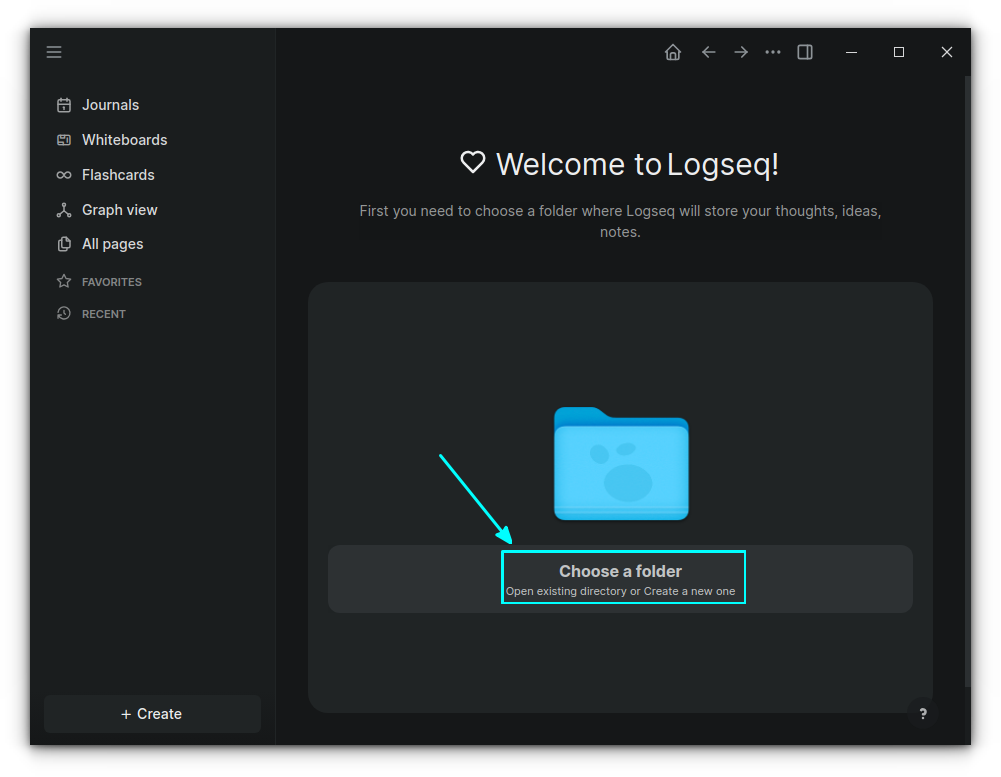
On the resulting page, click on "Choose a folder" button.
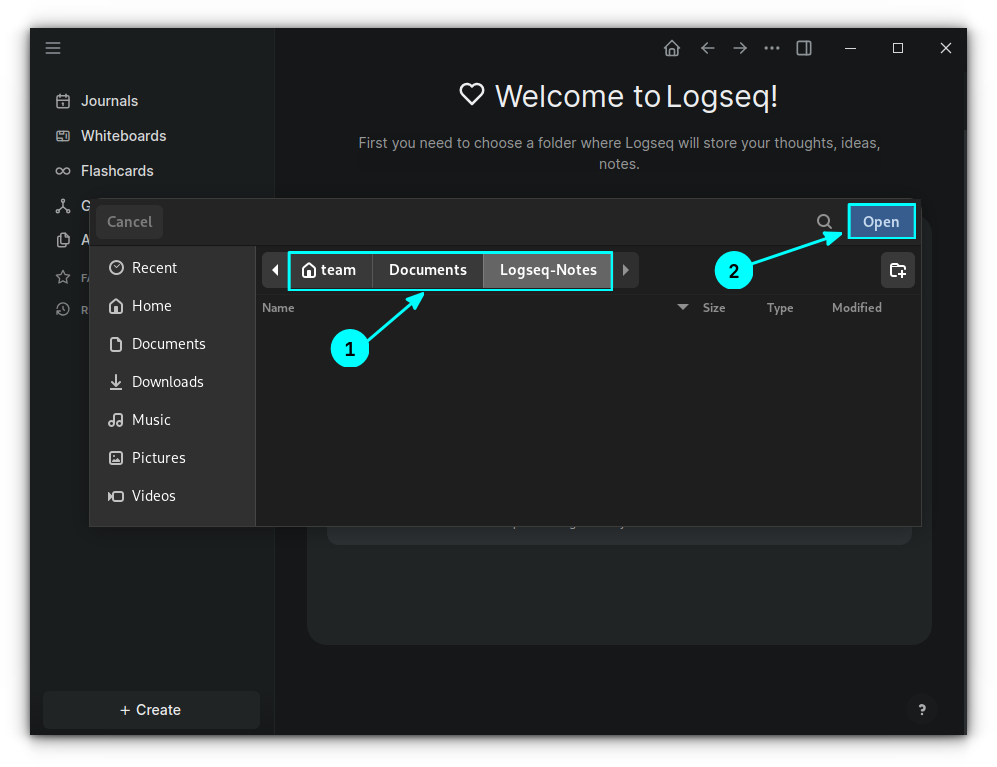
From the file chooser, either create a new directory or select an existing directory and click "Open".
That's it. You can start using Logseq now. And I'll help you with that.
What next?
I am creating a series of tutorials on this excellent tool. Next, you can learn about correctly formatting text in Logseq.
You should also explore pages, links, tags and block reference in Logseq to properly manage your notes.

Hope you enjoy using Logseq as much as I do 😸

