
The Grub Customizer is a handy GUI tool that lets you configure various aspects of the Grub bootloader.
You can use it to change the order of the boot and make Windows boot by default.

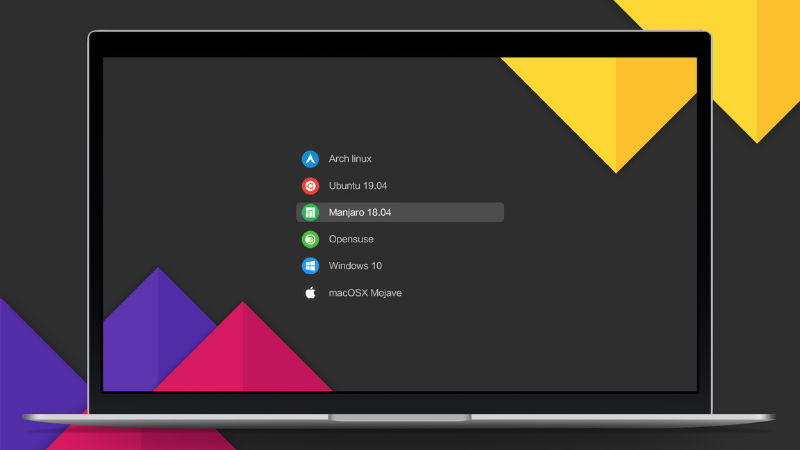
You can also use it to boot automatically into the last booted entry. Don’t like the dark black and white theme? You can even change the background of the grub boot screen.
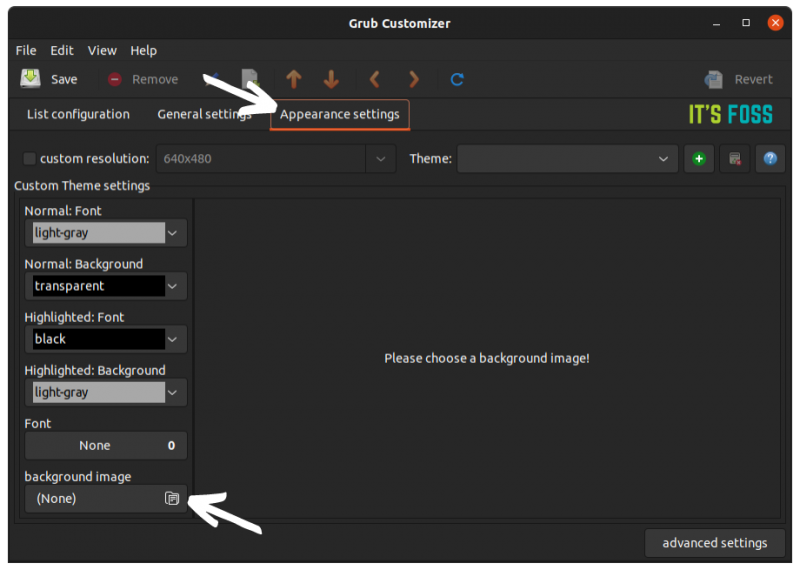
There are several other customization options available as well. The best thing here is that you can do all this using a graphical application. No need to touch the grub configuration files located at /etc/default/grub and /boot/grub2 in the command line.
You don’t need to be afraid of the terminal but using a GUI tool is always more comfortable.
Let’s see how to install Grub Customizer in Ubuntu Linux. The installation method depends on Ubuntu version you are using.
Check your Ubuntu version using this command:
lsb_release -a
Installing Grub Customizer in Ubuntu 20.04
Ubuntu started providing Grub Customizer in the Universe repository with version 20.04.
If you are using Ubuntu 20.04 LTS, you can install it using the following command:
sudo apt install grub-customizerYou may even find it in the Software Center.
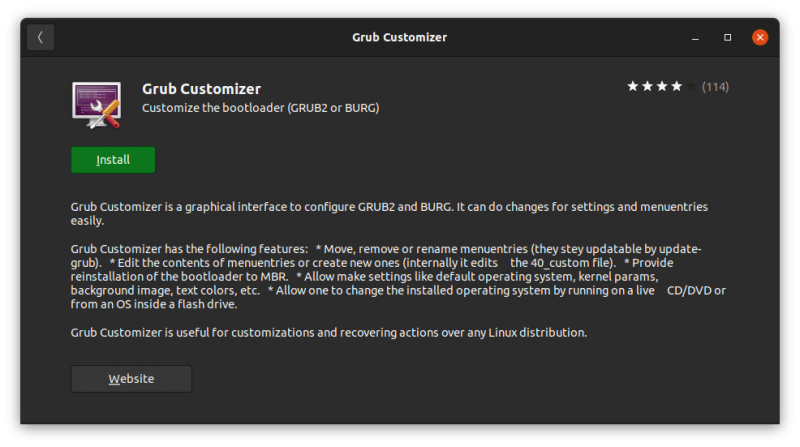
But Grub Customizer is not available in Ubuntu 22.04. This was due to a bug noticed with Grub Customizer in version 22.04.
While the developer has fixed the bug, the application remains absent from the Ubuntu repositories in version 22.04.
Don’t worry. You can still install Grub Customizer in Ubuntu 22.04.
Installing Grub Customizer in Ubuntu 22.04 using PPA
There is an official PPA available from the developer of Grub Customizer. You can use it to install the latest version in any Ubuntu version.
Open the terminal with the Ctrl+Alt+T shortcut in Ubuntu.
Now use the following command to add the PPA to your system. This way, you’ll get updates on the Grub Customizer application along with the rest of the system updates.
sudo add-apt-repository ppa:danielrichter2007/grub-customizerYou’ll be asked to enter your account’s password. Nothing is seen on the screen when you type the password. That’s normal. Press enter when you are asked for confirmation.
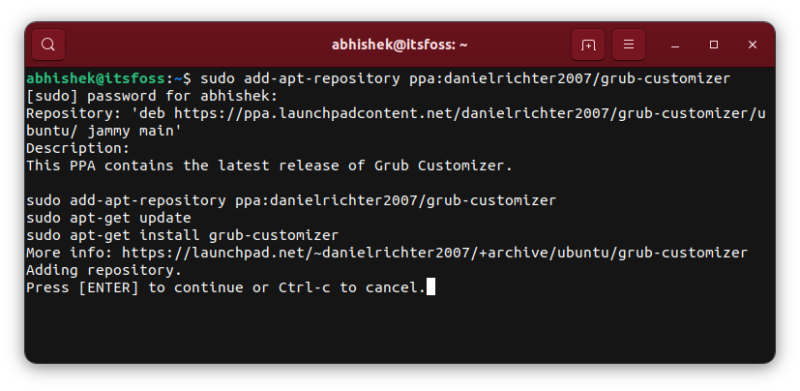
Ubuntu automatically refreshes the repository cache after adding a new repository. This means that you can install the application now using the apt command:
sudo apt install grub-customizer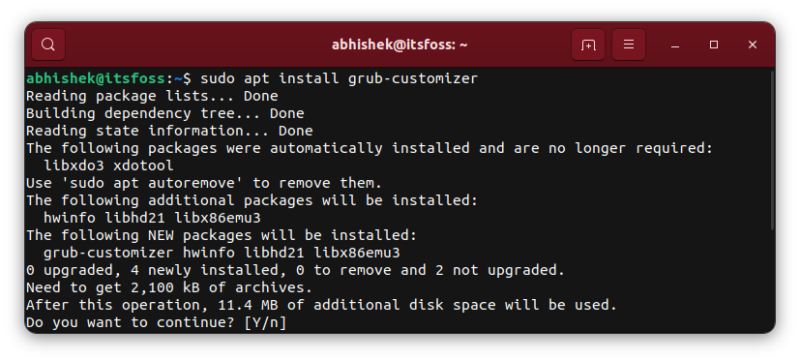
And that’s about it. Wait for a few seconds and you’ll have Grub Customizer installed.
Press the super key (Windows key) and start typing Grub Customizer. It will show the application icon in the menu. Click on it and start it.

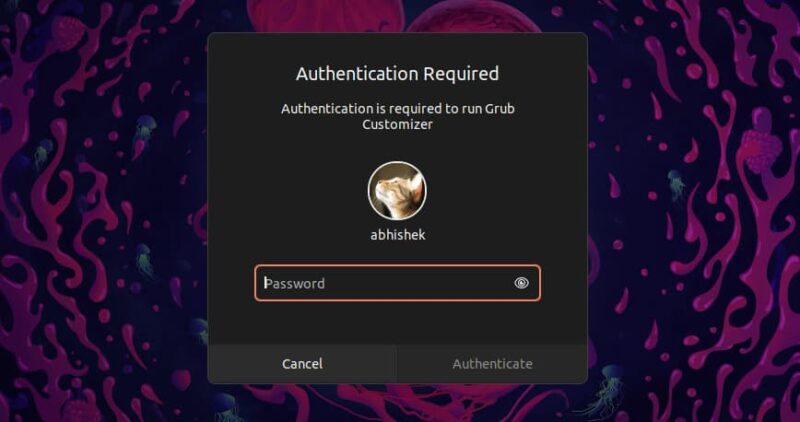
Since you are indirectly modifying configuration files, you need to have elevated privileges to use this application. You’ll be asked to enter your account password.
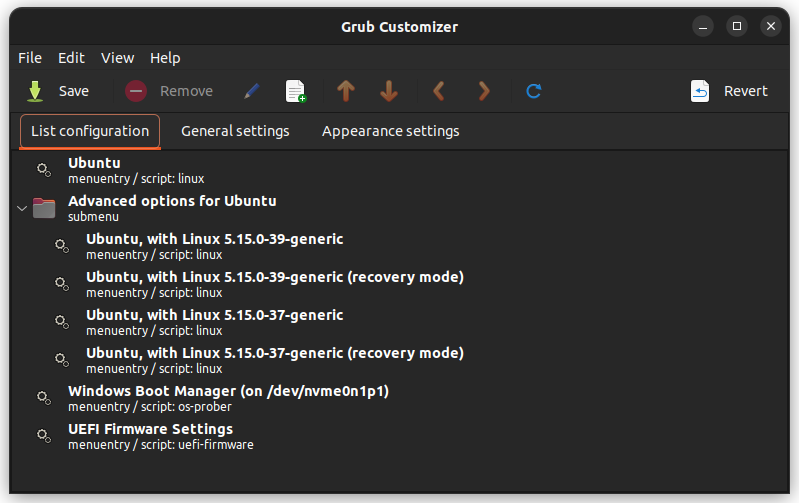
Once opened, you’ll see an interface similar to this:
You can learn some Grub customization tips in this article. GUI or not, it is always wise to make a Timeshift backup so that you can safely revert any unpleasant change.
Before I end this tutorial, let me show you the steps for removing Grub Customizer.
Remove Grub Customizer from Ubuntu
Open a terminal and use the following command to remove it:
sudo apt remove grub-customizerIf you had added the PPA, you should remove the PPA as well.
sudo add-apt-repository -r ppa:danielrichter2007/grub-customizerAnd that’s all you need to know about installing and removing Grub Customizer on an Ubuntu Linux system.


