

Git is a powerful tool that helps you keep track of changes in your files over time. While it is highly popular among the developer community, you can use Git as a note storage vault.
In this case, the source files are Obsidian markdown files.
When you use Obsidian for note-taking, Git can be very useful to manage different versions of your notes. You can easily go back to previous versions, undo mistakes, and even collaborate with others.
In this tutorial, I'll share how I set up Git with Obsidian on a Linux system, connect it with GitHub or GitLab, and use the Obsidian Git plugin to make version control simple and accessible right inside your notes app.
This is all at the beginner level, where all you are doing is setting up Git for your knowledge base version management.
Step 1: Create a remote repository
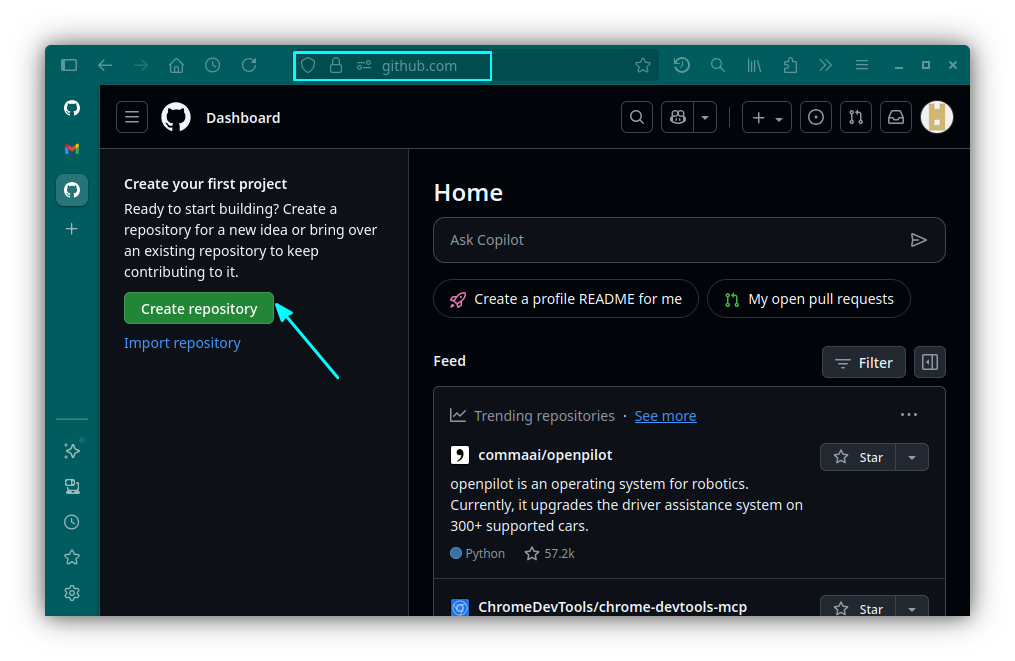
Go to the GitHub official webpage and log in to your account. Now, on the profiles page, click on the "Create repository" button.
Provide all the details. Make sure you have set the repository to private. Once you've entered the necessary details, click on the Create Repository button.
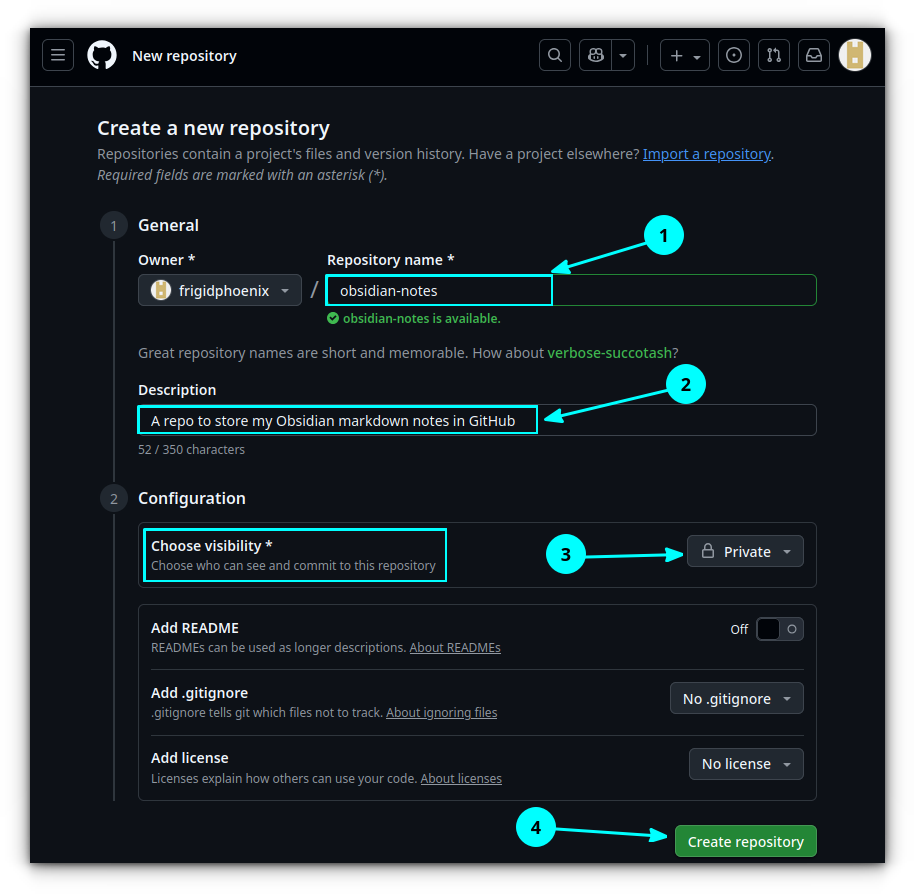
That's it. You have a new private repository, which only you can access.
Step 2: Create a simple README
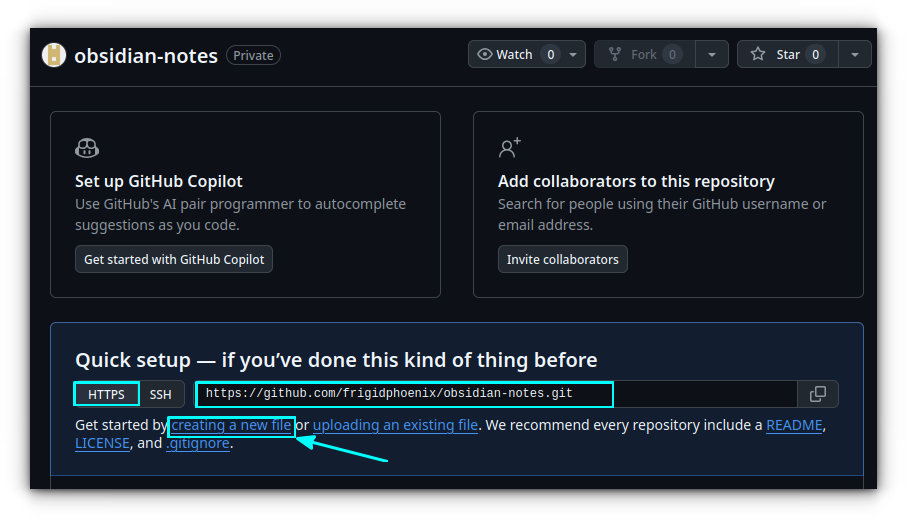
You need to create a simple README file in the newly created repo. For this, click on the Create a new file button.
On the next page, enter the name of the file and add placeholder text.
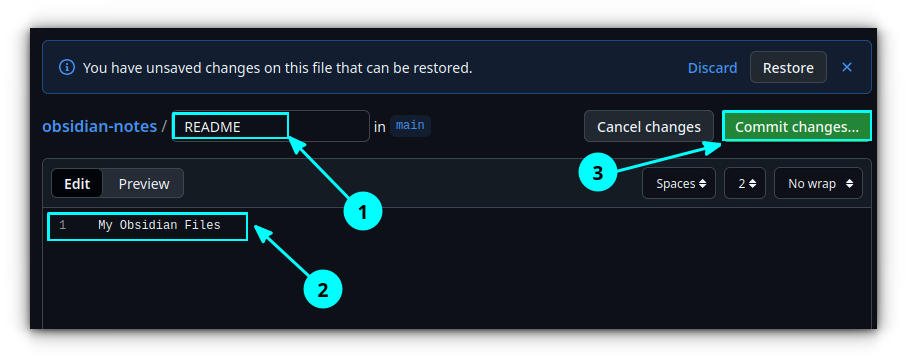
Click on Commit changes and add a message when asked. Done! You have added a simple README to your repo.
Step 3: Install Git in your system
Now, let's install Git on your system. I also suggest installing the GitHub or GitLab CLI plugin. Since you are into version control, these CLI tools can greatly improve your experience.
In Ubuntu, you can install both Git and the GitHub CLI using the command:
sudo apt install git gh
For Fedora, use:
sudo dnf install git gh
For Arch Linux, the package name is a bit different.
sudo pacman -S git github-cli
If you are using GitLab instead of GitHub, instead of the gh/github-cli package, install glab package. The name is the same on all three of the above Linux distributions.
Step 4: Authenticate GitHub
Once you have Git and the GitHub tool installed, you need to authenticate it with user credentials.
First, you need to make sure the GitHub credentials are properly saved. For this, you can use libsecret.
git config --global credential.helper libsecret
Now, let's set the username and email so that Git can understand who is committing changes. Open a terminal and run:
git config --global user.name "your username"
git config --global user.email "your email"

Run the GitHub CLI:
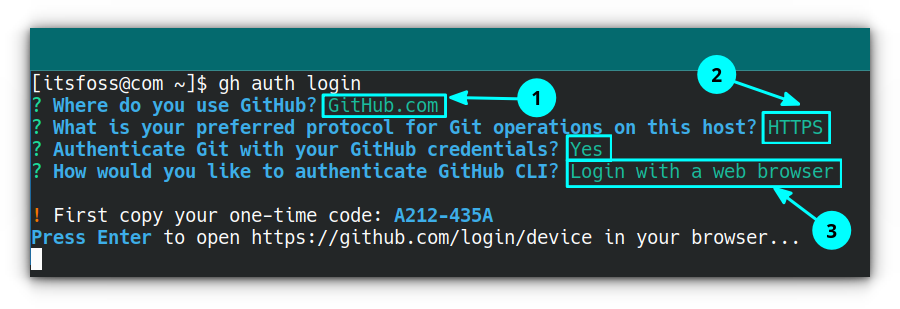
gh auth login
If you are using GitLab, use:
glab auth login
It will ask some questions, and you can select a choice and press enter. This is shown in the screenshot below:
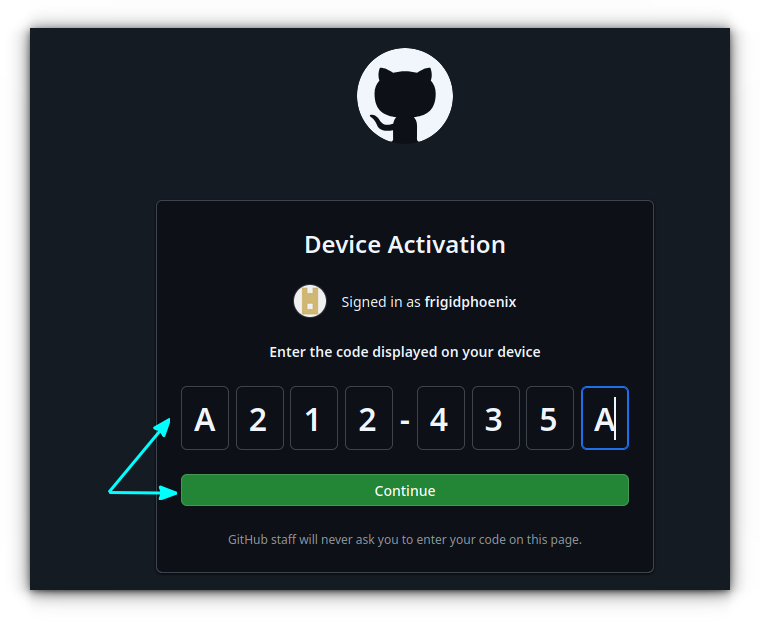
When you press enter, it will open in the browser. You will be prompted to continue as the logged in account.

On the next page, enter the code you are provided in the terminal.
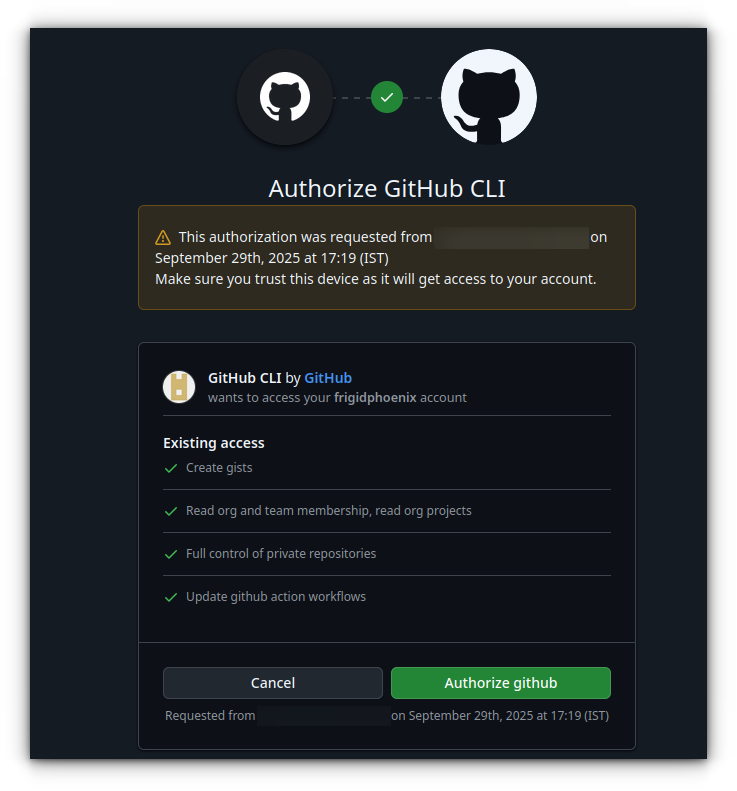
This will ask you to verify the details before proceeding. Check once again and press Authorize github.
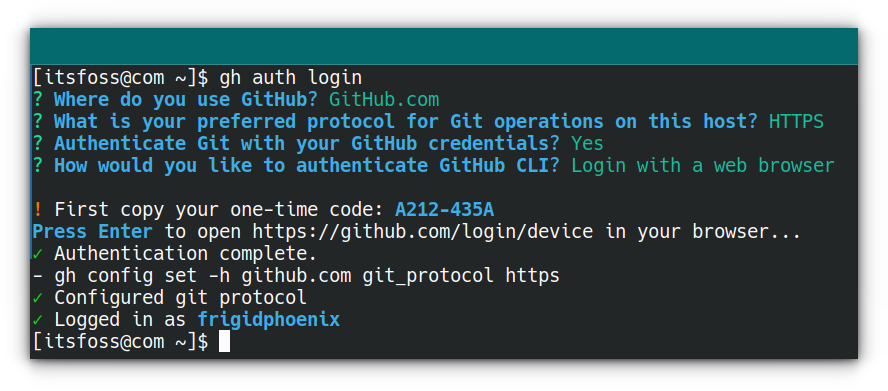
That's it. Your device is connected. Close the browser. You can view the terminal got updated with the successful login message.
Step 5: Clone the repository
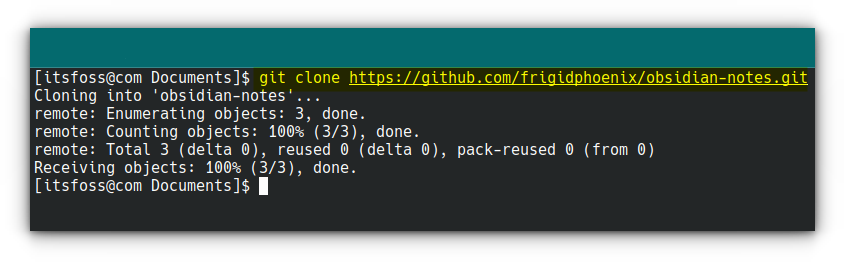
Now that you have set up GitHub, it's time to clone the private notes repo to somewhere convenient for you. I am cloning the repo on my ~/Documents directory.
cd ~/Documents
git clone git clone https://your-git-remote-repo-link.git
You will get a message that you have cloned into an empty repo. This is what we need.
You can open it in file manager to see that the only content in the cloned directory is a .git directory and a README file.
Step 6: Copy contents
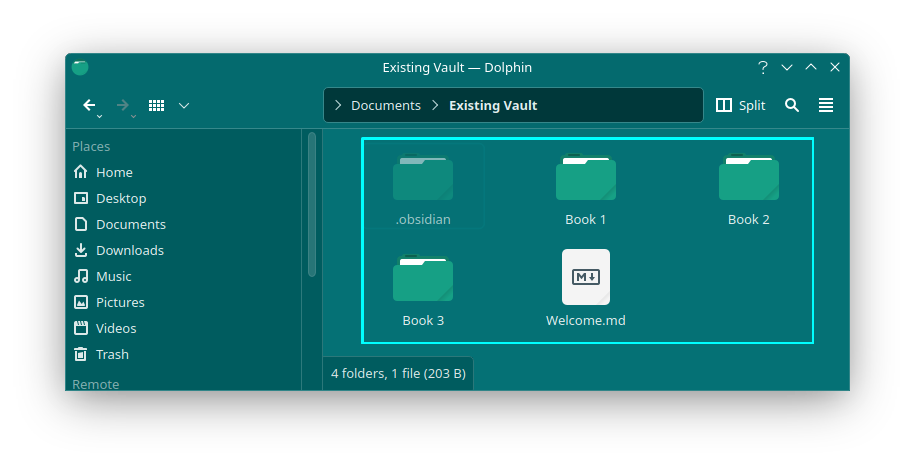
Now, you have to copy your markdown notes from the earlier location to this new vault location. You can do this using your file manager.
While copying, make sure that you copy the .obsidian folder as well. Because your rest of plugins and settings are in the .obsidian directory.
The folder is hidden, so use CTRL+H to enable the hidden items and then select all.
Step 7: Create a .gitignore
Once you copy all the contents to the new section, you will notice that you have a .obsidian folder that contains all the plugins and cache files.
Usually, this does not need to be pushed to GitHub. So, we will create a .gitignore file in the root vault location.
Inside this file, add the content:
# to exclude Obsidian's settings (including plugin and hotkey configurations)
.obsidian/

# to only exclude plugin configuration. Might be useful to prevent some plugin from exposing sensitive data
.obsidian/plugins

# OR only to exclude workspace cache
.obsidian/workspace.json

# to exclude workspace cache specific to mobile devices
.obsidian/workspace-mobile.json

# Add below lines to exclude OS settings and caches
.trash/
.DS_Store
gitignore code is directly taken from the git plugin documentation.Step 8: Open a new vault in Obsidian
Open Obsidian and click on your vault name in the bottom and select Manage Vaults.

From the new window, select the open button adjacent to "Open a folder as vault".
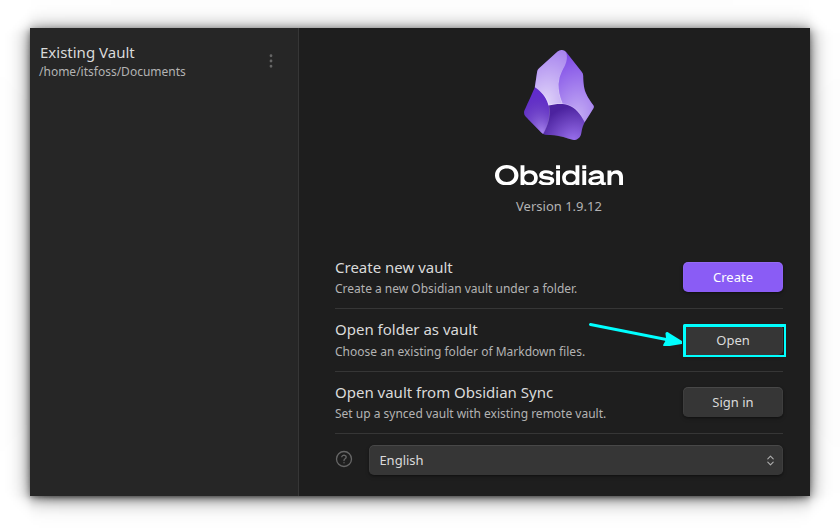
In the file chooser, select the directory you have cloned recently. A new Obsidian is opened with notes in the new location, which is empty as of now.
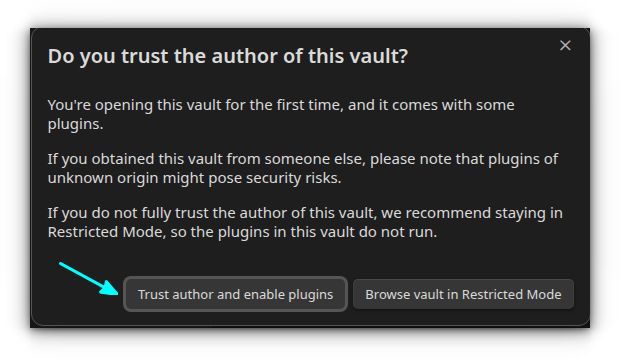
You will be asked to trust the author. This is because you have copied all the contents, including plugins, from previous notes. So, in order for the plugin to work, you need to enable the community plugins, and that needs user permission.
Accept that you trust the plugins and continue.
Step 9: Install the Obsidian Git Plugin
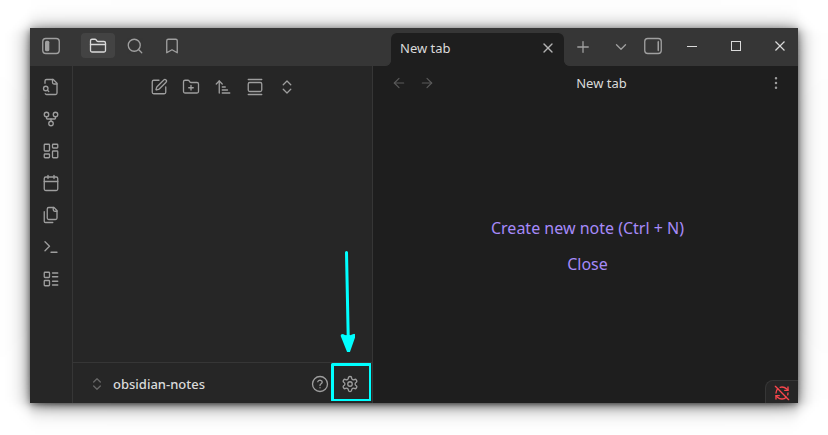
We need to get plugins in Obsidian for Git version control. Click on the settings button in Obsidian.
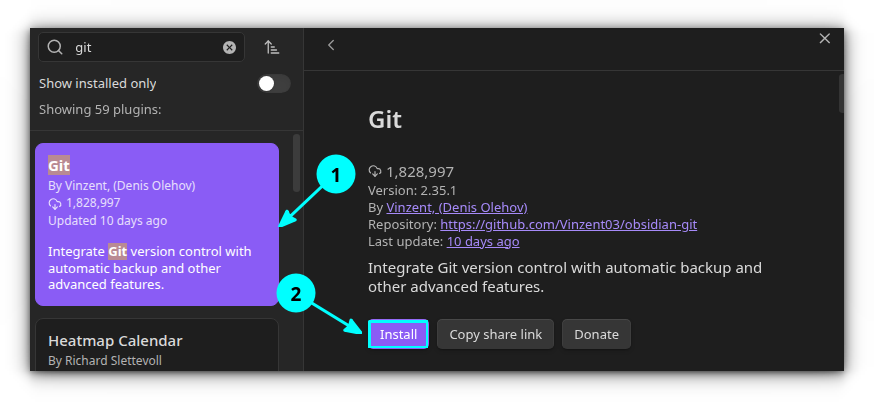
Go to Community plugins. Click on browse. Here, search for the Git plugin and install it.
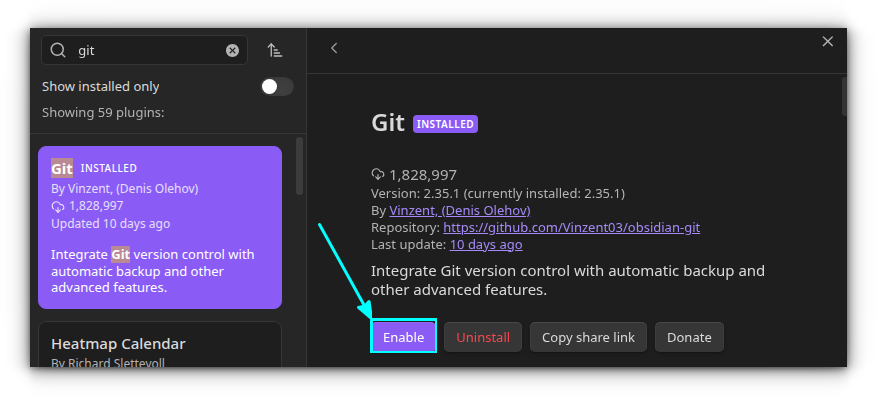
Once installed, enable it.
You have set the basics of Git with Obsidian. Click on the Git button in Obsidian to see the Git status.
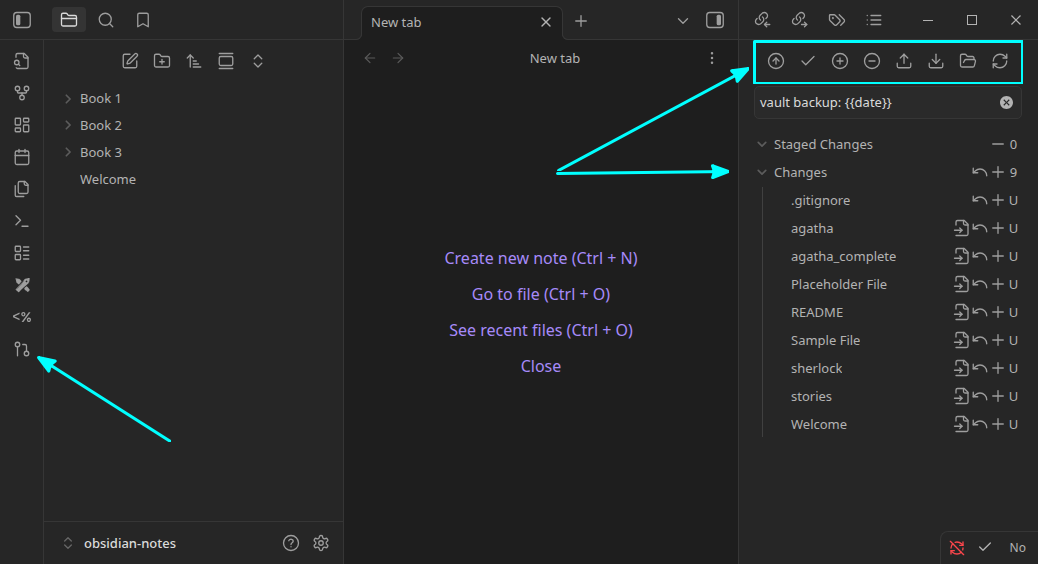
As you can see, there is a .gitignore file under changes.
Step 10: Stage changes
I suggest you stage changes in batches and commit. To stage a file, you can either press the + button adjacent to that file or use the + button on the top menu to stage all.
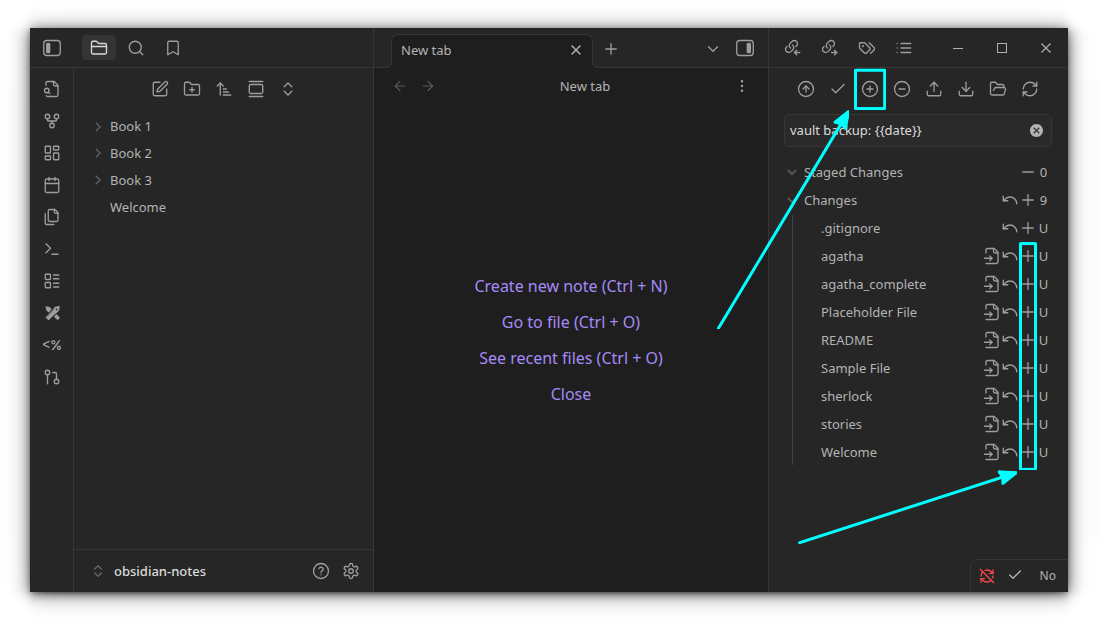
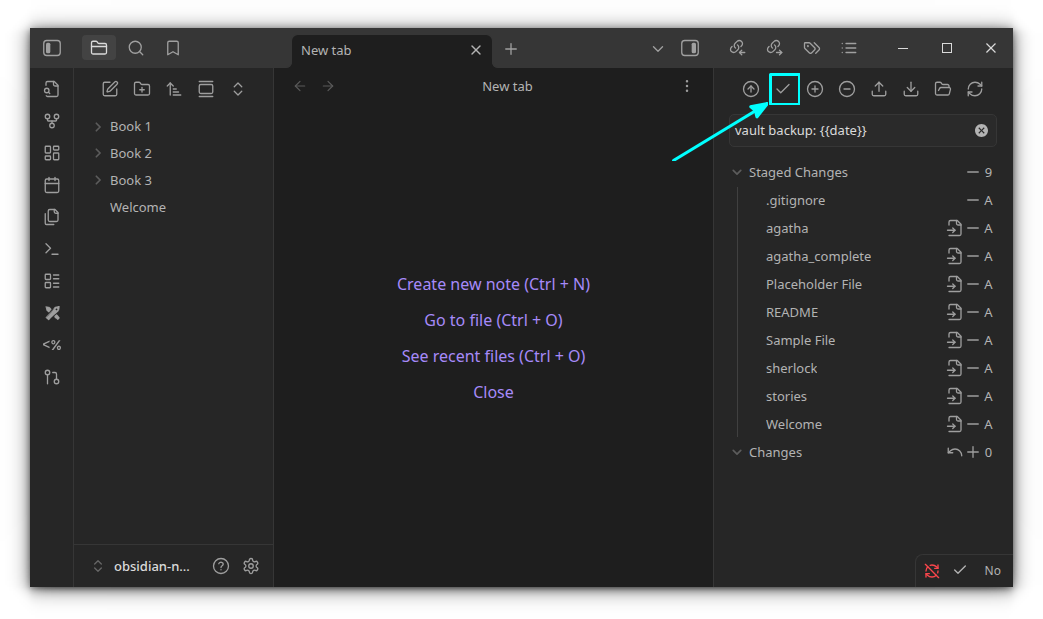
Everything is under staged now for me:

Step 11: Commit and Push
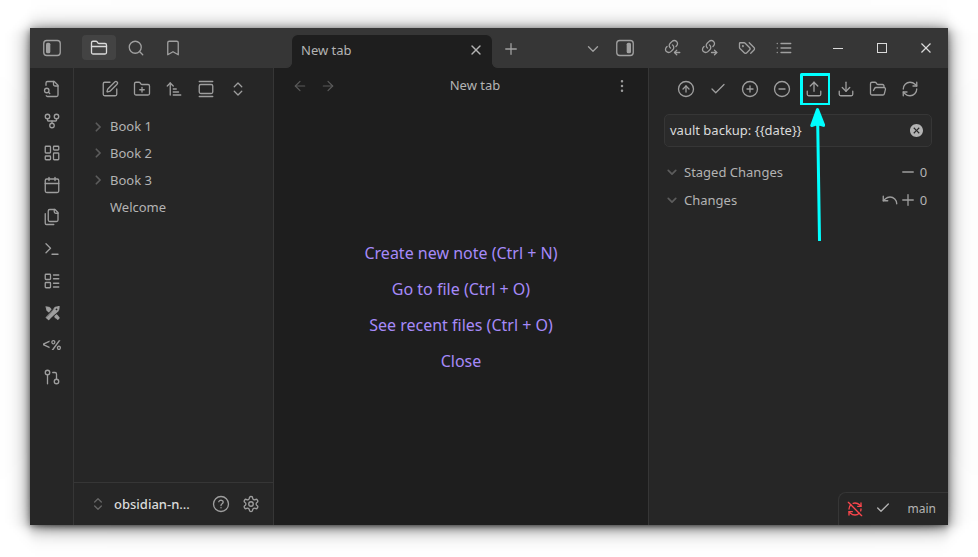
If you are a solo user of your personal notes, then you can commit the changes and push them to the remote repository. For this, once all changes are staged, use the commit button.
When commit is finished, use the Push button.
Step 12: Pull Changes
Let's say you have edited the notes in another system and pushed the changes to GitHub from there. In this case, when you start on the original system, you should pull the item first from GitHub.
Use the Pull button in the Obsidian Git control panel.
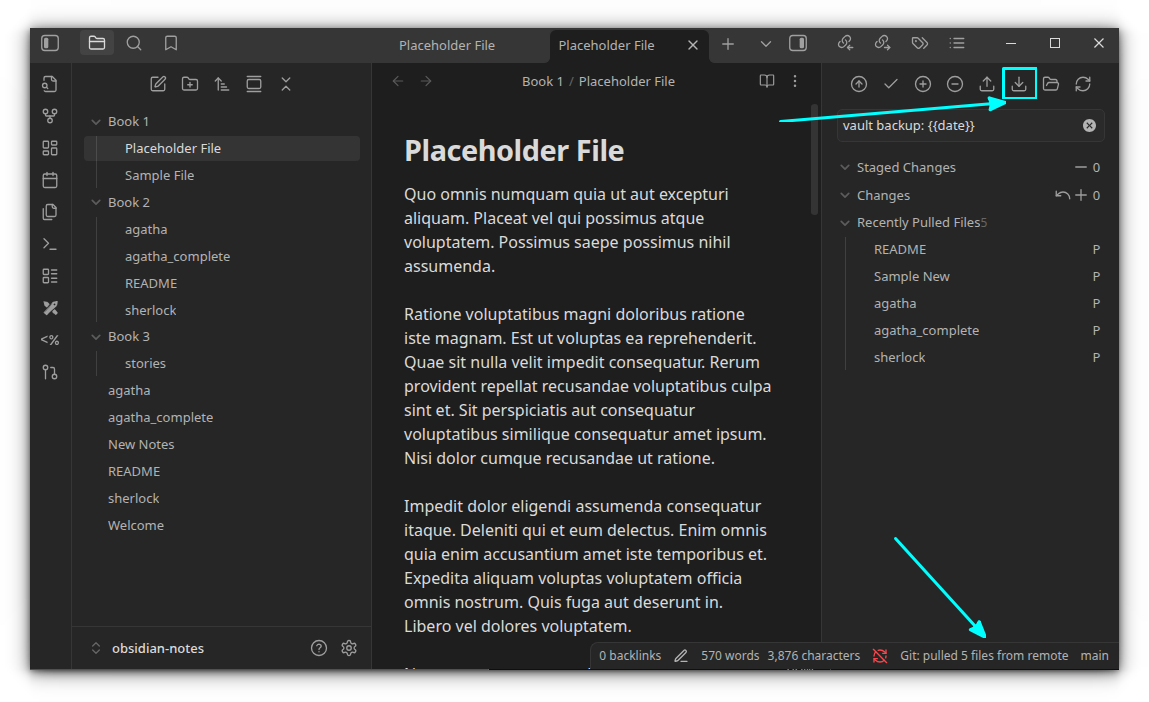
Now that your local copy is in sync with the main, you can work effortlessly.
Wrapping Up
The Git plugin also allows you to automatically commit/pull/push at pre-defined times. But I prefer keeping things under my control and thus prefer following the manual method of handpicking my files.
But it's up to you how you want to go about it. Integrating Git with Obsidian is a great way of syncing your notes in the cloud without additional cost.

