
Desktop notifications are an integral part of Ubuntu desktop. It notifies you of various things such as Software update availability, new email, new messages or even song changes. You can even use special tactics to get notifications for command completion in the terminal. Comes quite handy.
But there comes a time when you want to focus on more important things and do not want to get distracted. These desktop notifications might be annoying in such cases.
Let me show you how to quickly disable all the notifications by turning on the ‘do not disturb mode’ in Ubuntu. You can also re-enable it as easily when you are done with your focused work.
I’ll show the methods for various Ubuntu LTS versions because the steps are slightly different for them. If you are not sure, please check which Ubuntu version you are using.
Enable Do Not Disturb Mode in Ubuntu 20.04
Ubuntu 20.04 and later versions already has a built-in ‘do not disturb’ feature to make things easier for you.
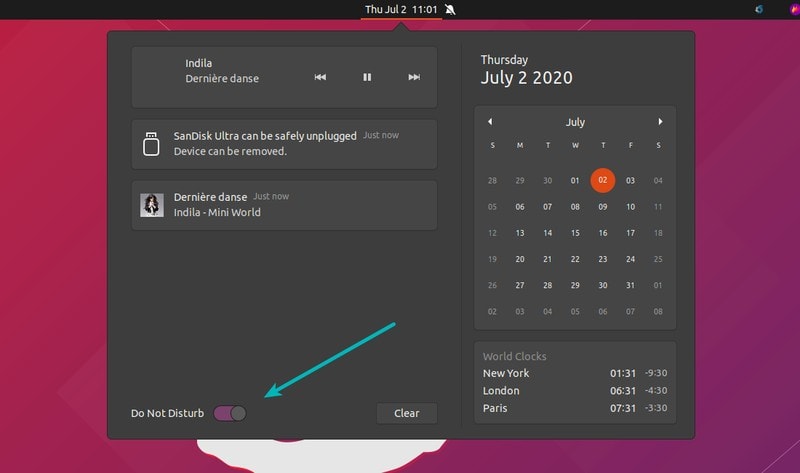
Click on the message tray in the top-middle. You may also use Ctr+M keyboard shortcut in Ubuntu to access the message tray.
Toggle the Do Not Distrub button to enable or disable the Do Not Disturb mode. It cannot be simpler than this.
Use Do Not Disturb mode in Ubuntu 18.04
Ubuntu 18.04 LTS version doesn’t have this feature built-in. But you can still use it thanks to GNOME Extensions.
If you don’t know already, read our guide on enabling GNOME Extensions in Ubuntu.
Once you have enabled the GNOME extension, head over to the Do Not Disturb Button page and enable it from there.
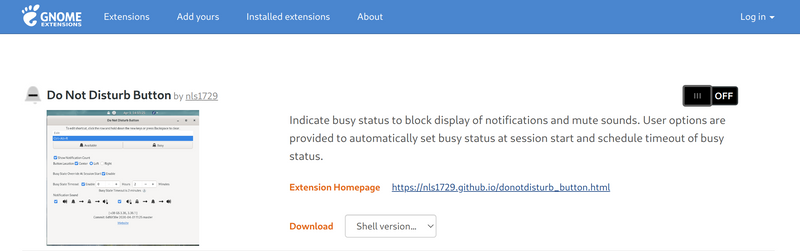
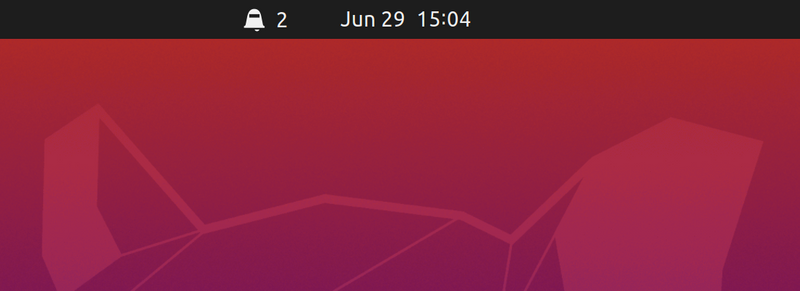
The moment you install the extension, you will get to see a bell icon on your system tray. Simply click on the bell icon to enable or disable notifications.

Simple, isn’t it?
Disabling Desktop Notifications in Ubuntu 16.04
If you are still using the older Ubuntu 16.04 LTS version then you can use this handy tool called NoNotifications.
The tool can be installed on your system using the available PPA. Open a terminal and use the following commands:
sudo add-apt-repository ppa:vlijm/nonotifs
sudo apt-get update
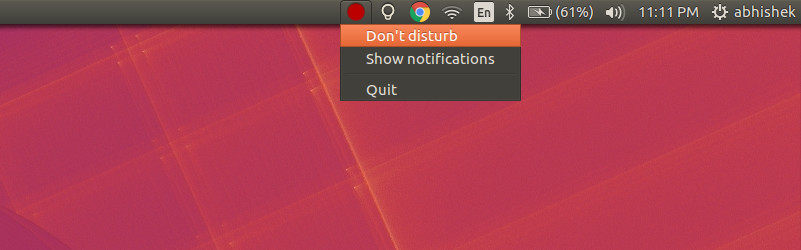
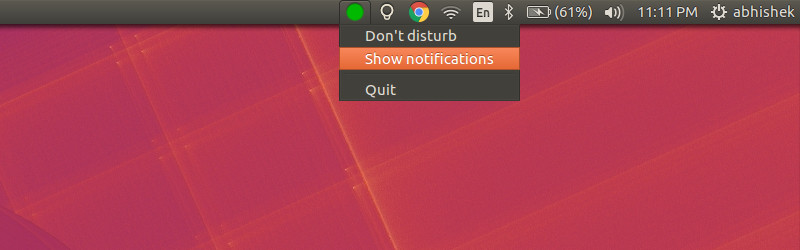
sudo apt-get install nonotifsUsing NoNotifications is very easy. Once you have installed it, go to Unity Dash and look for NoNotifications. Start this program. You will find the indicator applet in the top panel, on the right side.
There are only two options, so you can’t go wrong here:
- Don’t disturb
- Show notifications
When you select Don’t disturb, the indicator applet turns red:
When you select Show notifications, the indicator applet turns green:
This indicator applet does what it promises and that is to provide you a way to easily go into do not disturb mode.
Use the following commands to uninstall NoNotifications:
sudo apt-get remove nonotifsYou should also remove the PPA:
sudo add-apt-repository --remove ppa:vlijm/nonotifsDo you use Do Not Disturb mode?
I find it very handy to use the DND (Do Not Disturb) mode. It’s one of my favorite productivity hacks on Linux desktop.
What about you? Do you also like using the do not disturb mode?
