

Most smart home interactions today revolve around phone apps. You unlock your phone, open an app, wait for it to connect, and then tap a button to turn something on or off.
It works but it’s not always convenient. Sometimes, a simple physical control makes more sense. That’s where devices like the Elecrow CrowPanel Rotary Display come in. A small screen paired with a rotary knob, designed for people who prefer building their own control interfaces instead of relying solely on apps.
In this review, I’ll look at what this rotary panel offers, who it is actually meant for, and how practical it can be when paired with Home Assistant and smart devices.
Let’s start with what you actually get in the box.
Unboxing and first impressions
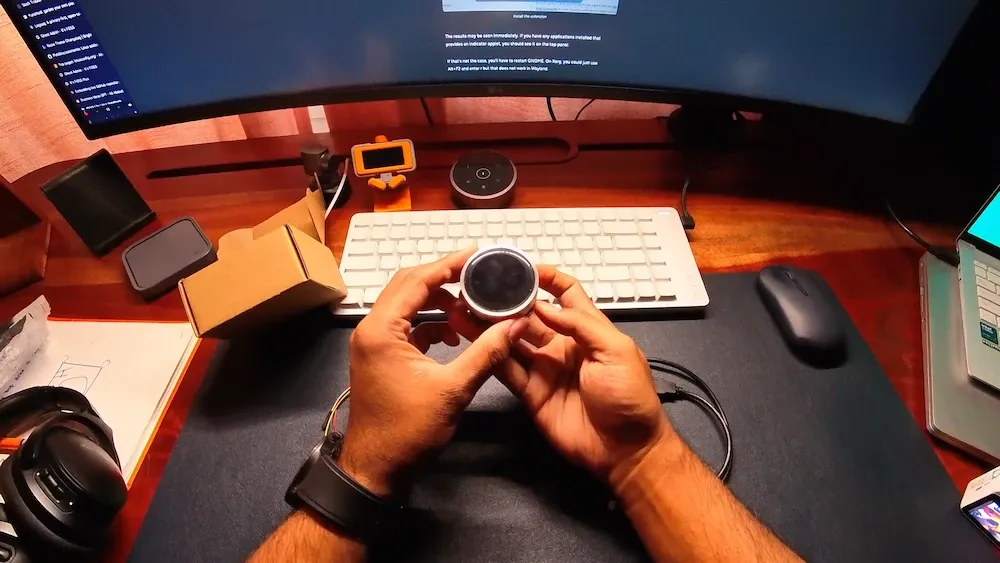
The device arrives in a plain, no-frills cardboard box. There’s nothing fancy about the packaging and honestly, that’s perfectly fine. It’s the kind of box you won’t feel bad about recycling right away 😉
Inside the box, you’ll find just three items:
- One rotary display module
- One 4-pin Dupont cable
- One 50 cm MX1.25-to-USB cable
Looking at the bottom of the device, you’ll notice several interface options. There’s a UART (Universal Asynchronous Receiver Transmitter) interface and an I2C port for communication. Power and programming are handled via a USB connection, though the USB port itself is exposed through the included MX1.25-to-USB cable rather than a standard USB connector on the device. In addition, there’s a 12-pin FPC port that opens up possibilities for expanded compatibility and add-ons. Two small but important buttons, Reset and Boot, are also present, and they play a crucial role when flashing firmware onto the CrowPanel.
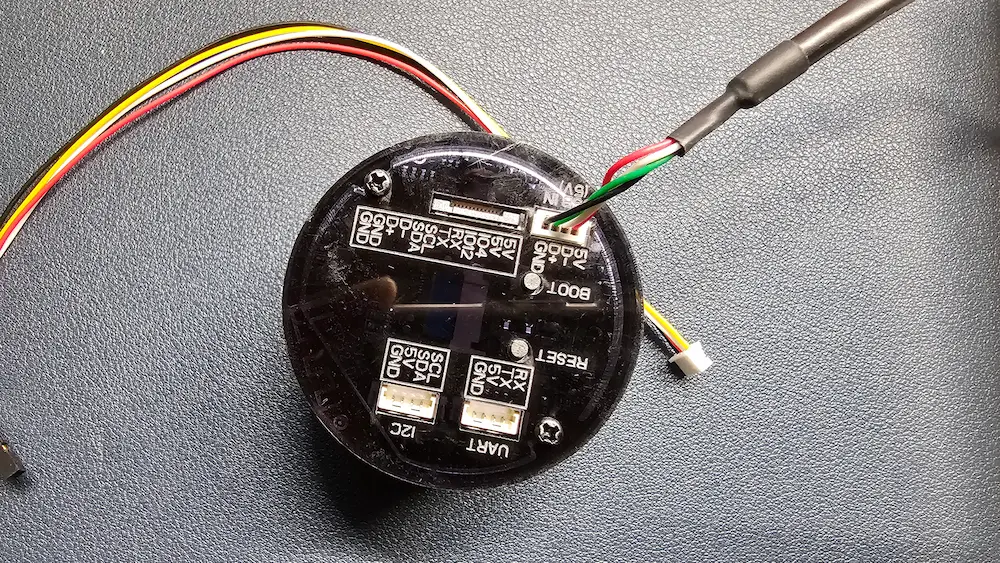
In terms of interaction, the device offers three primary input and feedback methods:
- A rotary knob that supports clockwise and counter-clockwise rotation, along with a press action
- A capacitive touchscreen that feels responsive and smooth
- Ambient LED lighting, which isn’t just decorative and can be programmed to reflect states, events, or other information
Elecrow provides a wiki page for the device, which includes the essential information you need to get started like pin layouts, interface details, and basic programming guidance. It’s not exhaustive, but it’s sufficient to point you in the right direction.
Out of the box, the CrowPanel comes preloaded with a demo program. After a pleasant boot animation, you’re presented with three options: temperature, volume, and light. You can swipe the touchscreen to switch between these modes, and use the rotary dial to adjust values like brightness or volume.
Not my video, I forgot to record it or take photos of the default demo program
That said, this is very much a showcase rather than a functional setup. The controls don’t actually change system volume or interact with any real hardware. Since the panel isn’t connected to anything yet, this default firmware serves only to demonstrate the input methods and display capabilities. To make it truly useful, you’ll need to program it and integrate it with whatever system you want to control.
Once you get past the initial setup, the next obvious question is how the device feels in daily use.
Hardware quality
The device looks decent and feels solid enough in everyday use. There’s a slight wobble or unevenness around the edges, but it’s barely noticeable unless you’re actively looking for it. It won't feel as premium as the BenQ HaloBar controller but at around $30, that’s an understandable trade-off.
The rotary dial itself is smooth and rotates infinitely, with no fixed start or end points. This works well for use cases like volume control or timers. Once the wires are connected at the bottom, the device does sit slightly raised on that side. It’s not a functional issue by any means, though it might bother you if you’re particularly sensitive to such details.

One minor concern is the MX1.25-to-USB cable connection. Removing it feels a bit tricky, and I wouldn’t attempt it without being extra careful. That could just be my own caution, as I tend to be overly careful with delicate connectors, but it’s something worth keeping in mind.
Technical specification

| Feature | Details |
|---|---|
| Display | 1.28" IPS, 240×240 resolution, capacitive touch |
| Processor | ESP32-S3R8, dual-core Xtensa 32-bit LX7 @ 240MHz |
| Memory | 512KB SRAM, 8MB PSRAM, 16MB Flash |
| Wireless | 2.4GHz WiFi (802.11 a/b/g/n) + Bluetooth 5.0/BLE |
| Size | 48×48×33mm |
| Weight | 50g |
What can it be used for?
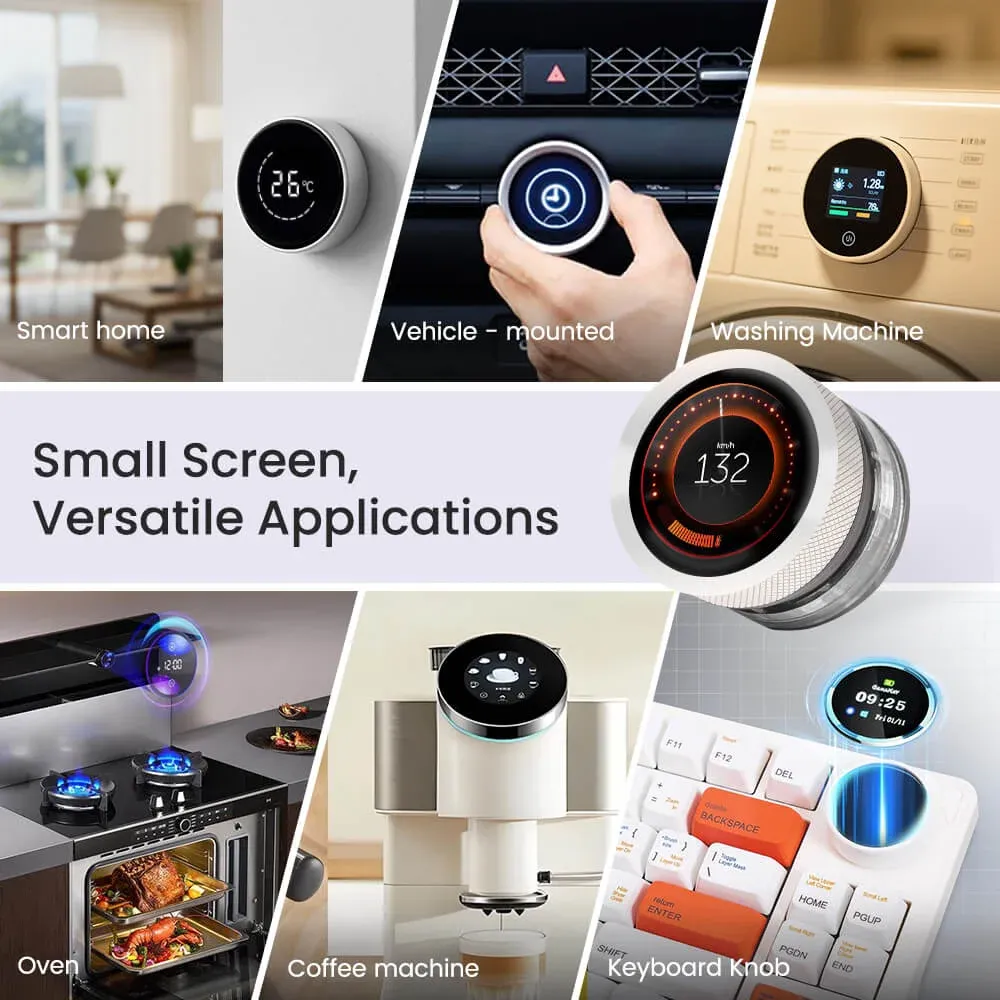
On paper, Elecrow suggests a wide range of use cases for this device:
- Smart home controller for thermostat, lighting, or scenes
- Vehicle-mounted control knob for media, navigation, or AC settings
- Washing machine interface for program selection and remaining time display
- Oven control for temperature, timer, and cooking modes
- Coffee machine controller for brew strength, temperature, and timing
- Physical keyboard knob for volume, brightness, scrolling, or macros
- Desk-side system monitor showing CPU load, time, or alerts
- Media control dial for play, pause, seek, and volume
- Appliance status display with rotary-based setting adjustments
- Compact control interface for custom embedded or IoT devices
But keep one thing in mind: there’s no magic here. You can’t just place it next to your car's infotainment system and expect it to start controlling things automatically. The rotary knob and display need to be properly interfaced with the device you want to control, typically over a wired connection or wirelessly through something like ESPHome.
Once that connection is in place, you still need to program the CrowPanel rotary display so it knows what to control and how to respond to your input. In other words, this isn’t a plug-and-play gadget. It’s a combination of hardware integration and software configuration.
That’s exactly why it appeals to DIY enthusiasts: you’re not buying a finished solution, you’re building one. So, instead of sticking to hypothetical examples, I wanted to see how it fits into my own setup.
I used it as a smartplug controller
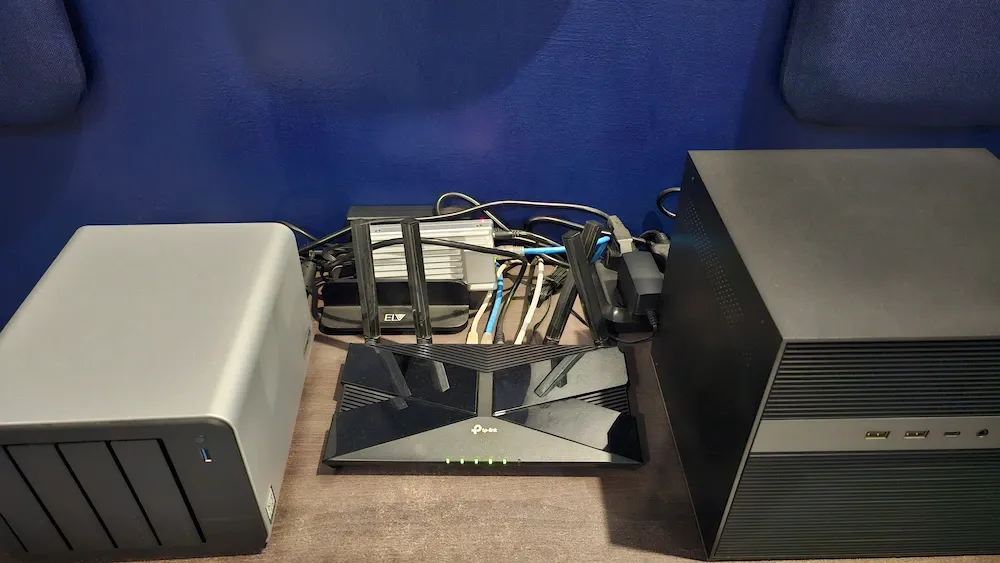
As I mentioned in my new year resolution for Linux users article, building a homelab is one of my goals for 2026. My current setup is centered around a ZimaBoard 2 running Home Assistant, alongside a few other self-hosted services. I also have several TP-Link Tapo smart plugs and smart lights connected to it.
One of these smart plugs is attached to the water heater (geyser) in my bathroom. Unlike many Western countries, we don’t need hot water throughout the year in tropical countries. We only need it in winters. The usual routine is simple: turn on the heater when you’re about to take a shower, let the water heat up, take the shower, and then turn it off. This on-demand usage helps keep electricity bills in check.
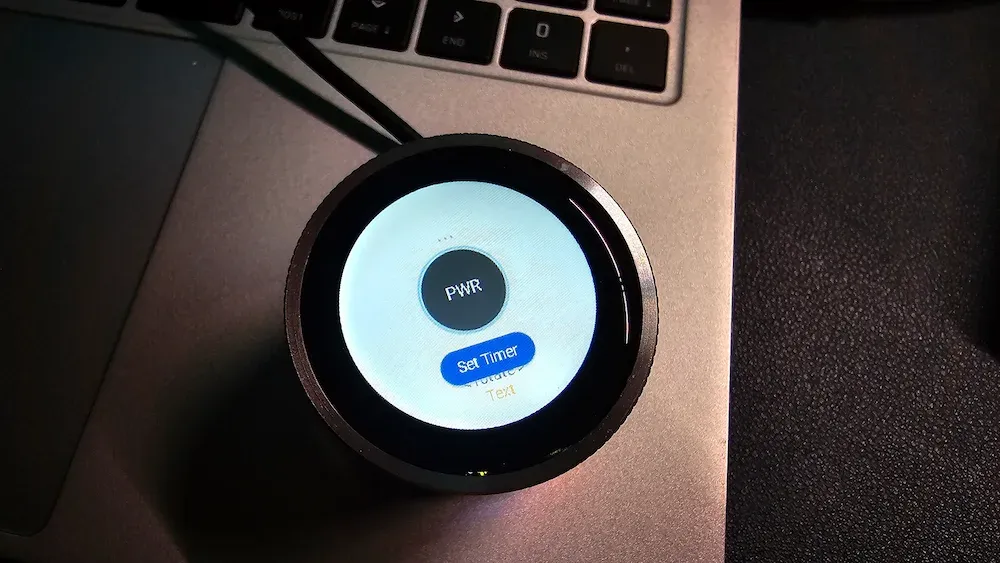
Since I was looking for a practical way to use the CrowPanel Rotary Display, I decided to turn it into a physical control knob for this smart plug. The center press on the display acts as the on/off switch for the plug, while the rotary dial is used to set a timer that automatically turns the plug off after a specified number of minutes. It’s nothing fancy, but it’s genuinely useful in daily life. Anyone in the household can use it without needing to open the Home Assistant interface or a mobile app.
Another nice aspect of this setup is that the CrowPanel communicates wirelessly with the Home Assistant server. It only needs a simple 5V USB power adapter to function. I also think there’s room for improvement, for example, programming the LEDs at the bottom to indicate whether the plug is currently on or off. The code isn’t perfect yet, but that’s something I plan to refine over time (or at least, that’s what I keep telling myself).
This supposedly 'small project' turned out to be a challenge. A good one that I genuinely enjoyed. It was my first hands-on experience with an ESP-based device, and I ended up learning quite a few new things along the way. For instance, I discovered that the ESPHome add-on cannot be installed when Home Assistant is running as a container; it needs the Home Assistant OS setup. At the same time, I also learned that ESP devices can still be integrated using alternative approaches.
The official documentation suggests designing the interface with LVGL using tools like SquareLine Studio, but I found that much of the same functionality can also be achieved directly through YAML configuration. I’ll likely write a dedicated tutorial about this later, as the process itself is quite involved and diving into those details here would take us too far off track.
I am hopeful that I will find some more innovative use of this device as my homelab evolves.
Conclusion
This is not a plug-and-play device that solves a problem for you straight out of the box. To make it genuinely useful, you need to tinker with it and spend time programming it for your specific needs.
If you already have experience with Home Assistant, LVGL libraries, ESP-based boards, or microcontrollers in general, you won’t find the CrowPanel Rotary Display intimidating. In fact, if you run a homelab or already use smart devices, you’ll likely start imagining practical and even creative ways to integrate it into your setup.
For those who are completely new to the Arduino ecosystem or microcontrollers, this device won’t offer instant gratification. Instead, it presents a learning opportunity. A hands-on way to understand how hardware and software come together in real-world automation.
If you enjoy building your tools instead of buying finished ones, this panel could make a lot of sense.
