
I know a few people who are habitual of putting all the important/frequently used files on the desktop screen for quick access.
Yes, it is a convenient way of file access for some 😎
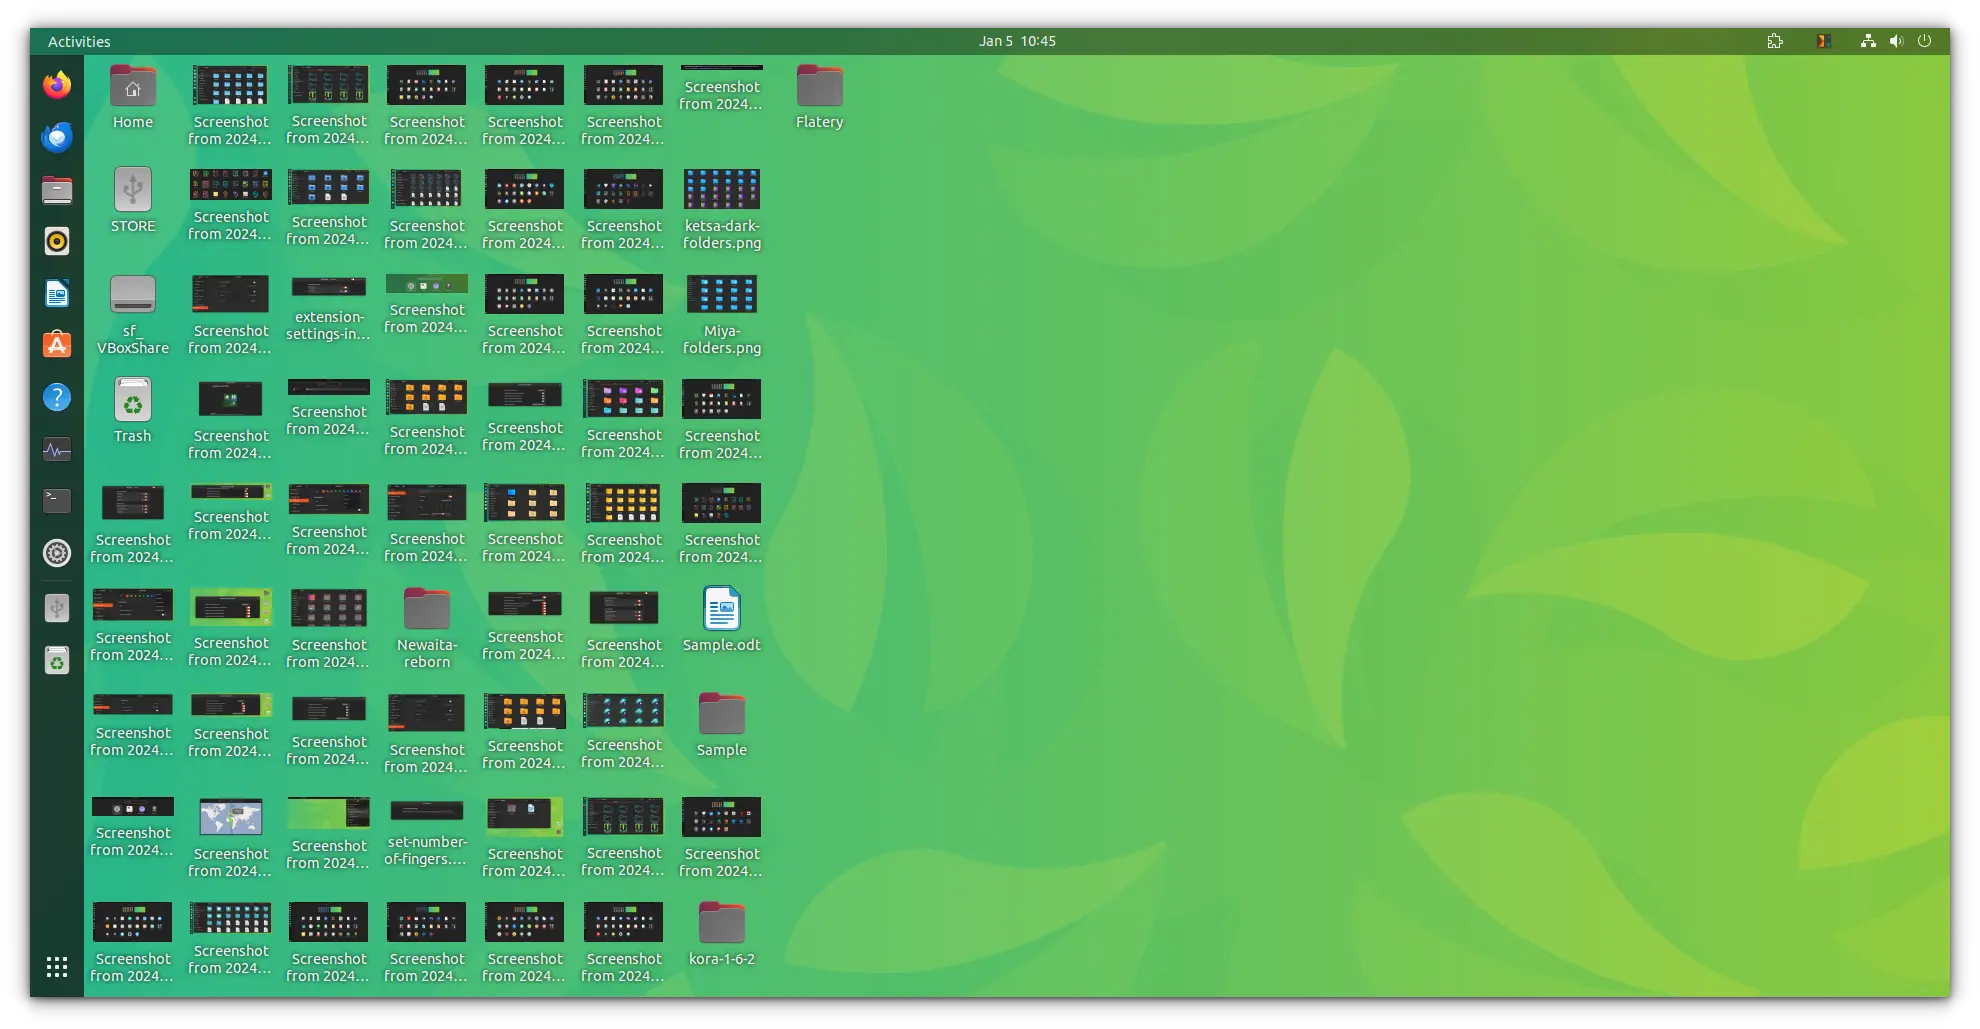
I am not a fan of a cluttered desktop screen, but it saves time, I'm sure.
With initial GNOME versions, it was difficult to add files on the desktop screen. However, that has changed now with support for files on the desktop.
So, it’s not impossible to add files and folders on the desktop. Let me show you how you can do it.
Suggested Read 📖
Desktop Icons NG (DING) GNOME Extension
As said above, GNOME does not provide a way to add files/folders to the desktop by default. We rely on this extension, called Desktop Icons NG for the purpose.
If you are using any other distro that comes with GNOME, install this from the GNOME Shell Extensions page, or you can use the GNOME Shell Extension Manager application.
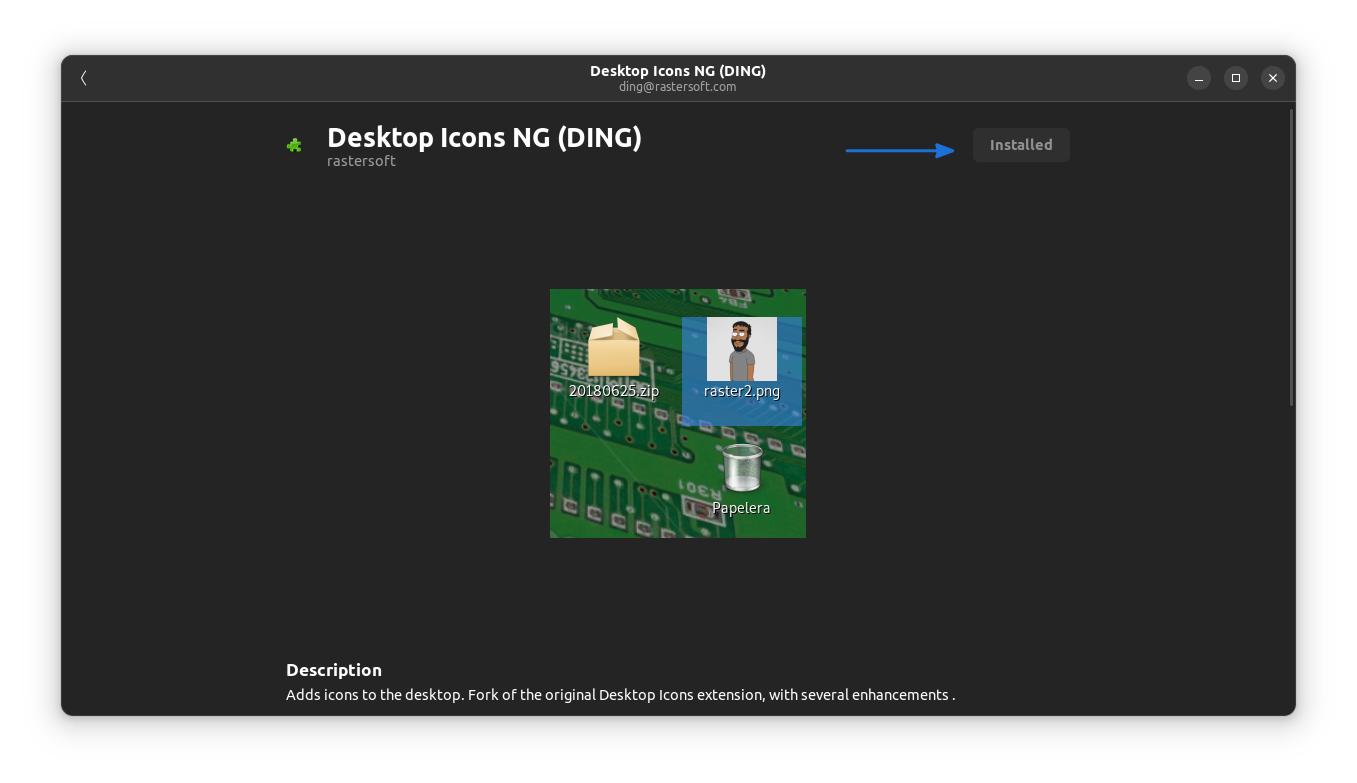
Once you are done installing the extension, you are good to go now!
Adding files and folders on the desktop screen in Ubuntu
I am using Ubuntu 22.04 LTS in this tutorial. The steps may or may not vary for other Ubuntu versions.
Add the files and folders to the “Desktop folder”
If you open the file manager, you should see an entry called Desktop in the left sidebar or in the folders list. This folder represents the storage location of your desktop screen.
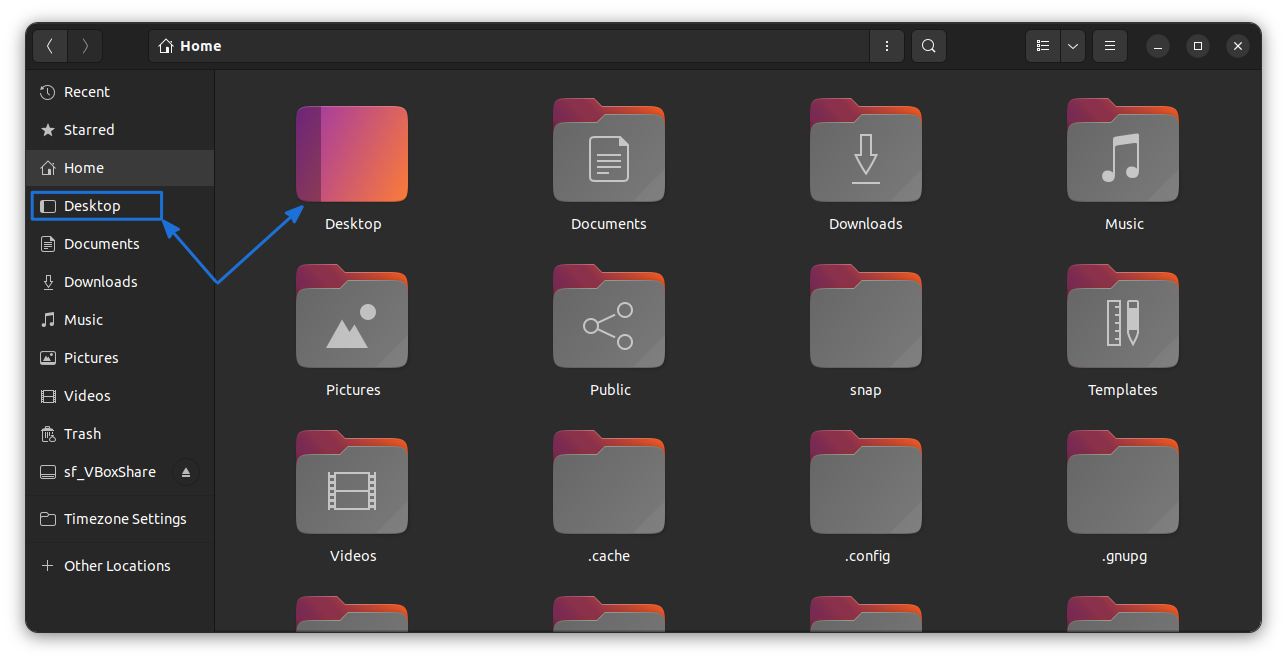
Anything you add to this folder will be reflected on the desktop screen.
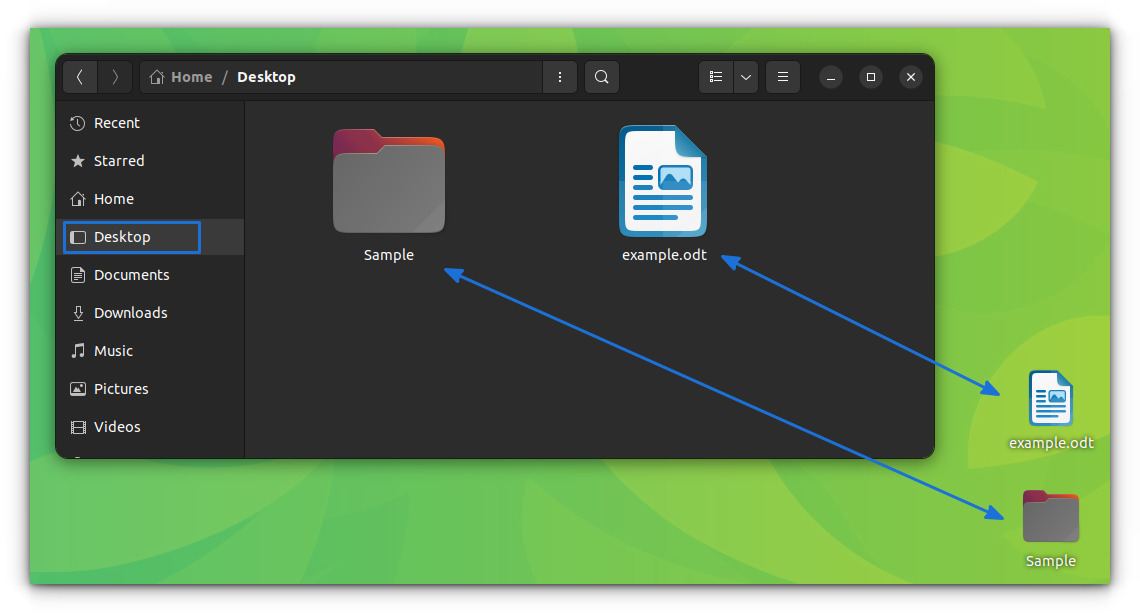
If you delete files from this ‘Desktop folder’, it will be removed from the desktop screen as well.
Drag and drop files to desktop screen
Now, if you drag and drop files from the file manager to the desktop, it will “move” that file or folder to the ~/Desktop folder. It will be visible on the desktop as well.
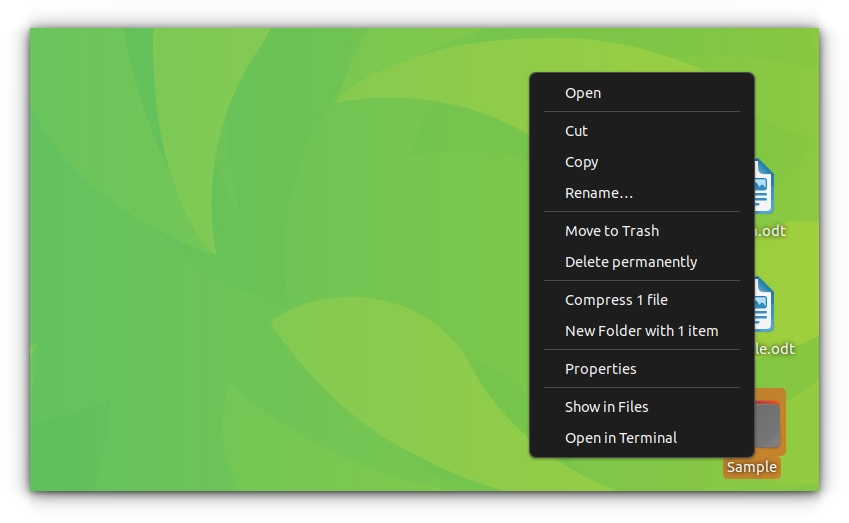
Here, you can do all sort of things that you actually do in any other locations.
Desktop Icons Appearance Settings in Ubuntu
On Ubuntu, you can tweak the appearance of desktop icons. For this, first open Settings and then go to Appearance.

You can also go to these settings directly from the desktop. Right-click on the desktop and select “Desktop Icon Settings”.
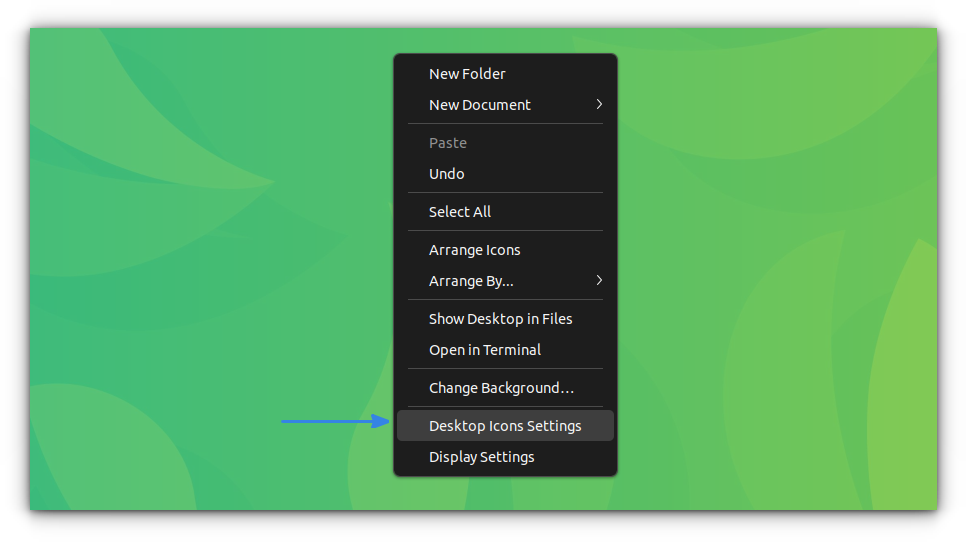
Here, you can change the size of desktop icons, to four different levels, as shown below.
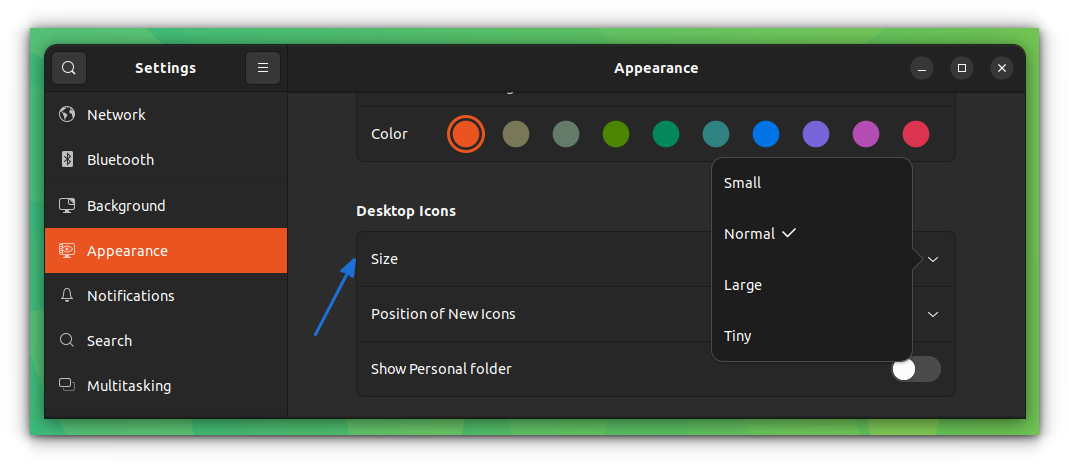
By default, in newer Ubuntu releases, the Desktop icons appear on the bottom-right of the screen. You can change this to another area if it suits you.
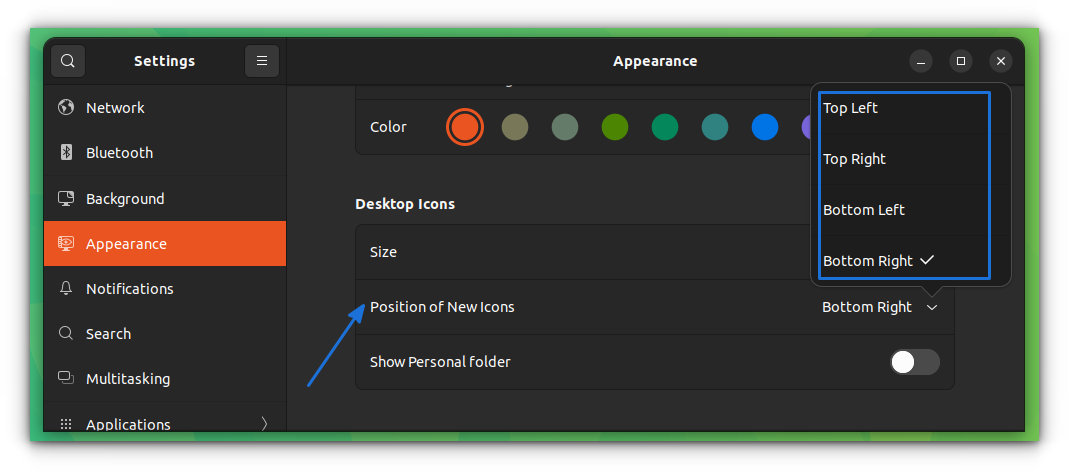
Or, show the Personal Folder, that is /home/$USER/ folder.
Tweak the Desktop Icons Using the Extension
The extension provides customizable options to fiddle with. You need to access the extension settings, preferably using the extension manager.
Here's how it looks like:
Head to the GNOME Shell Extension Manager application and then select the Gear icon corresponding to the Desktop Icons extension.
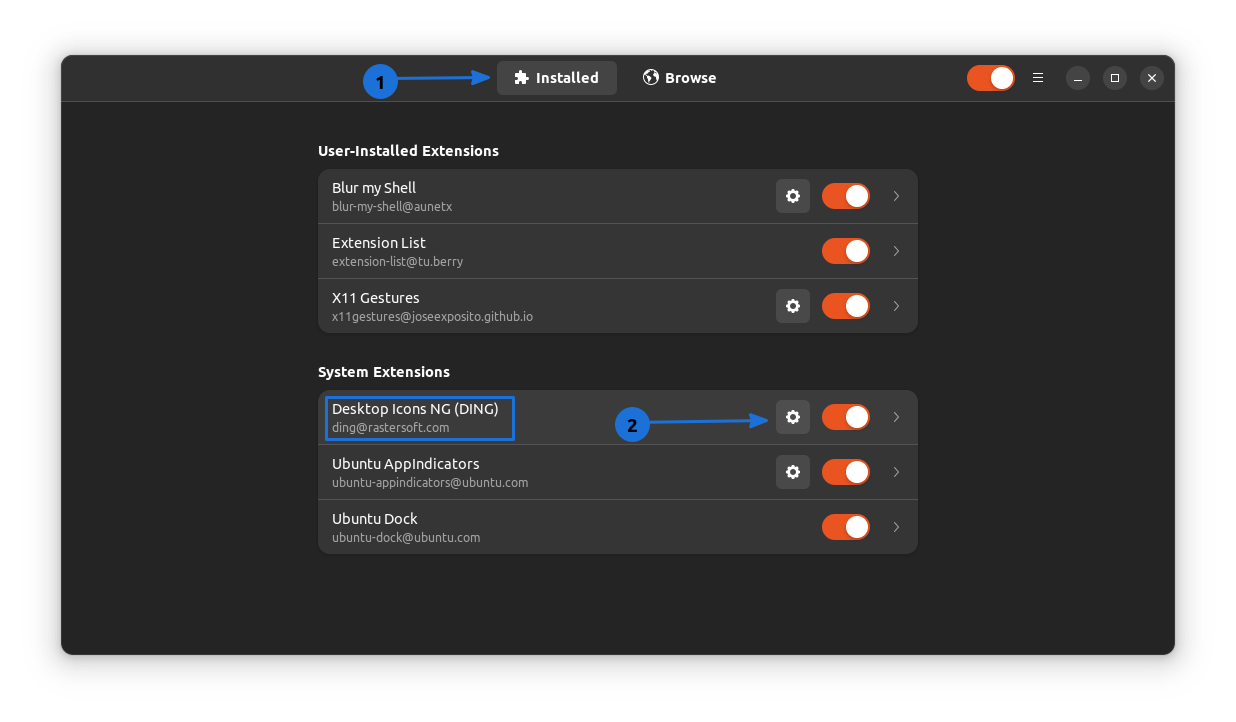
You can access the settings for each extension from here easily.
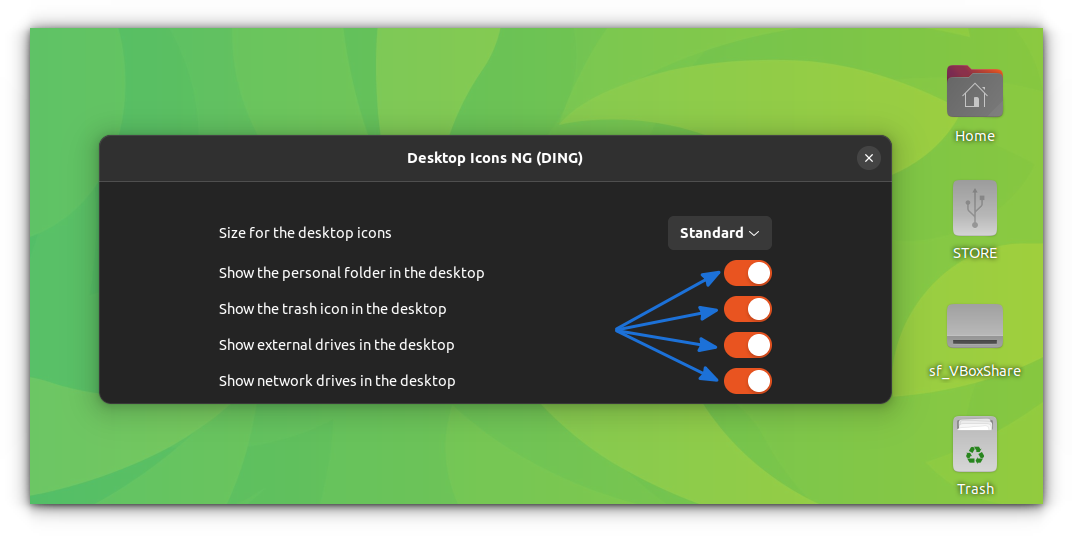
This will open the settings menu. Most of the tweaks are straightforward so that you can understand easily. A couple of interesting tweaks will be listed here.
You can show the Trash icon, External Drives, Network Drives, etc., on your desktop, by enabling the respective toggle switches.
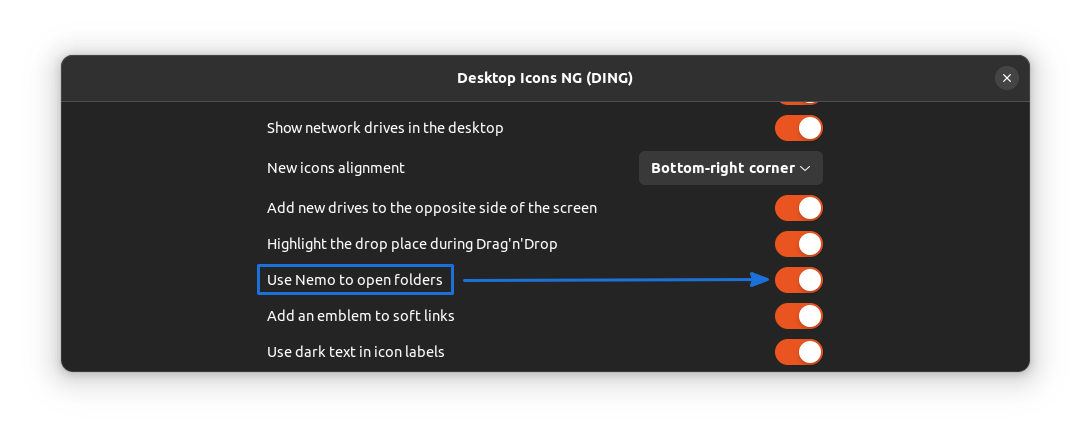
If you are using a very bright wallpaper, it will be good to show the labels in a dark color. Just enable the toggle button as shown in the screenshot below.

If you have Nemo file manager installed, you can open the folder on the desktop in Nemo by enabling it in the settings.
Suggested Read 📖
Wrapping Up
For the most part, you do not need access to the extension settings. If you are new to the Linux world, do not worry about the customization options through the extension settings. The toggle buttons work as expected.
If interested, you may read about adding application shortcuts on Ubuntu desktop as well.
Moreover, you can improve your workflow with the files/folders if you know how to use the Nautilus File Manager features efficiently:
💬What are your thoughts on having files/folders on the desktop?


