OS Boxes is a project from Omair of Noobslab, a popular Linux blog. OS Boxes provides ready to use virtual images of a number of popular Linux distros, including Ubuntu, Debian, Gentoo Linux, Arch Linux, Fedora, and so on.
Normally, you download the ISO and use it to install the Linux distribution in VirtualBox or VMWare. In addition to that, you’ll have to install VirtualBox Guest Additions or VMWare Tools for sharing clipboard, files etc between the host and the guest systems.
With a pre-configured virtual image, you do not require a setup process, and all the networking, clipboard sharing, and other guest addition feature works seamlessly.
How to use OSBoxes?
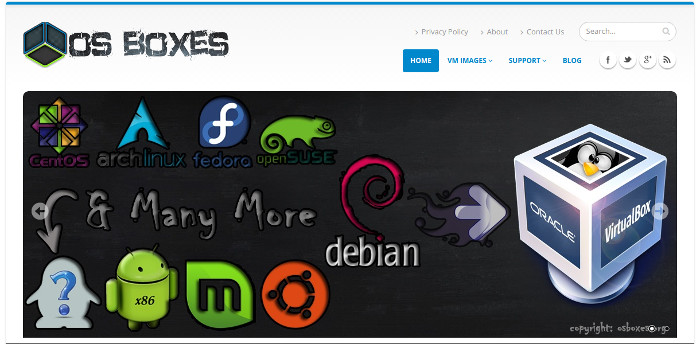
Getting started with OS Boxes is also pretty easy. You will need to install VMWare or VirtualBox on your Linux or Windows machine. In case if you don’t have VirtualBox installed on your Linux machine, then you can follow our Install VirtualBox on Ubuntu guide.
Once VirtualBox or VMWare is installed, you have to download and install virtual images of your preferred Linux distribution and install it on the virtualization software. However, in case if all these terms seem confusing to you. Then here is a step-by-step guide:
Before I go ahead and start talking about the steps, I assume that you already have VirtualBox or VMWare installed on your computer. For this tutorial, I am going to use Cent OS using Virtualbox. So let’s go and check the steps out:
Step 1: Download the desired virtual image
The first thing that you have to do is download the virtual image of your favorite Linux distro that you would like to try out. For this, you can go to oxboxes.org and download your favorite Linux distro.
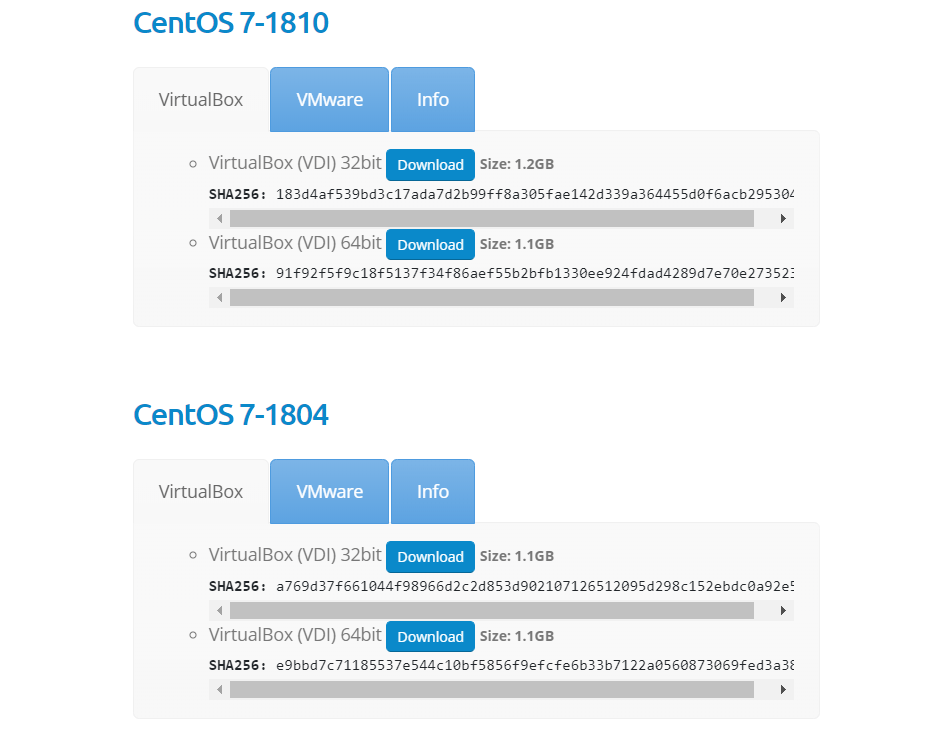
Step 2: Note down the default user password
Make sure to click on the Info tab too. Over here, you will find the username and password of your preferred OS. Not down the details, as you will need them later.
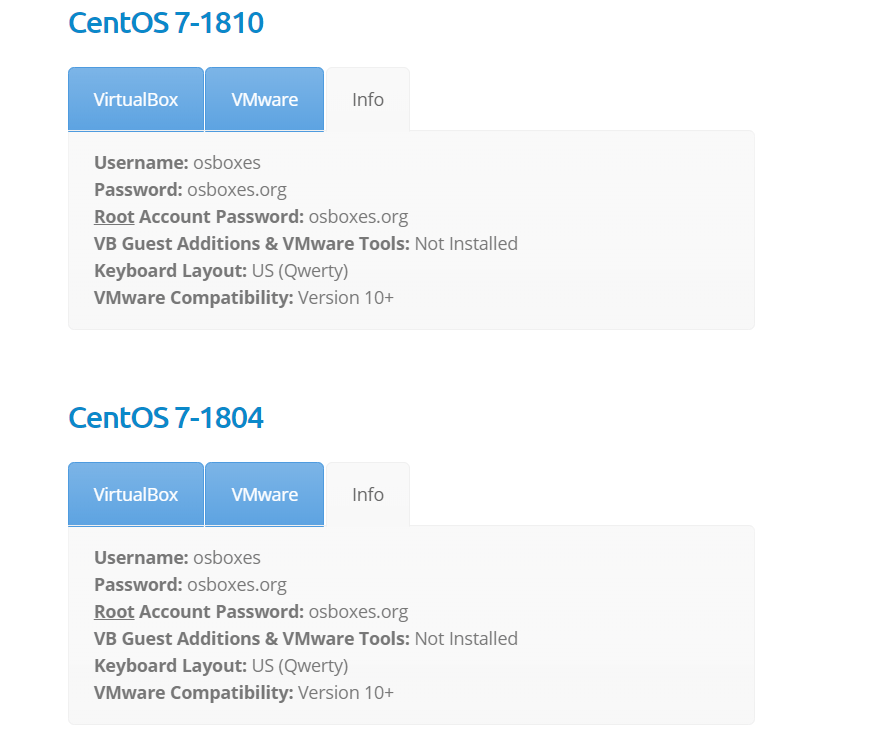
Step 3: Use the virtual images in VirtualBox (or VM Ware)
This tutorial is for VirtualBox. Similar steps can be used for VM Ware as well.
Once you are done downloading the file, simply right click on it and extract the file, and you will have a .VDI file.
Now, you have to launch VirtualBox from your computer and click on the New button.

Next, you have to create a virtual machine. Now, give your virtual machine a name, then choose a location to save the machine, select the type and version. Once you are done filling all the details, hit the next button.
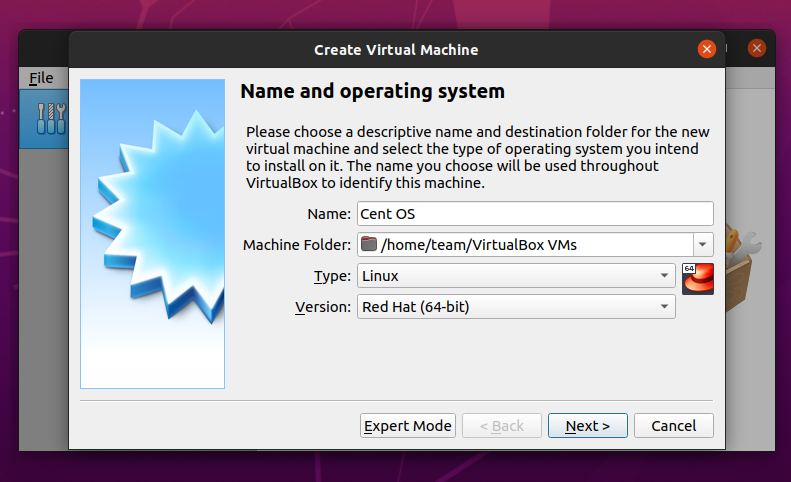
On the next screen, you will need to allocate ram RAM to your virtual memory.
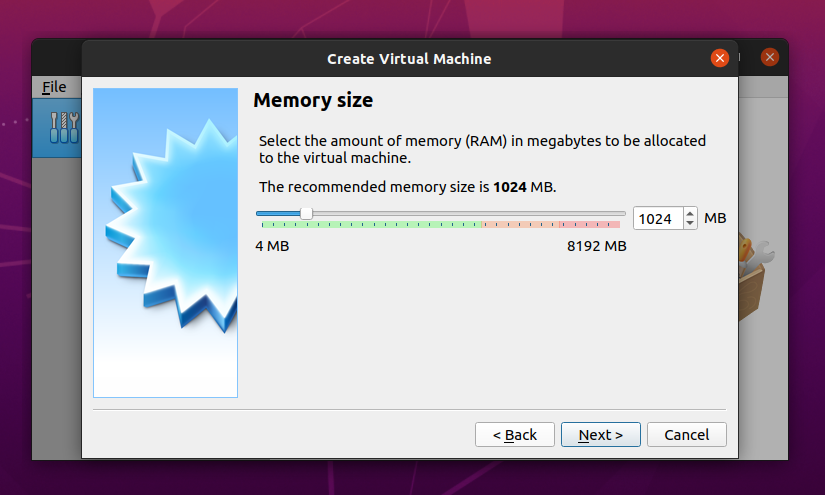
Now the most important part. Once you are on the Hard Disk Window, you have to select the last option that says Use an existing virtual hard disk file.
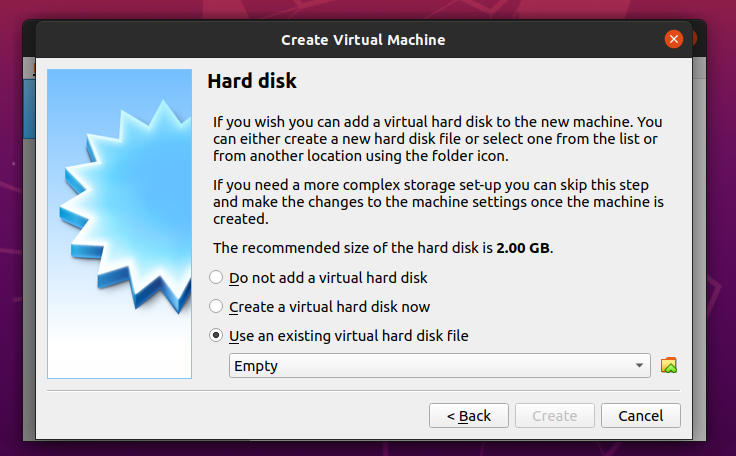
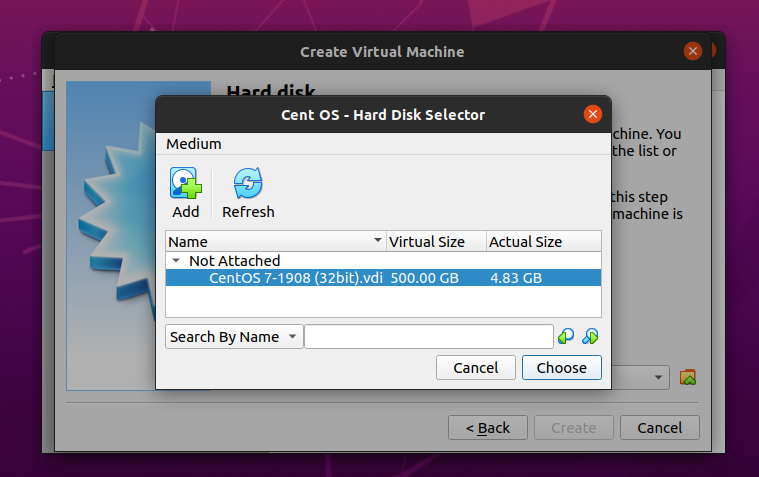
Then you have to choose the .VDI file that you have downloaded in the first step and hit the create button.
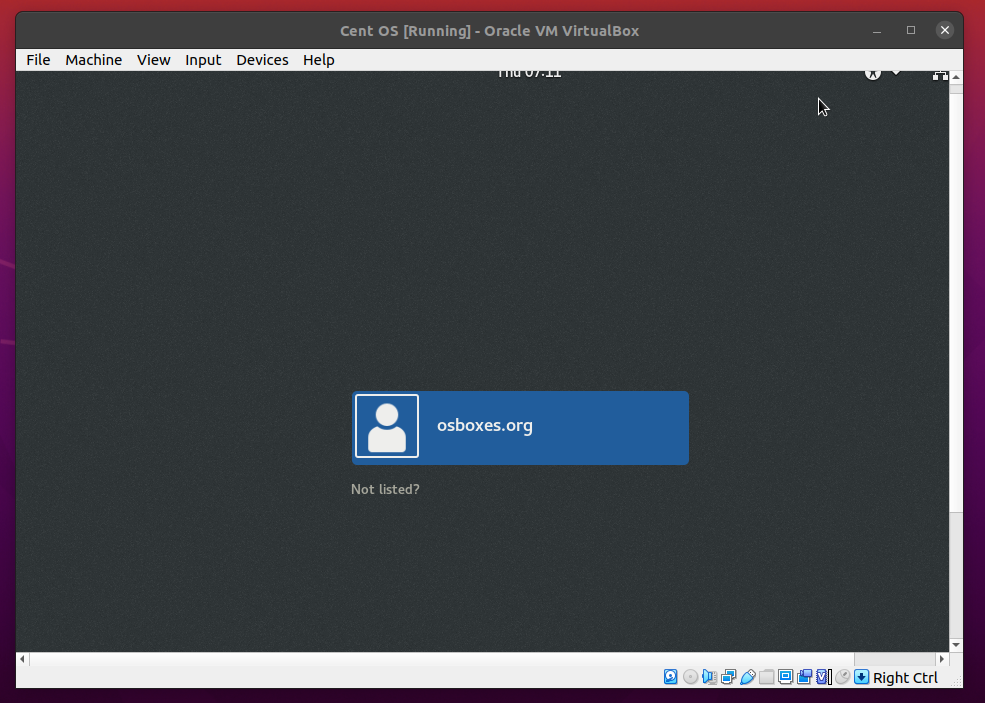
That’s it. By now, you will have your VirtualBox ready. Simply hit the start button to boot your OS Up.
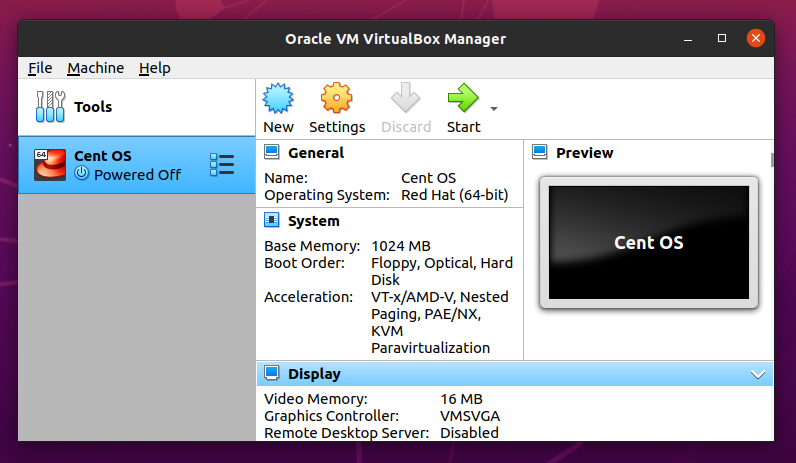
Finally, log in to your OS using username and password, and you are all done.
Wrapping Up
OSBoxes definitely a great tool that helps you to try out different Operating Systems without any hassle. Just download any of the pre-configured OS and boot it up using OSBoxes, and you are good to go.
The tool definitely going to be pretty useful when you wish to try out a different OS for certain projects, or you wish to check out an OS before installing it on your HDD.
So go ahead and try the tool out and see how it is working for you. If there is anything you wish to ask, feel free to drop a comment below.

