

Keeping your system updated is essential for any operating system. Linux Mint is no different.
Linux Mint has a robust update system. It provides timely security patches for the kernel and other software packages. That's not it. You also get updates on the applications you installed using the Software Manager tool.
Basically, apart from security patches, your system receives new features, bug fixes, improved hardware support, performance enhancement, and a lot more.
While the Updater tool is straightforward, it may still seem overwhelming if you are new to Linux Mint.
This is why we at It's FOSS came up with this beginner's guide idea. It will give you some ideas about using this tool and the best practices you should follow.
So in this guide, I will explain how you can perform the system updates in Linux Mint and will walk you through the following:
- Create backups using Timeshift (optional yet recommended)
- Prioritizing and installing updates (know the different types of updates)
- Restore from the Timeshift backup (if the update messed up the system)
- Adding the fastest mirrors (optional but good to know)
Linux Mint Update Manager
When there are updates available for your system, you'll notice a 'secure' symbol with red dot on it in the bottom right corner of the screen (notification area).
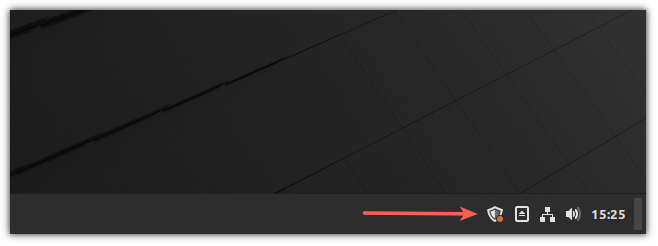
If you click on it, you'll see the available system updates. By default, all updates are selected to be installed. You can deselect some (if you know what you are doing).
Before you learn more about the types of updates and their installation, I would like to talk about backups.
Create Timeshift backup (optional yet recommended)
Linux Mint is a stable distro as it is based on the long-term support version of Ubuntu. Updates you install will rarely create problems.
Rarely but possible. Say you forced power off the system while it was installing package updates. It is possible that it may mess up the perfectly working system.
Precaution is better than cure. So I recommend making regular backups. If nothing else, make a backup before applying updates.
Linux Mint comes preinstalled with Timeshift backup application. It is a third-party tool but is highly recommended by Mint developers.
To create a backup, start the Timeshift from the system menu:
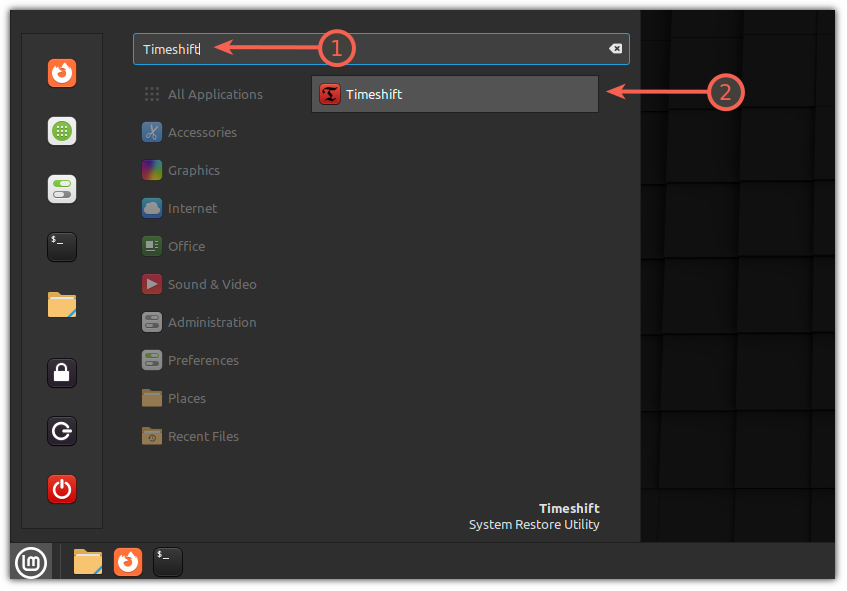
If you haven't used it before, it will ask you several questions before allowing you to create a backup.
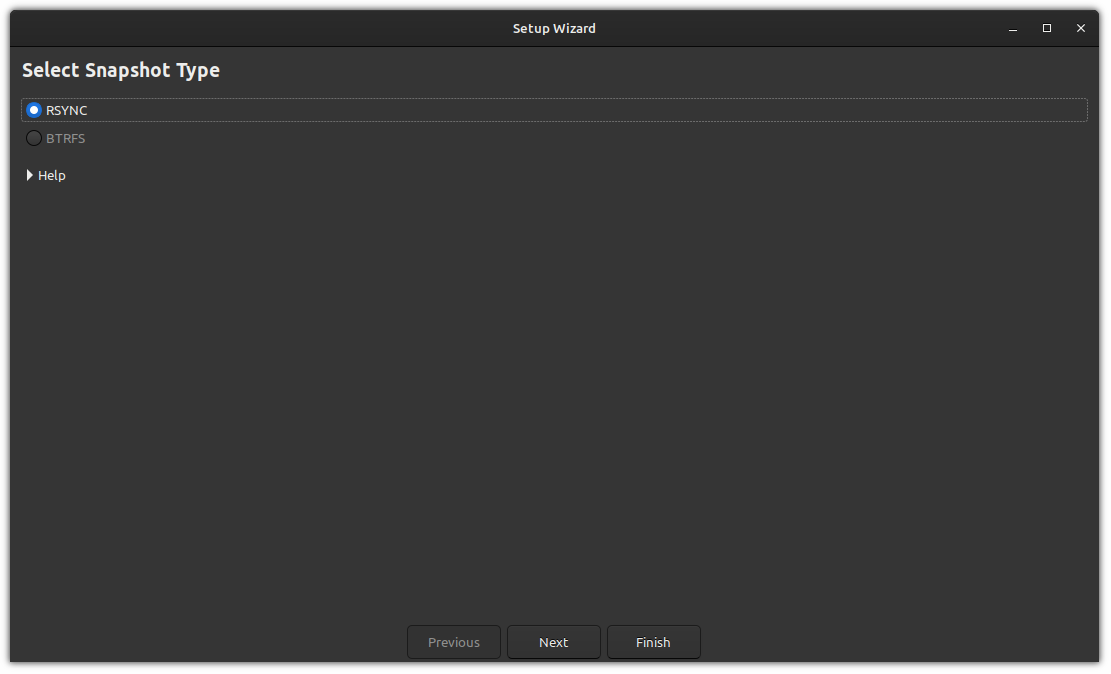
First, it will ask you which type of backup you want to create. There are two options: RSYNC and BTRFS.
RSYNC is based upon hard links and can work on any filesystem, whereas BTRFS is only used for the BTRFS filesystem.
If you don't know what to choose, select RSYNC as it would work just fine:
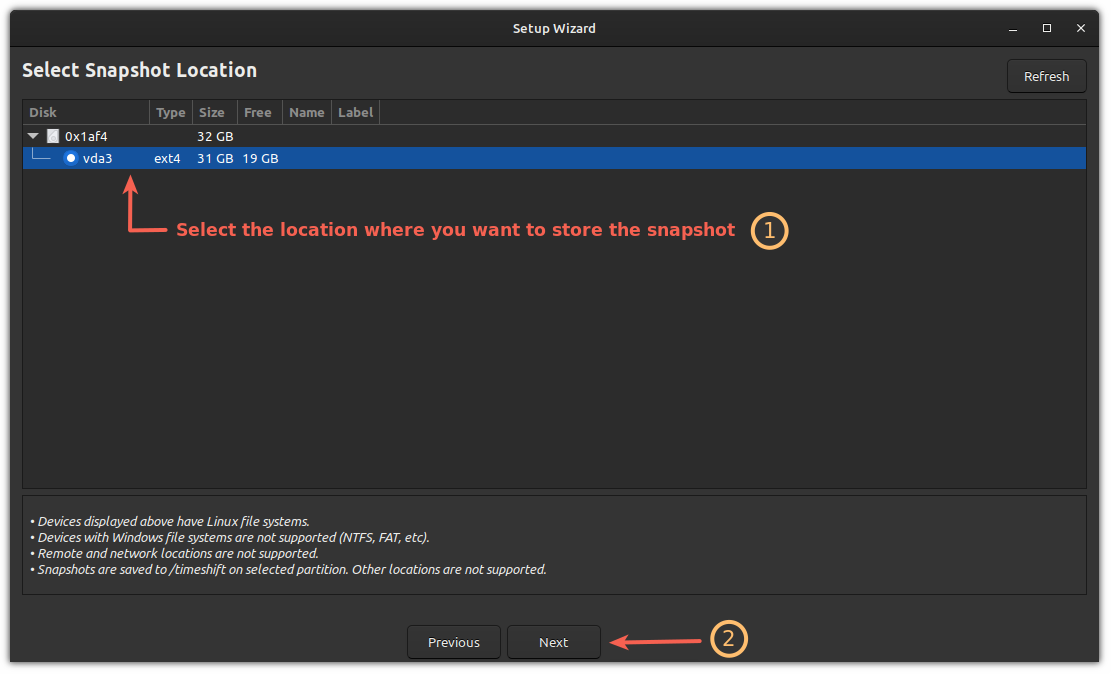
Next, it will ask you where you want to store the snapshots.
If you have multiple drives, it would show multiple options but for most users, there will be a single option. In my case, it was vda3:
Now, it will ask you to choose the directories that need backing up.
By default, it will exclude all the files inside the home directory and I recommend you do the same.
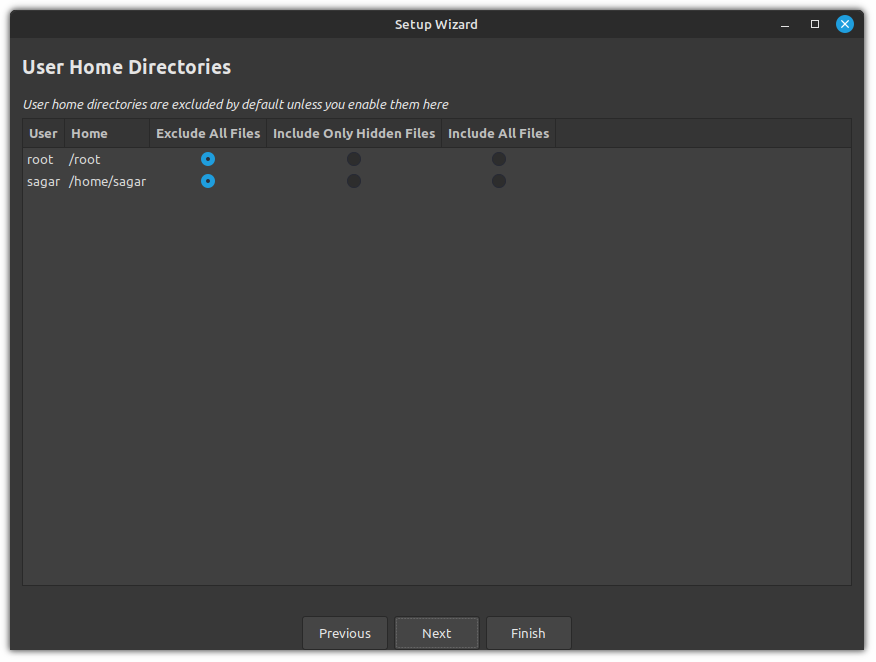
Once done, it will show you a page informing the setup is complete.
Now, you can create a backup by clicking on the Create button:
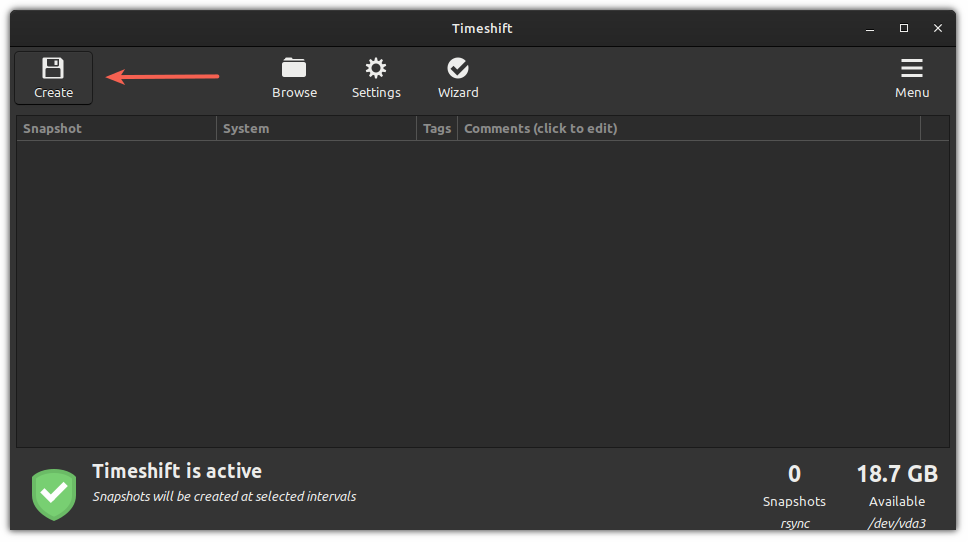
It may take a while, based on your choices during the setup.
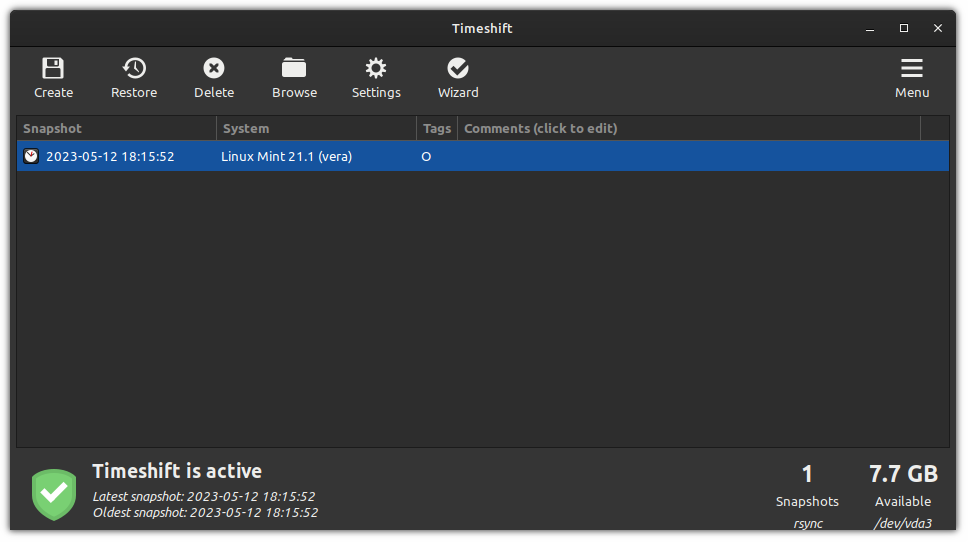
Once done, the snapshot will reflect in the Timeshift:
Great! So now you have created the backup. Let's go back to the system updater.
Installing updates
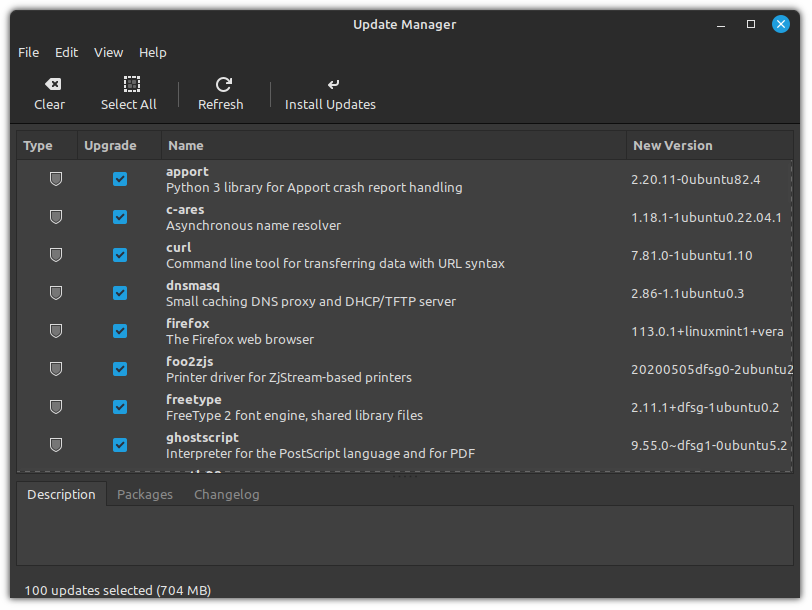
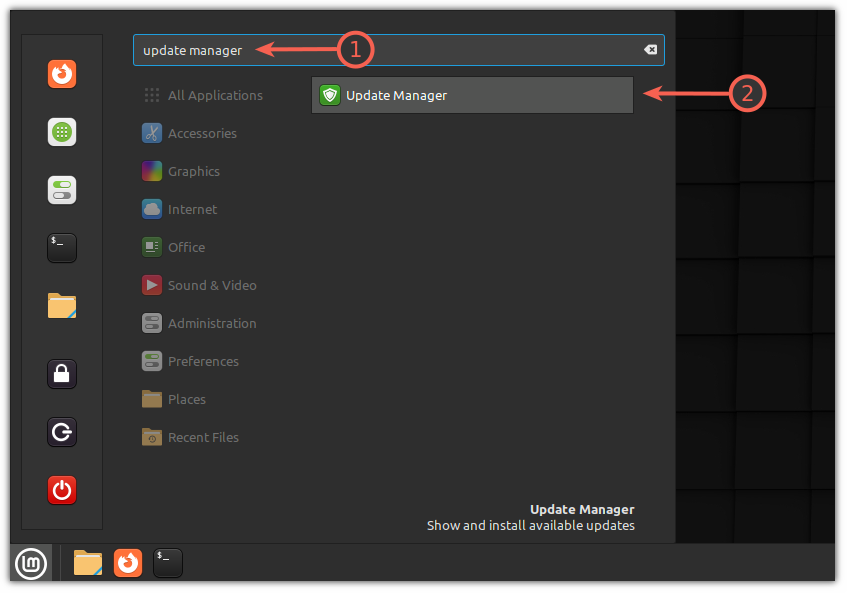
First, open the update manager from the system menu:
Here, you will find a list of packages that need to be updated and all of them will be selected by default (I would recommend you go with the same).
But if you want, you can uncheck software updates or kernel updates if you want to stick to that specific version only.
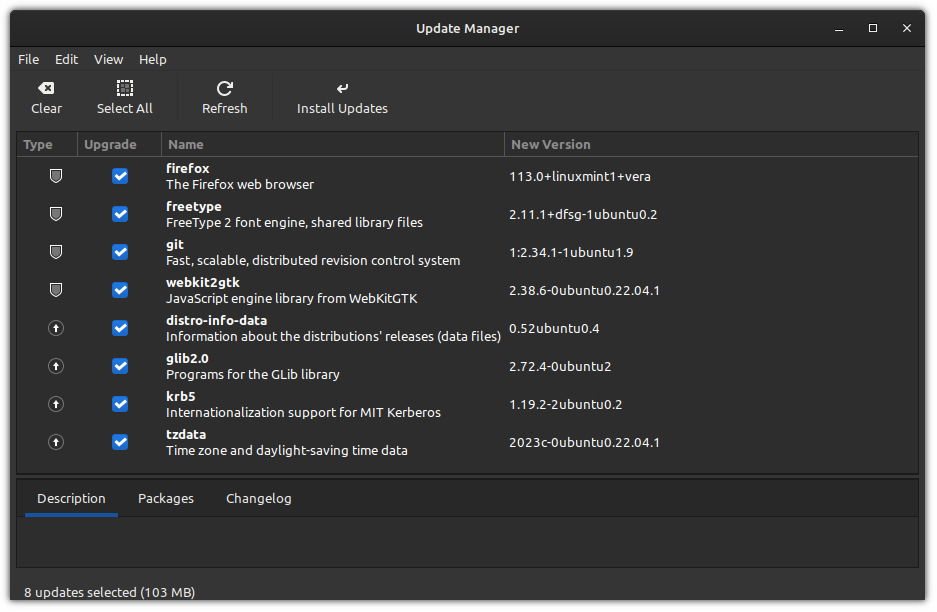
To make things simple, in Linux Mint, the updates are divided into three categories:
- Security patches (Highest priority and indicated by
🛡): You are supposed to install the security patches immediately as it is supposed to save you from your system's current vulnerability. - Kernel updates (Medium priority and indicated by
🗲): New kernel brings hardware support for new hardware, bug fixes for your current kernel, and may also have performance improvement. - Software updates (Lowest priority and indicated by
⬆): These updates are meant to roll out new features and bug fixes in your software.
Again, I will advise you to go with the defaults!
Once you are done selecting, click on the Install Updates button, enter the password and it will start the installation of new packages:
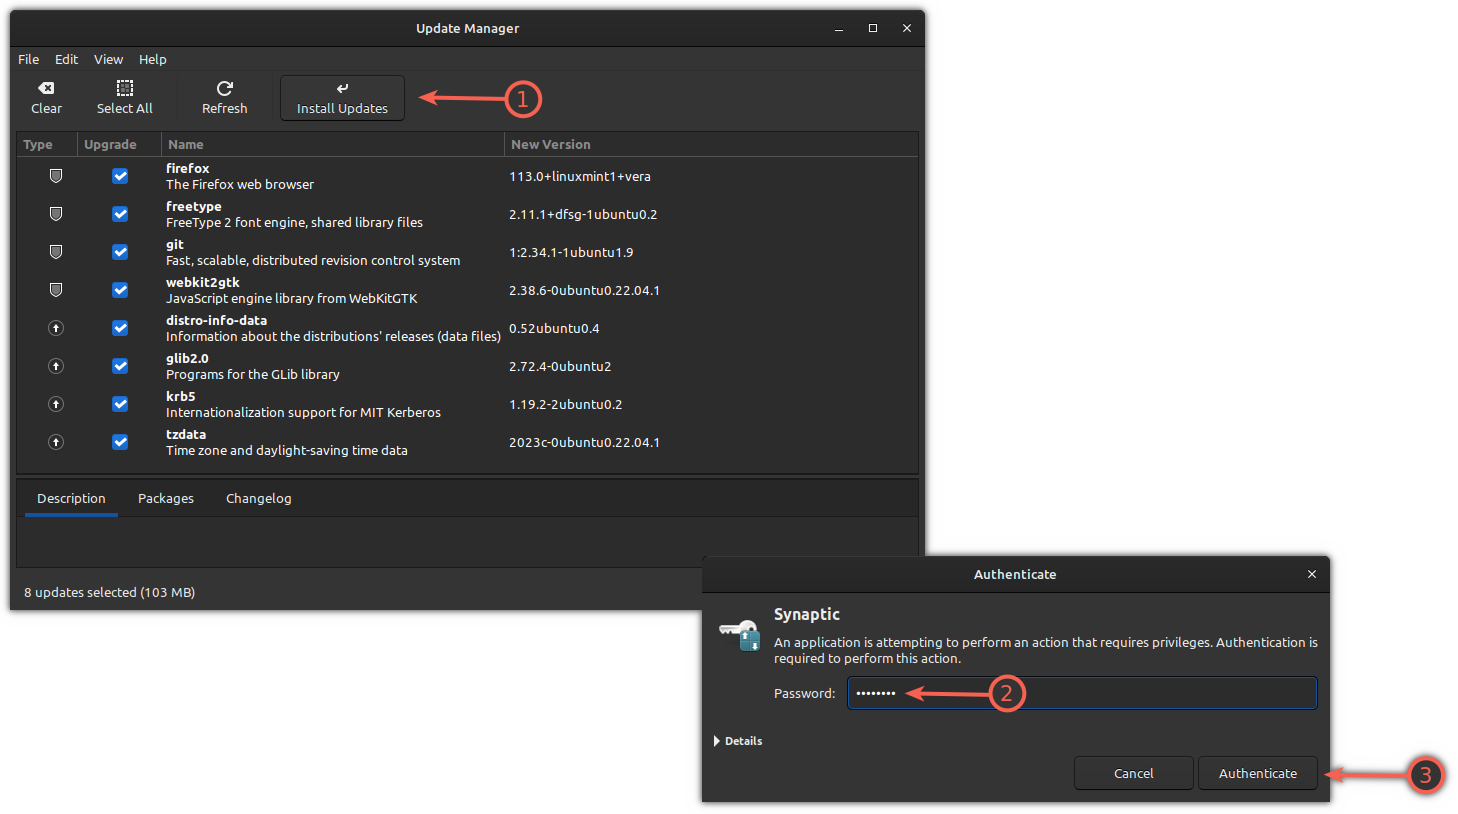
That's it! The system is updated!
Rollback if the system crashed after the update (Backup required)
If you can access the GUI, you can easily roll back to the previous state using the Timeshift backup you had created earlier.
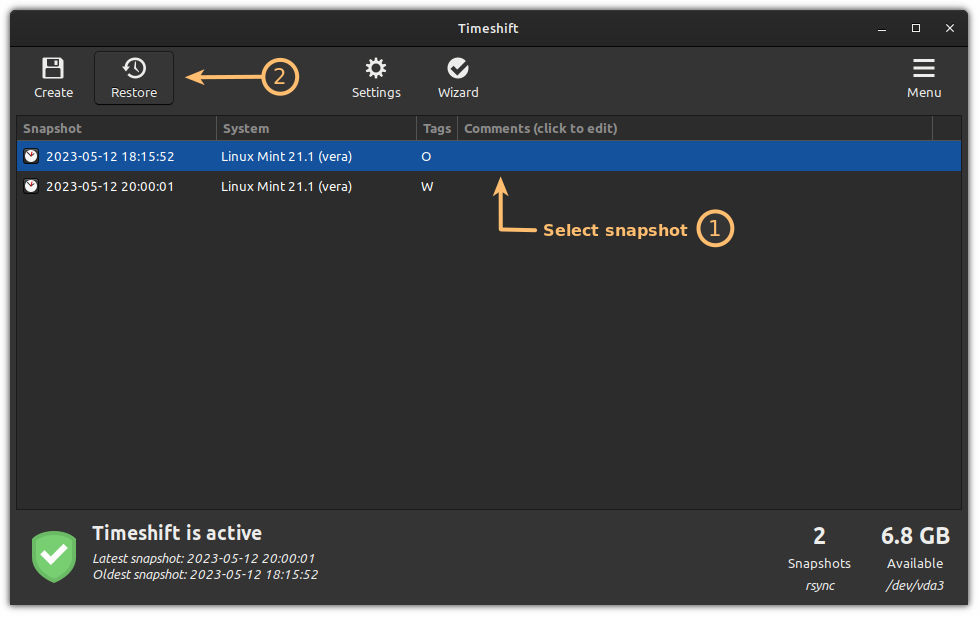
First, open the Timeshift from the system menu and it will show the created snapshots backup you took in the past:

To restore to the previous state, select the snapshot and click on the Restore button:
Next, it will ask you to select the targeted devices. I would recommend going with the selected options:
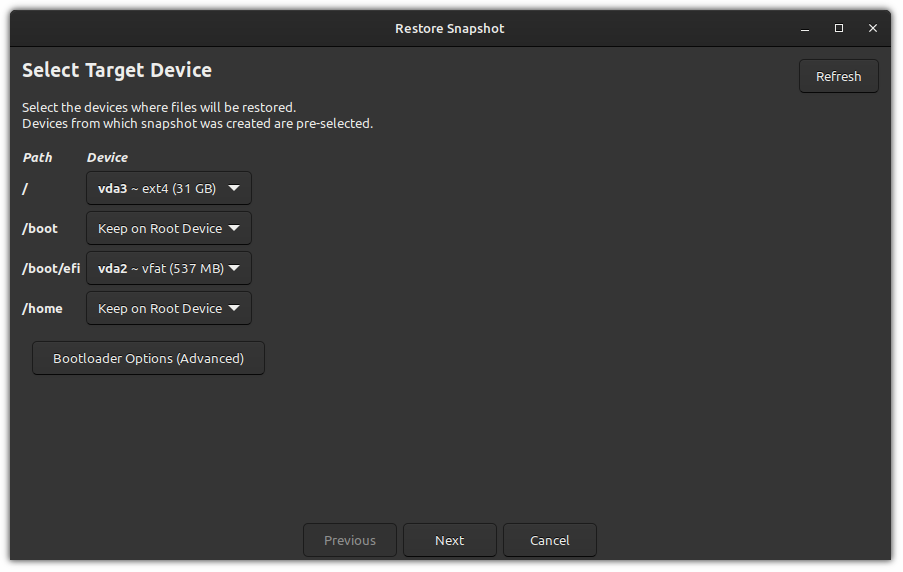
Click on the next button and it will start the restoration process!
Add the fastest mirrors to speed up the download (optional)
Selecting the fastest mirror is nothing but choosing the closest server to you, which will eventually reduce the latency and get you a faster experience.
To add the fastest mirror, first, open the software sources from the system menu and enter the password when asked:

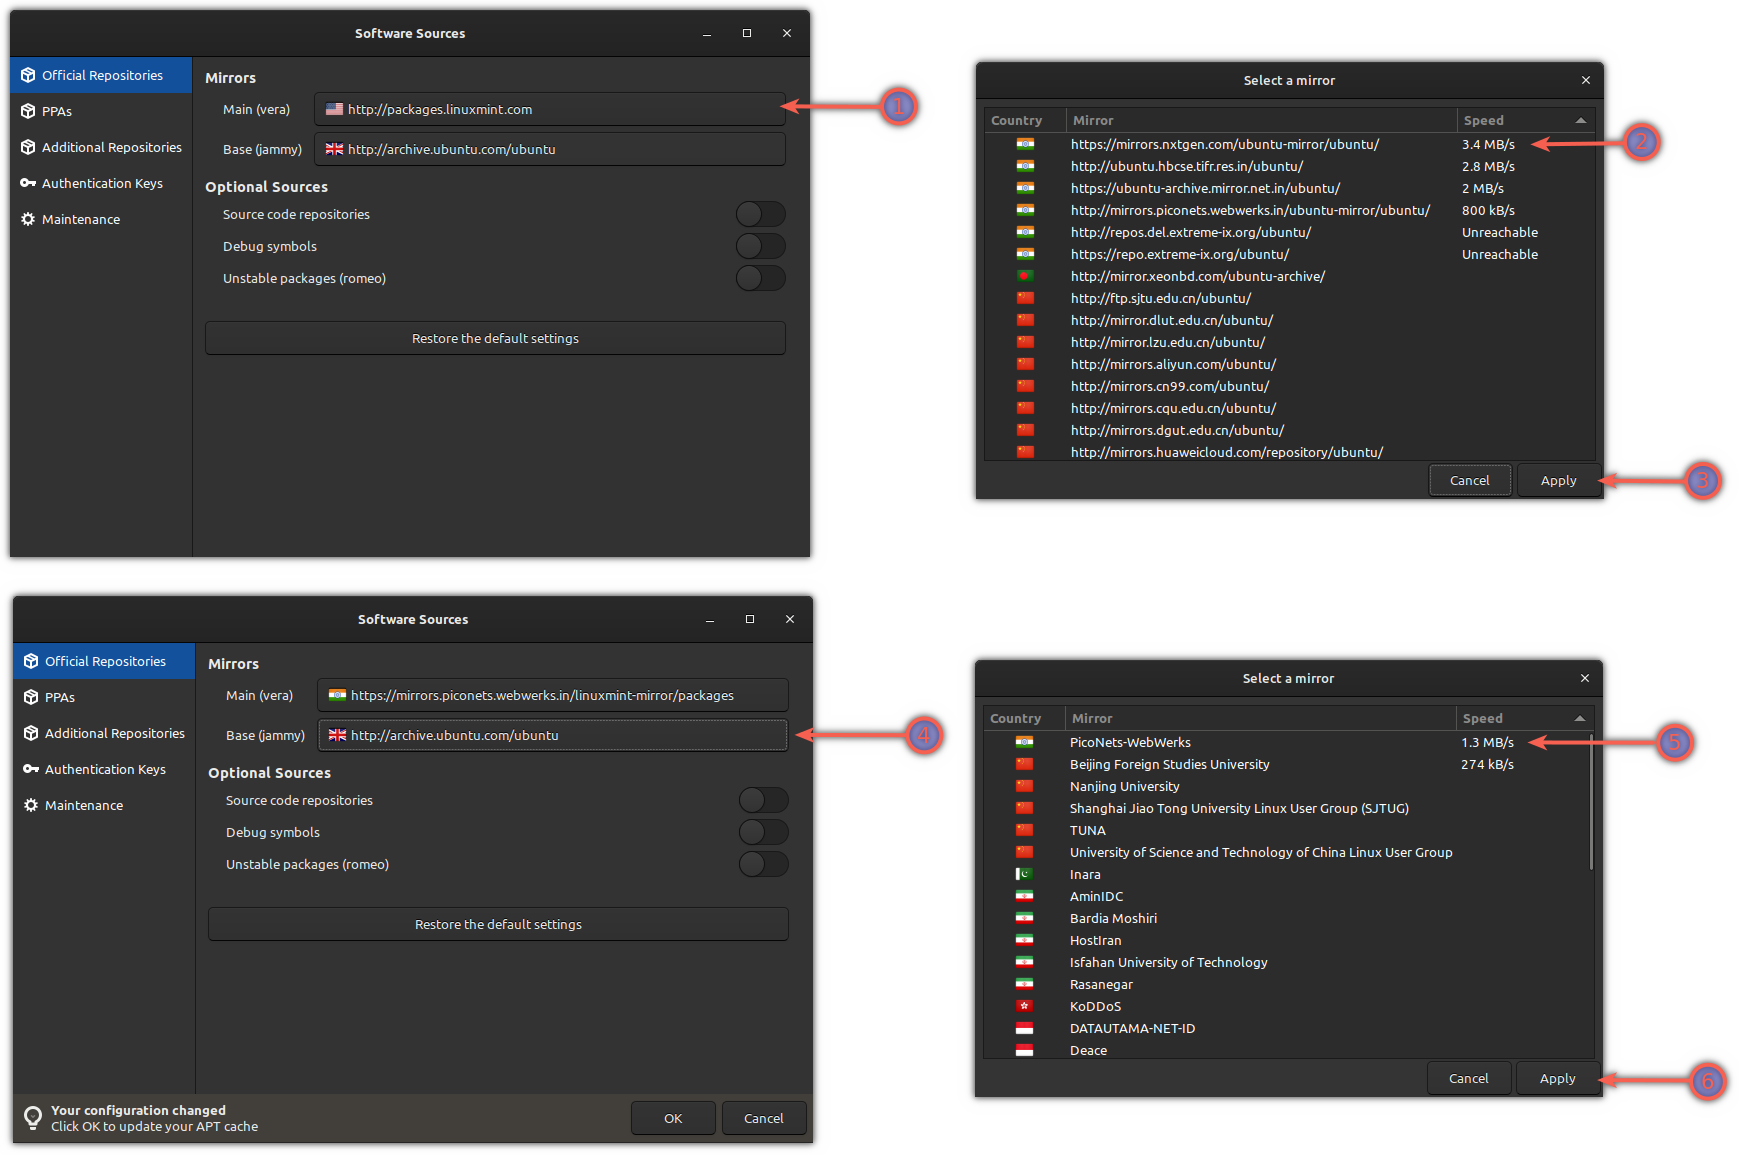
Once you do that, you'd have to do the following:
- Select the first mirror (labeled as Main)
- Wait for some seconds and choose the fastest mirror
- Click on apply
- Now, choose the second mirror (labeled as Base)
- Choose the fastest mirror and click on the apply button
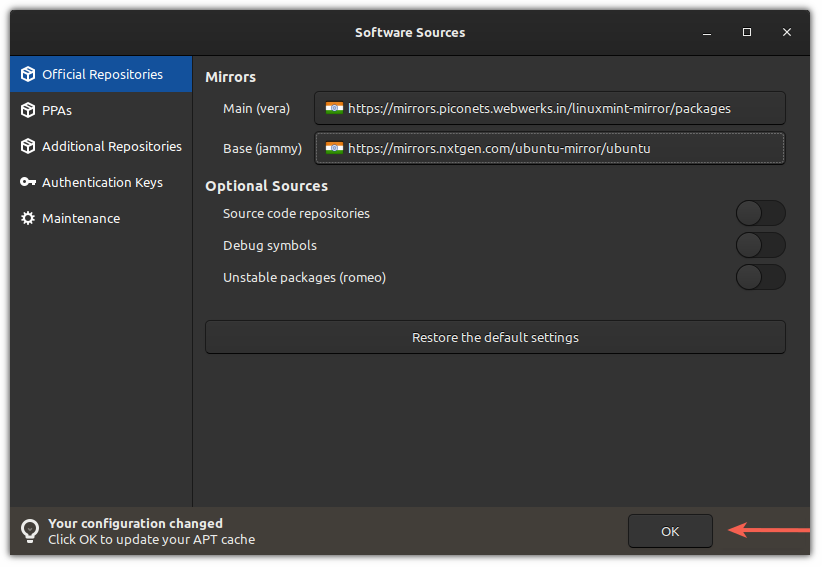
Once done, it will show the message saying, "Your configuration changed, click OK to update your APT cache."
Click on the OK button and it will start updating the cache and will activate the fastest mirrors you chose recently:
That's it!
Update everything at once (for intermediate to advanced users)
The Update Manager works on the deb packages through the apt command line utility.
But Linux packages are also fragmented. There are Snap, Flatpaks and AppImages. Using multiple package managers means updating each type of package manually.
This is where you can use a terminal utility called Topgrade which will update everything at once. Sounds interesting? Here's the detailed guide:
 Sagar Sharma
Now, you should have a good idea about the system update process in Linux Mint.
🗨 Please let me know if you learned something new in this tutorial. Also, if I missed something you think I should have mentioned, please mention it in the comments.