Brief: Mandriva fork Mageia has a new release after more than 2 years. Let’s find out the new features in Mageia 6.
The community-driven project Mageia 6 is finally here, available to download after a long wait of over 2 years, but the wait is worth. Mageia 6 comes with GRUB2 as the default bootloader and KDE Plasma 5 is replacing the KDE SC4 from the previous release. The distribution supports more than 25 Desktop Environments with new icon theme for Control Center and a new GUI tool for package management.
For those who do not know, Mageia is a fork of the popular Linux distribution Mandriva. Mandriva was known for its ease of installation but after almost 20 years in business it went down in the year 2011 and some of the developers working on Mandriva grouped together to fork Mandriva into Mageia. Another group of Mandriva developers created OpenMandriva.
Enough talk about Mageia’s past. Let’s have a look at some of the new features which come with Mageia 6.
New features in Mageia 6
Some of the main new features in Mageia 6 are following:
- Mageia 6 comes with a new package manager DNF replacing urpmi, supporting enhanced problem reporting, tracking of weak dependencies, and detailed transaction information. For using DNF, a GUI tool named dnfdragora is available which offers interfaces for QT-based and GTK+ based desktop environments. It also helps in managing package through an SSH session. Mageia 6 offers third party free and open source software through Fedora COPR and openSUSE Build Service. Support for AppStream allows GNOME to improve the experience while searching and managing applications.
- Mageia 6 is built upon Linux Kernel 4.9.35, systemd 230 and Wayland 1.11.0. Linux Kernel 4.9 is a long term release with support till January 2019.
- The Mageia 6 release includes NVIDIA proprietary drivers in the non-free media section for a better performance, free video drivers for AMD graphics card, AMD GPU for newer cards and Radeon for older graphics cards.
- Mageia 6 comes with KDE Plasma 5.8 which is the current LTS version and replaces the previous KDE 4 desktop. KDE 4 has become obsolete and KDE Plasma 5.8 is in adherence to KDE Applications 16.12 and KDE Frameworks 5.32.
- The list of Desktop Environments supported in Mageia 6 includes Plasma, GNOME, LXDE, Xfce, Mate, Cinnamon and IceWM.
- GRUB2 as the default bootloader for Mageia 6 replacing GRUB legacy. GRUB2 allows you to enable/disable os-prober which sometimes can take some time to detect already installed OSs.
On non-UEFI machines, the installer will create a separate BIOS boot partition if the boot drive needs GUID partition table. - Along with the Classic Installer which includes 32/64 bit GNOME and Plasma DE, the release also comes with both 32/64 bit Xfce version for those who prefer a lightweight distribution. The Classic Installer supports most of the desktop environments and some proprietary drivers which you can disable at the time of installation.
- Default applications include LibreOffice 5.3.4.2 for office works, Firefox 52.2.0 for browsing web, Thunderbird 52.2.1 as an email client and Chromium 57.
- It also includes tools like Blender for 3D modelling, RenderDoc for graphics rendering debugging, Panda3D framework to develop games, Perl, Python, Ruby and Rust.
- Along with the above features, Mageia 6 comes with more stability, is more polished and contains a new range of installation media.
You can find the full release note here. And if you are a proud Mageia fan, you can put Mageia stickers on your laptop:

Download and use Mageia 6
If you want to try and install Mageia 6, you can grab a ISO copy from its official download page:
If you are already running Mageia 5, The Mageia Update Notification applet will notify you of the latest release give you an option to upgrade. If you want to manually upgrade to the latest release through the command line, open a terminal and type in the following command (to be run with root privileges):
mgaapplet-upgrade-helper --new_distro_version=6Try Mageia 6 in virtual machine
If you are not using Mageia but want to experience Mageia 6 without losing your current operating system, you can install it in a virtual machine.
First, you need to get the Mageia 6 ISO. Next, download Oracle VirtualBox:
Mageia 6 needs a minimum of 512MB of RAM but 2GB is recommended. A minimal installation would require 5GB of your storage which can go to 20GB for a casual set up. Any Intel, AMD or VIA processor is supported. Let’s see how you can install Mageia 6 in Oracle VirtualBox.
Let’s see how you can install Mageia 6 in Oracle VirtualBox.
Open VirtualBox, click on New to create a new instance, specify RAM you want to allocate to it.In the next step, assign the Hard Disk space you want to give to Mageia 6. This will create the VirtualBox instance, start it and it will ask you to select the
In the next step, assign the Hard Disk space you want to give to Mageia 6. This will create the VirtualBox instance, start it and it will ask you to select the start-up disk. Navigate to ISO you have downloaded and click on Start.
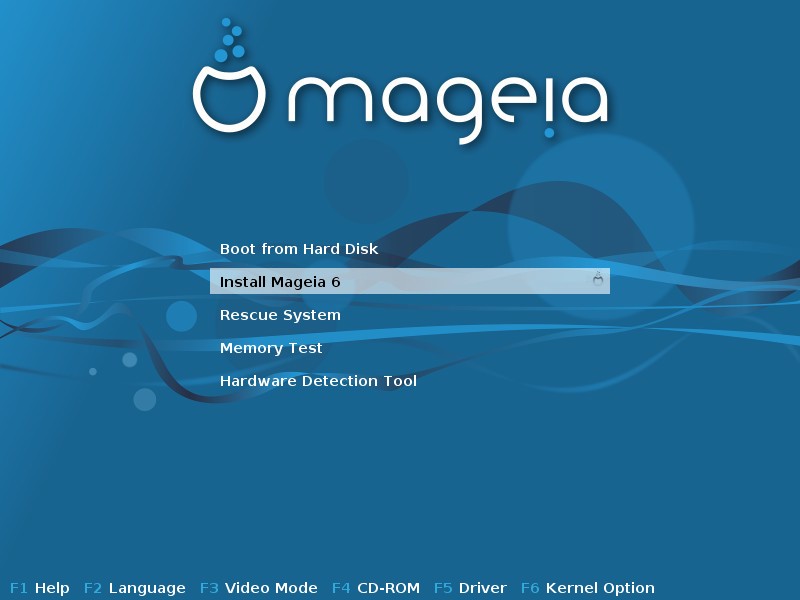
Your VirtualBox will boot with Mageia 6. Select Install Mageia 6 and your preferred language in the next screen.
If you have downloaded the classic ISO installer, it contains all the necessary free and proprietary drivers. In next screen, it will ask if you want to go with the installation of Non-free firmware.

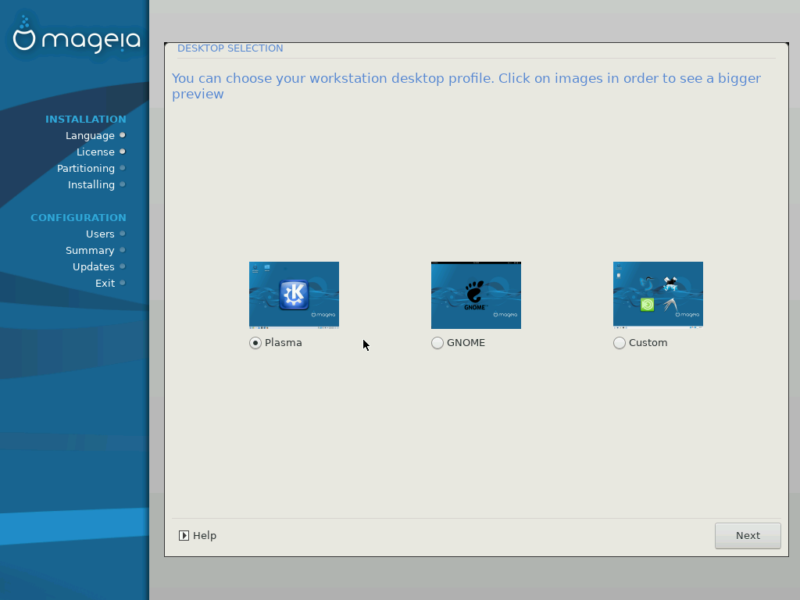
The next screen asks for your preference if you want to go with Plasma, KDE or Custom Desktop Environment.
Click on “Next” will begin the installation. Once the installation is complete, the User Management screen asks you for the root password and login credentials for a new user. Next screen asks for the Monitor you want to use, and configuration options for your System, Hardware, Network and Internet and Security.
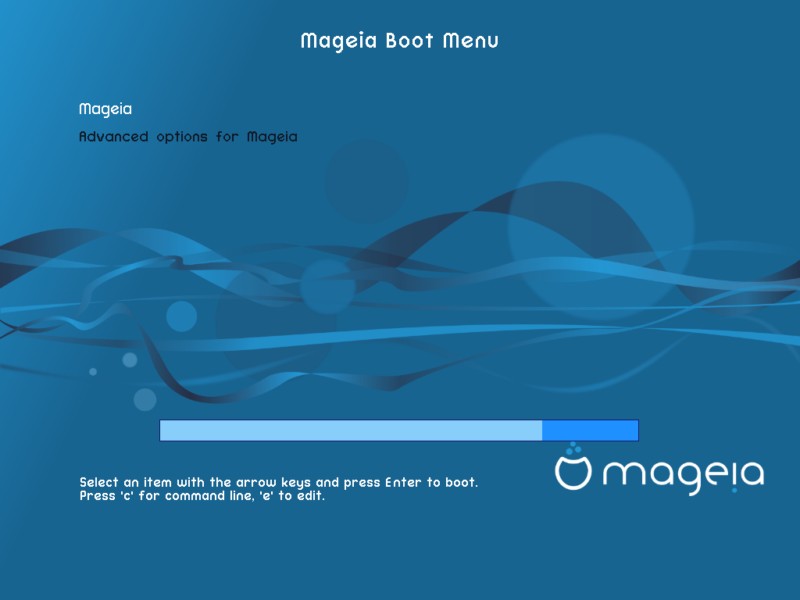
Once done, Bootloader will install. Click on Next and the installer will ask if you want to set up online media. Click Yes if you have a working internet connection. Last step is to reboot your system and you will see the boot screen as below:
Once your system boots, enter your login credentials and login screen will look like this.
Congratulations, you have successfully installed Mageia 6 in VirtualBox.
You can install it along side Windows 10 with the same process, but you will need to partition your hard drive accordingly.
Mageia 6 is one such Linux distribution which is powerful enough with lots of features and icon themes. I am using it in a VirtualBox for less than a week and already love it!
What’re your views, are you going to give Mageia 6 a try? Let us know in the comments. Also, if you are facing any issue while installing, we are here to help.